
LaCie Rugged USB-C Circuit Board Replacement

15 minuten
Gemiddeld
Door de gemeenschap gemaakte handleiding
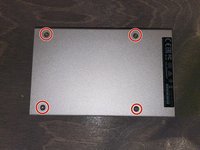
Wat je nodig hebt


-
-
-
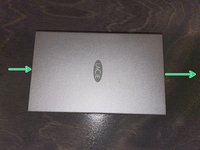
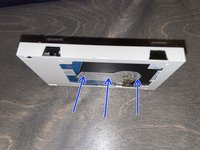
Push on one side of the drive, where the white plastic is. Which side does not matter.
-


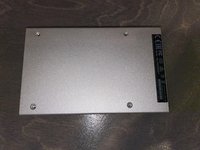


Bijna klaar!
To reassemble your device, follow these instructions in reverse order.
Conclusie
To reassemble your device, follow these instructions in reverse order.
Annuleren: ik heb deze handleiding niet afgemaakt.
5 andere personen hebben deze handleiding voltooid.
4 opmerkingen
Where can i get a new board? thank you
Yes, where can we find a new board?
Right, where can the part be purchased?????
anybody find where you can get a replacement