Inleiding
This guide demonstrates two techniques for knotting the thread to the fabric when hand sewing. These knot types secure the thread to the fabric so that it doesn't move or pull through while you're sewing. They can be used to secure a stitch line at the beginning and at the end.
Secure Knot Type 1: Steps 1 - 5
Secure Knot Type 2: Steps 6 - 11
Related Articles
Wat je nodig hebt
-
-
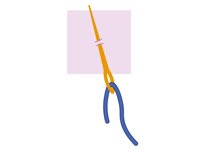
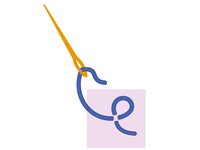
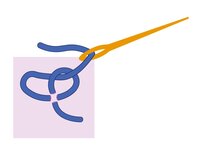
On the backside of the fabric, make a very small stitch.
-
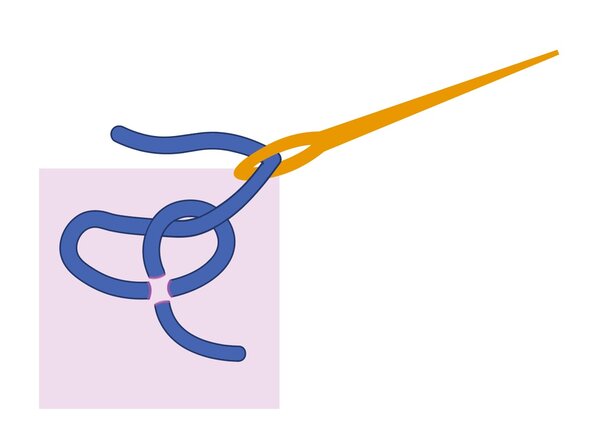
Pull the thread through, leaving a short tail of approximately 1/2 inch (~13 mm) to 1 inch (~25 mm).
-
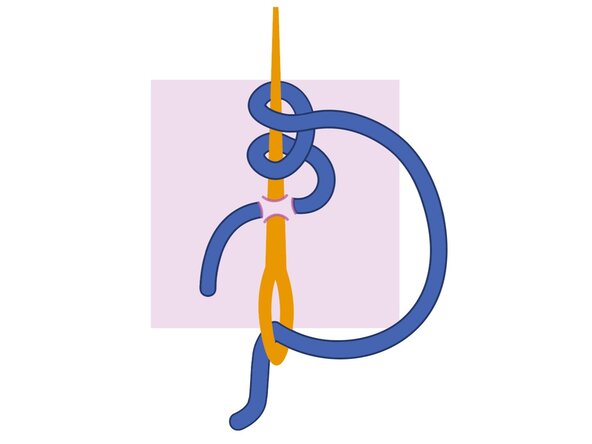
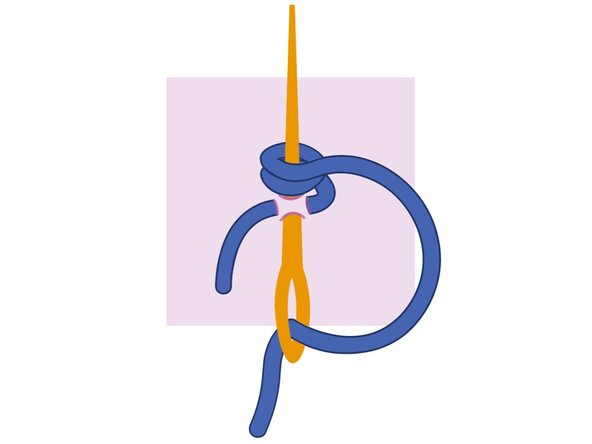
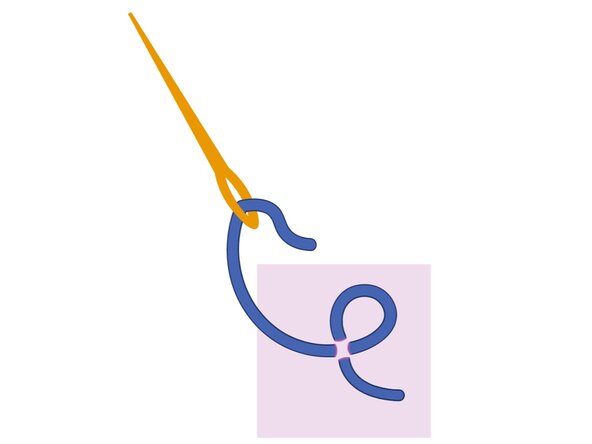
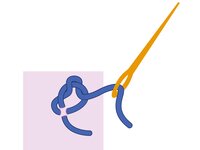
Make another small stitch in the same area. Leave the needle piercing the fabric without pulling it all the way through.
-
-
-
This video shows how to start a stitch with secure knot type 1.
-
-
-
-
This video shows how to end a stitch with secure knot type 1.
-
-
-
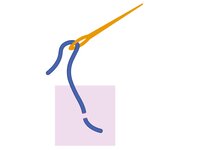
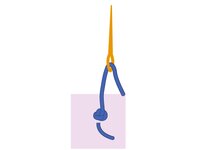
On the backside of the fabric, make a very small stitch.
-
Pull the thread through, leaving a short tail of approximately 1/2 inch (~13 mm) to 1 inch (~25 mm).
-
-
-
This video shows how to start a stitch with secure knot type 2.
-
-
-
This video shows how to end a stitch with secure knot type 2.
-


Annuleren: ik heb deze handleiding niet afgemaakt.
Één andere persoon heeft deze handleiding voltooid.
