
Kindle Voyage Ambient Light Sensor Replacement
Inleiding
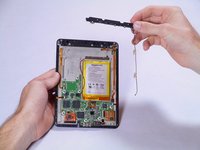
Ga naar stap 1The ambient light sensor is what lets you read in less-than-ideal lighting situations. It is attached to the motherboard near the battery and again at the top where it actually can get light from outside of the device.
Wat je nodig hebt


-
-
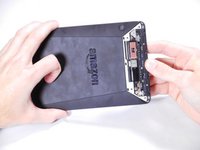
Insert a plastic opening tool between the plastic panel shown on the device.
-
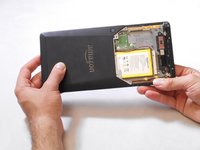
Use the tool to pry the plastic away from the device.
-
-
-
-
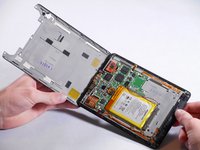
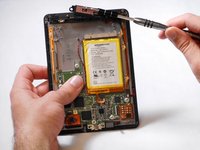
Use an aluminum driver with Phillips head #00 to remove the four 3 mm screws shown in the picture.
-
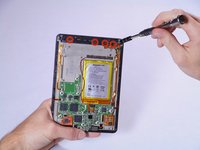
Use the same driver to remove the two 2.5 mm screws.
-
-
Gereedschap gebruikt in deze stap:Tweezers$4.99
-
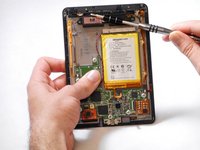
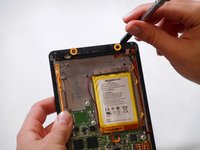
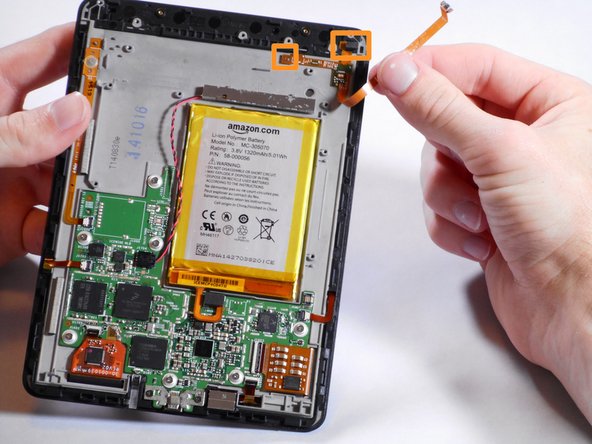
Gently remove the connector to the motherboard using tweezers.
-
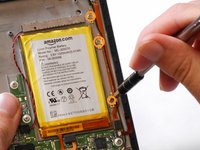
Continue to carefully pull the rest of the connector from the adhesive connecting it to the Voyage.
-
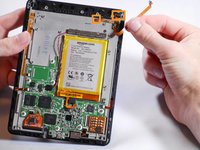
Detach sensor from the top using fingers
-


To reassemble your device, follow these instructions in reverse order.
To reassemble your device, follow these instructions in reverse order.
Annuleren: ik heb deze handleiding niet afgemaakt.
Één andere persoon heeft deze handleiding voltooid.
Team

Cal Poly, Team 19-12, Maness Winter 2015 Lid van Cal Poly, Team 19-12, Maness Winter 2015
CPSU-MANESS-W15S19G12
5 Leden
10 handleidingen geschreven