
Intertek 20006 Fan Replacement
Inleiding
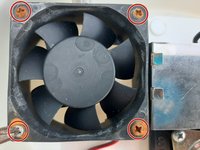
Ga naar stap 1If your Intertek Air Humidifier model 20006 doesn’t make any cool mist due to the faulty fan, use this guide to replace the cool mist making fan. The fan makes cool mist to humidify the air by using water. Before using this guide, remove the water and wipe the water chamber with a dry cloth or paper towel.
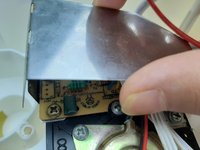
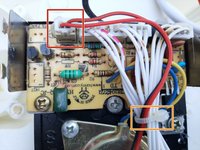
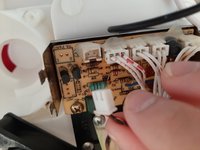
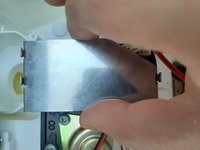
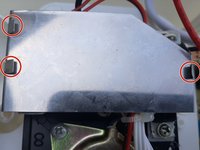
Step 4 requires taking off the cover plate that protects the power connections of all parts. Take caution around the cover plate’s sharp edges.
Before beginning, switch off the power and unplug the power cable from the power outlet.
Wat je nodig hebt
Gereedschap


Toon meer…
-
-
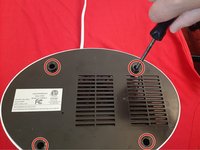
Turn off the air humidifier using the 0/1 switch at the bottom edge of back side.
-
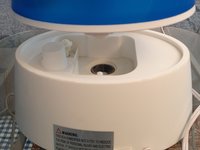
Hold the top-back of the air humidifier and remove the upper part from the lower part.
-
Remove water from the water chamber and wipe it.
-
-


Annuleren: ik heb deze handleiding niet afgemaakt.
Één andere persoon heeft deze handleiding voltooid.