Inleiding
This repair guide was authored by the iFixit staff and hasn’t been endorsed by Google. Learn more about our repair guides here.
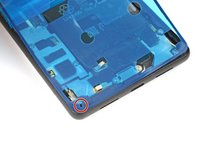
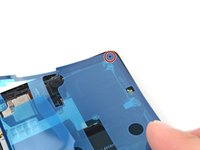
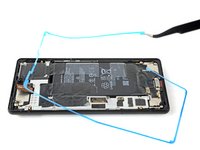
Use this guide to apply new screen adhesive in your Google Pixel 7 following a repair.
Retaining water resistance after the repair will depend on how well you reapply the adhesive, but your device will lose its IP (Ingress Protection) rating.
Note: This guide is written with the Pixel 6, but the procedure is the same.
Wat je nodig hebt
-
Gereedschap gebruikt in deze stap:Microfiber Cleaning Cloths$3.99
-
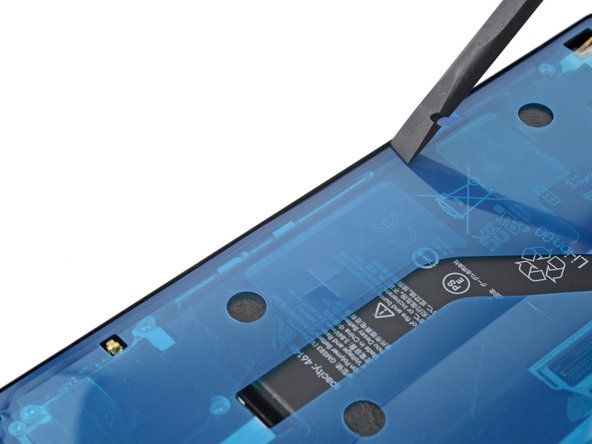
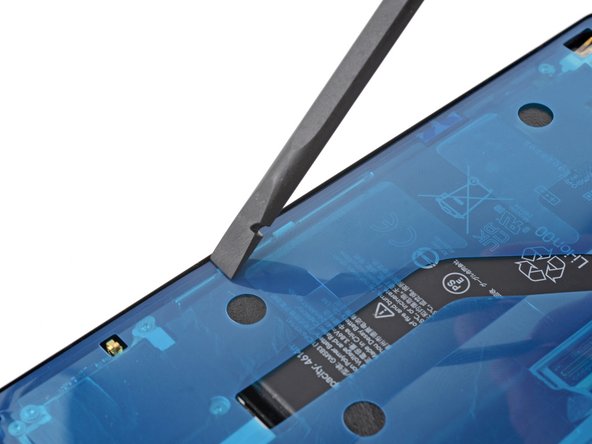
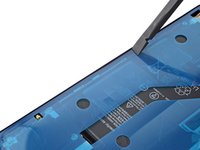
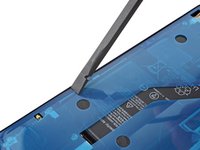
Use the flat end of your spudger to scrape off as much adhesive as you can.
-
Use tweezers or your fingers to peel and remove any remaining adhesive.
-
Clean the perimeter of the frame with a small amount of highly-concentrated isopropyl alcohol (over 90%) and a lint-free or microfiber cloth.
-
-
-
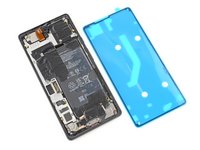
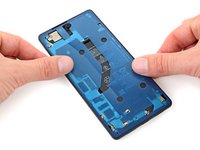
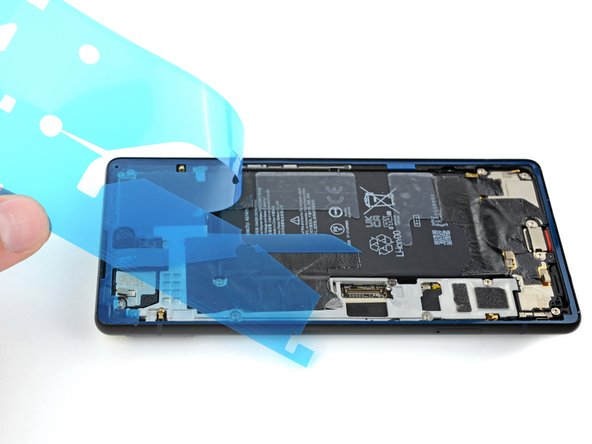
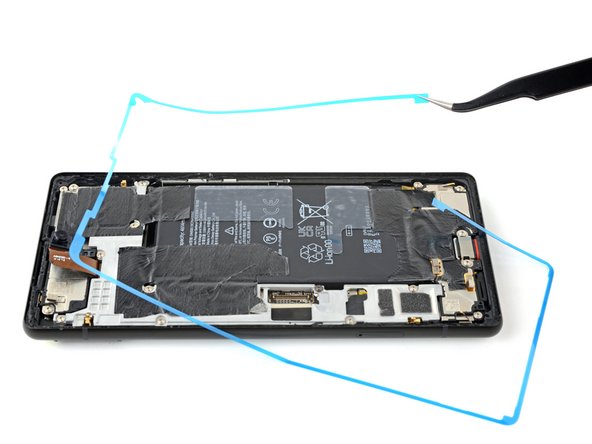
Before applying the new adhesive, lay it over the frame to find its proper orientation.
-
-
-
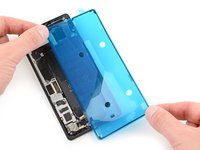
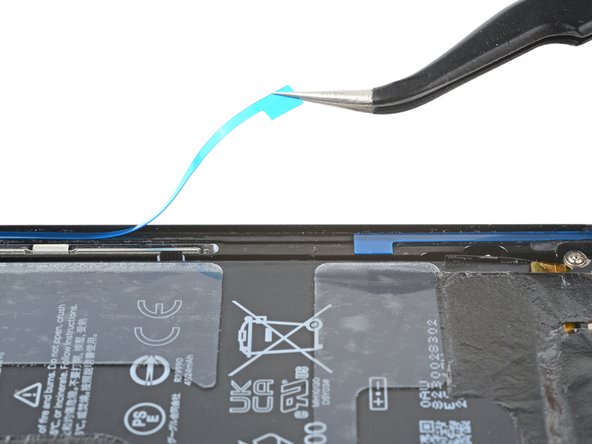
Use the pull tab on the top of the adhesive to remove the protective backing.
-
-
-
-
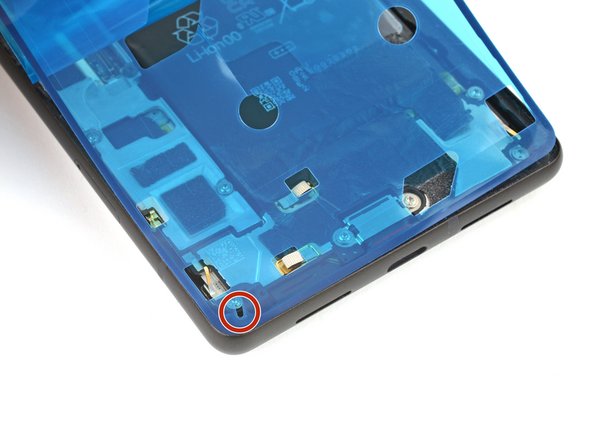
Lay the adhesive onto the frame, starting with the bottom or top edge. Make small corrections as you go.
-
-
-
Grab the pull tab on the upper left of the frame and peel off the main liner.
-
-
-
If you replaced the screen, check the front-facing camera hole and sensor cutout on the replacement screen and remove any remaining protective liners in it.
-
-
-
Return to your phone's guide and continue reassembly.
-
Finish this guide when your screen is installed and you're ready to seal the phone up.
-
-
-
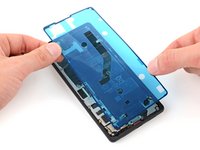
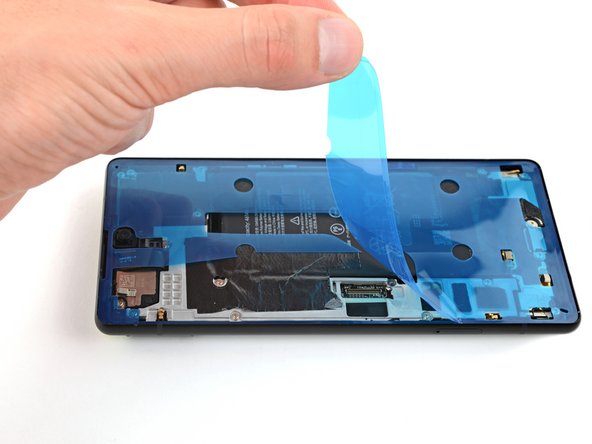
Grab the pull tab on the lower right of the frame and peel off the liner covering the perimeter adhesive.
-
-
-
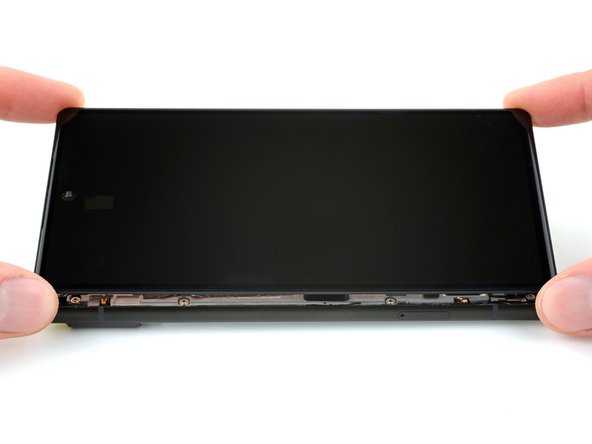
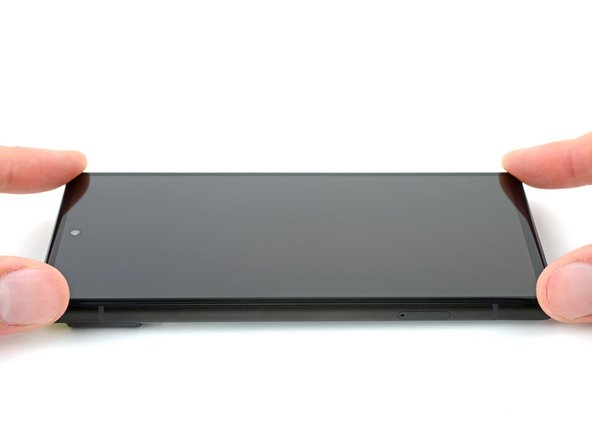
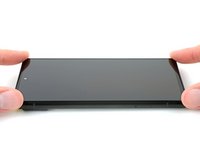
Flip the screen over and lay it onto the frame.
-
Press along the perimeter of the screen to secure it.
-
-
Gereedschap gebruikt in deze stap:Screen Vise Clamps 6-Pack$15.99
-
If you have screen vise clamps, you can work around the camera bar. Secure the clamps to the perimeter of the device.
-
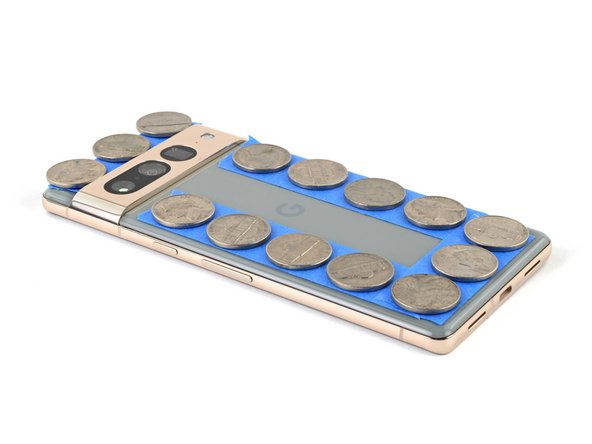
Apply tape to the perimeter of your rear glass to protect its finish.
-
Place coins or similarly thick objects along the edges of the rear glass. Make sure they're as thick or thicker than the camera bar.
-
Stack multiple books or other heavy objects on your phone. Leave them in place for thirty minutes or longer. Ideally, leave them stacked overnight.
-
Annuleren: ik heb deze handleiding niet afgemaakt.
21 andere personen hebben deze handleiding voltooid.
3Gids Commentaar
Link for the adhesive
Do not force anything during any step of this guide. Like most sensitive electronics, force is rarely if ever required.
Take your time, be patient, if something is proving to be tricky take a small break and come back to it in a few minutes.
Things I felt should be included in guide or I had issue with:
1. You might end up cracking or breaking the original screen as you insert the pry tools. If replacing the whole screen, this should not matter to you and it’s ok if you notice cracks or breaks.
2. You want to aim for under the black plastic frame that is UNDER the screen to insert your pry tool.
3. Have extra alcohol wipes or isopropyl alcohol on hand. Repair kit only comes with 1 wipe (seriously??). You can use goo gone if you have some but USE SPARINGLY DO NOT SATURATE. Allow time to air out and evaporate before applying new adhesive. I was able to remove about 95% of old adhesive this way.
4. When you think you’re ready to reassemble, don’t forget the bracket and adhesive before sealing the new screen!!!


