Inleiding
Follow this guide to open a Logitech G502 Lightspeed.
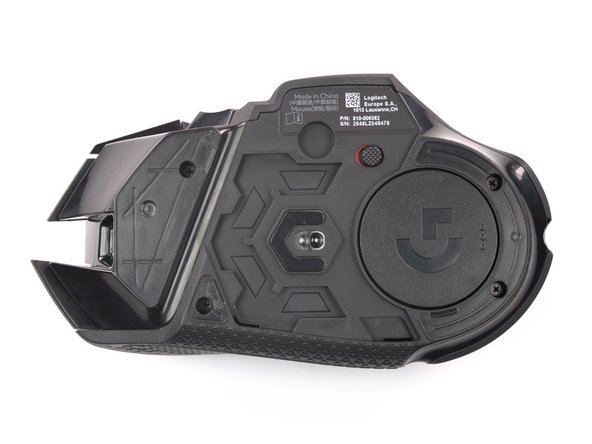
Opening the mouse requires removing its feet (skates/pads). If you plan to reuse the feet, you’ll need to apply heat to loosen the adhesive and avoid bending the feet. Bent or torn feet may require replacement.
Wat je nodig hebt
-
-
Insert the tip of an opening pick underneath the front foot at the gap in its recess.
-
When possible, grab with your fingers and slowly pull to peel it off completely.
-
-
-
Insert the tip of an opening pick underneath the tiny front right foot at the gap in its recess.
-
-
-
-
Insert the tip of an opening pick underneath the rear foot starting at the gap in its recess.
-
When possible, grab with your fingers and slowly pull to peel it off completely.
-
-
-
Use your fingers to remove the weight hatch by pulling the bottom part of the thumb rest straight down.
-
-
-
Remove the four 5.4 mm long Phillips screws at the underside of the mouse.
-
-
-
Insert an opening pick between the bottom plate and the upper shell starting at the rear of the mouse.
-
Slide the opening pick along the gap between the two halves towards the outer flank of the mouse.
-
Twist the opening pick to disengage the clips holding both halves together.
-
-
-
Flip the mouse over on its (removed) feet and hinge the top shell open towards the right side.
-
-
-
Hold the battery cable close to the connector and carefully "walk it out" by pulling parallel to the motherboard rocking the connector side to side.
-
-
-
Use a spudger or your fingernail to flip up the small, hinged locking flap of both ZIF connectors to disconnect and free the interconnect cables.
-


To reassemble your device, follow these instructions in reverse order. Apply new adhesive where necessary after cleaning the relevant areas with isopropyl alcohol (>90%).
Take your e-waste to an R2 or e-Stewards certified recycler.
Repair didn’t go as planned? Try some basic troubleshooting, or ask our Answers community for help.
Annuleren: ik heb deze handleiding niet afgemaakt.
20 andere personen hebben deze handleiding voltooid.

Team

Tobias Isakeit - Repairability Engineer Lid van Tobias Isakeit - Repairability Engineer
Business
1 Lid
1.092 handleidingen geschreven
11 opmerkingen
Needs top half disassembly for micro switch swap
Check my link at the bottom
This helped so much! I had the button to turn on infinite scroll for the scroll wheel stuck and this allowed me to get it most of the way taken apart so I could take the rest apart myself.
Well, we've got it half way apart... Now where's the second half of the guide? lol
comes in a paid dlc