
HP Envy Battery Replacement
Inleiding
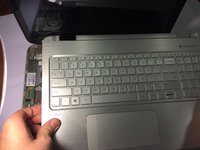
Ga naar stap 1Has your battery seemingly died far earlier than expected in your HP Envy 15 x360 laptop? This guide will show you how to fix a common cause of a dead battery.
Wat je nodig hebt
Onderdelen

Gereedschap

Toon meer…
-
-
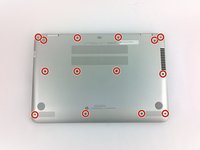
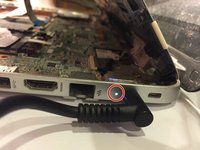
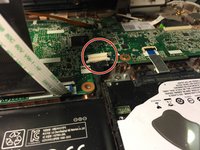
Plug in your computer to charge and take a look at the light coming from near the charging port.
-
-
-
-
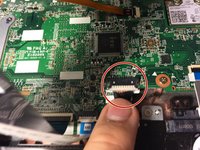
Once the battery is safely removed, plug the charging cord into the charging port on the side and plug the other end into the wall.
-
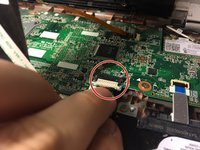
If the light is on after plugging it in, you have just confirmed that something is wrong with the battery, which means you're on the right track!
-
Unplug the charging cable.
-


To reassemble your device, follow these instructions in reverse order.
To reassemble your device, follow these instructions in reverse order.
Annuleren: ik heb deze handleiding niet afgemaakt.
20 andere personen hebben deze handleiding voltooid.
Team

Cal Poly, Team 17-2, Green Fall 2015 Lid van Cal Poly, Team 17-2, Green Fall 2015
CPSU-GREEN-F15S17G2
4 Leden
9 handleidingen geschreven
9 opmerkingen
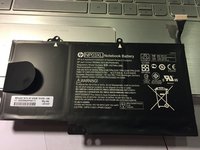
can you tell me the name of the battery ?
Worked like a gem. Now my battery is even charging. There must be a loose connection between the battery and mother board. Double thumbs up to you!
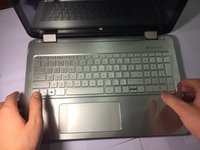
This worked like a charm for me. Thank you for posting!! followed directions exactly, so easy to follow. The only trouble I had was getting the keyboard detached. It was really stuck on there, but I eventually got it. Battery is charging as we speak.