Ga door naar hoofdinhoud
Google Pixelbook Go Back Panel Replacement

Google Pixelbook Go Back Panel Replacement

Kristen Gismondi

Kristen Gismondi

Voor het laatst geüpdatet op June 5, 2023

Geen schatting
Gemiddeld
Betere introductie
Ontbrekende informatie

Wat je nodig hebt

Gereedschap

Toon meer…

  1. Google Pixelbook Go Back Panel Replacement, Back Panel: stap 1, afbeelding 1 van 2 Google Pixelbook Go Back Panel Replacement, Back Panel: stap 1, afbeelding 2 van 2
    • Flip the device so that the back is facing up.

    • Peel the rubber stoppers off the top and bottom of the device.

  2. Google Pixelbook Go Back Panel Replacement: stap 2, afbeelding 1 van 2 Google Pixelbook Go Back Panel Replacement: stap 2, afbeelding 2 van 2
    • Remove ten 3 mm screws from around the edge of the back panel using a T5 Torx screwdriver.

  3. Google Pixelbook Go Back Panel Replacement: stap 3, afbeelding 1 van 3 Google Pixelbook Go Back Panel Replacement: stap 3, afbeelding 2 van 3 Google Pixelbook Go Back Panel Replacement: stap 3, afbeelding 3 van 3
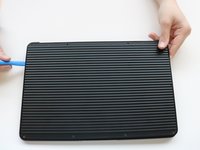
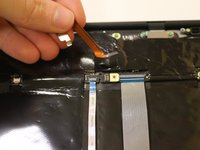
    • Use an iFixit opening tool to pry up the back panel cover.

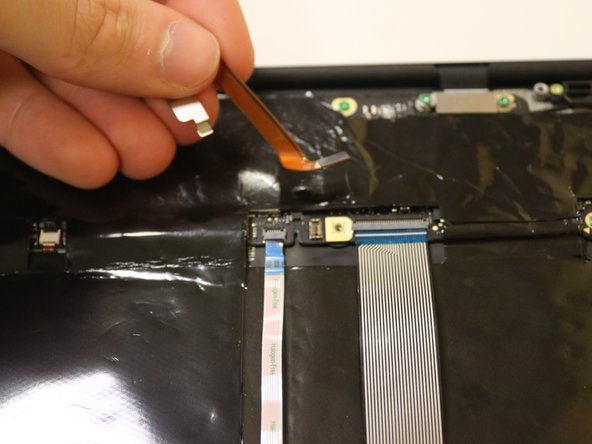
    • There is an orange ribbon cable that connects the cover to the base, so don't separate the two pieces completely.

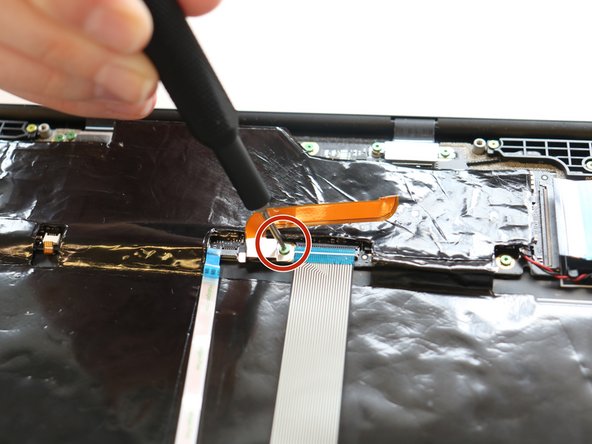
    • Remove the single 2 mm screw using a Torx T3 screwdriver.

    • Disconnect the orange cable from the base of the device.

  4. Google Pixelbook Go Back Panel Replacement: stap 4, afbeelding 1 van 1
    • Insert wisdom here.

Conclusie

To reassemble your device, follow these instructions in reverse order.

Kristen Gismondi

Lid sinds: 11/12/14

92.627 Reputatie

241 handleidingen geschreven

Team

iFixit Lid van iFixit

Staff

118 Leden

19.647 handleidingen geschreven

0Gids Commentaar

Voeg opmerking toe

Weergavestatistieken:

Afgelopen 24 uren: 1

Afgelopen 7 dagen: 10

Afgelopen 30 dagen: 40

Altijd: 750