
Game Boy Pocket Front Housing Replacement
Inleiding
Ga naar stap 1This guide will show you how to replace your Game Boy Pocket’s front housing. Maybe you have cracks or scuff marks causing discomfort during gameplay, it’s otherwise causing issues for your device’s functionality, or you simply want to improve its appearance and/or resale value? Whatever the reason, this guide has you covered! All you need is prior knowledge using a screwdriver and a careful hand, as we will be dealing with small and fragile parts.
Please ensure your Game Boy Pocket is shut OFF before you begin.
- Tip: Because the front housing is made of plastic, it would be beneficial to recycle your old one.
Wat je nodig hebt


-
-
Place the Game Boy Pocket face-down on a clean, flat surface. Remove the battery compartment cover, along with any batteries inside.
-
Use a Y1 tri-wing screwdriver and turn counterclockwise to remove the four external screws.
-
Use a Y1 tri-wing screwdriver and turn counterclockwise to remove the two screws inside of the battery compartment.
-
-
-
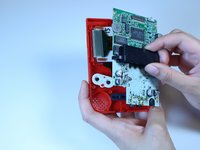
Place your hands on the front and back covers of the Game Boy Pocket, and carefully separate the device.
-
-
-
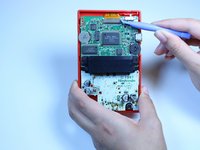
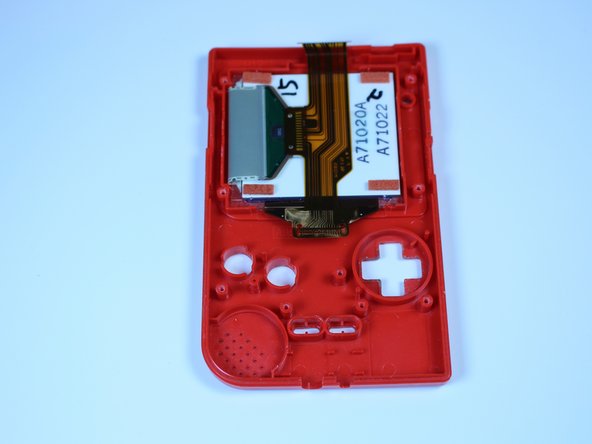
Use a Phillips #1 screwdriver and turn counterclockwise to remove the three screws on the motherboard.
-
-
-
-
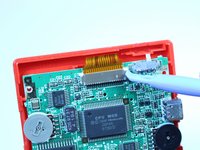
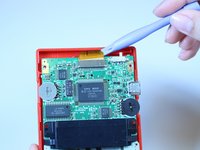
Use a plastic opening tool to dislodge and remove the clip securing the ribbon cable.
-
-
-
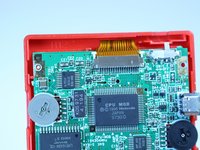
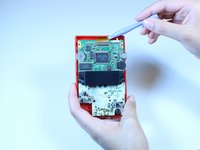
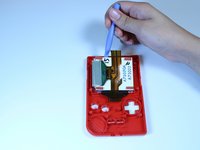
Grab the black piece protruding from the motherboard, and lift up to remove the motherboard.
-
-
-
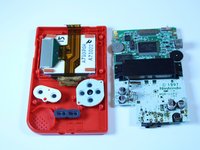
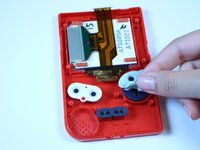
Use your fingers to remove the three silicone button covers
-
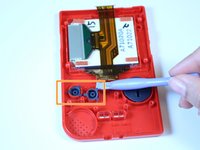
Use a plastic opening tool to remove the buttons.
-
-
-
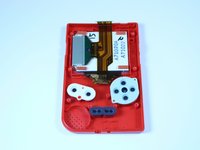
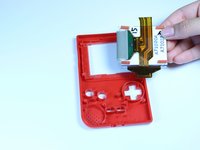
Use a plastic opening tool to lift the LCD screen away from the front cover.
-
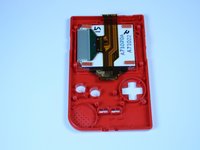
Use your fingers to remove the LCD screen.
-
-
-
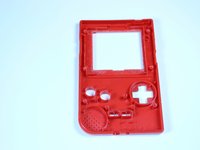
Replace the front housing, following each step in reverse order.
-


To reassemble your device, follow these instructions in reverse order.
To reassemble your device, follow these instructions in reverse order.
Annuleren: ik heb deze handleiding niet afgemaakt.
2 andere personen hebben deze handleiding voltooid.
Team

USF Tampa, Team 1-1, Leahy Fall 2014 Lid van USF Tampa, Team 1-1, Leahy Fall 2014
USFT-LEAHY-F14S1G1
4 Leden
19 handleidingen geschreven