
Game Boy Color Motherboard Replacement
Inleiding
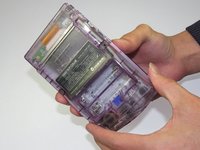
Ga naar stap 1The Game Boy Color's motherboard contains all the electronics that make it operate. This guide will show you how to remove the circuit board from the Game Boy Color.
Wat je nodig hebt


-
-
Locate the battery compartment on the back of the Game Boy Color.
-
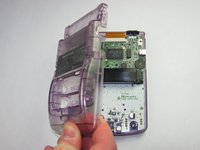
Push down on the tab and hinge the cover downwards and outwards to remove the battery cover.
-
-
-
Using a Y1 screwdriver, remove the six screws on the back of the device as pictured. The bottom two screws are located inside of the battery compartment.
-
-
-
-
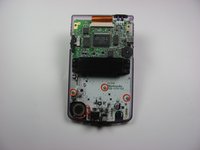
Using the Phillips #1 screwdriver, remove the 3 screws shown in the picture.
-


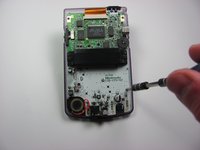

To reassemble your device, follow these instructions in reverse order.
To reassemble your device, follow these instructions in reverse order.
Annuleren: ik heb deze handleiding niet afgemaakt.
21 andere personen hebben deze handleiding voltooid.
Team

Cal Poly, Team 19-47, Regan Winter 2013 Lid van Cal Poly, Team 19-47, Regan Winter 2013
CPSU-REGAN-W13S19G47
4 Leden
61 handleidingen geschreven