
Epson Stylus Photo 820 Top Cover Replacement
Inleiding
Ga naar stap 1This guide will cover the necessary steps to unlatch and remove the upper shell from the printer.
Wat je nodig hebt


-
-
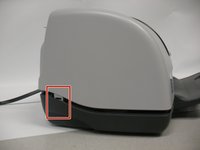
To remove the top cover of the printer, you have to first release it from several tabs.
-
These three are the easiest tabs to remove. They are located on the back side of the printer.
-
-
-
-
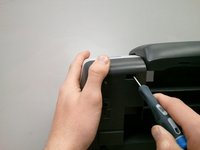
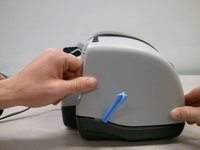
The final two tabs can be more difficult to release. Viewing from the front, they are located in the back left and right corners of the printer.
-
The release points for the tabs are located in holes on the depressed area of the base (darker piece).
-
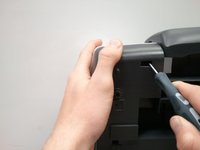
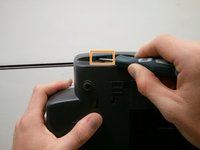
Use the pointed end of a spudger to pry out the tab.
-
Use one of the plastic tools to keep the tab pried out. Once it releases, push in towards the printer (viewing from the side) and pull up on the case.
-
-
-
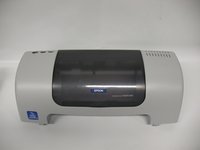
All of the tabs have now been released.
-
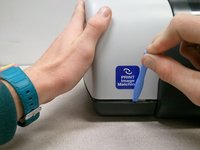
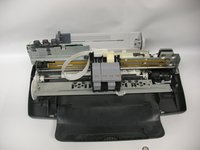
When trying to completely remove the cover, it gets caught on these two back components. Maneuvering around these can be tricky.
-
Push the cover to the right slightly and then push it backwards (out of the screen in this picture). This should give it some wiggle room. Repeat this as necessary.
-


To reassemble your device, follow these instructions in reverse order.
To reassemble your device, follow these instructions in reverse order.
Annuleren: ik heb deze handleiding niet afgemaakt.
Één andere persoon heeft deze handleiding voltooid.
Team

Cal Poly, Team 20-68, Walters Spring 2011 Lid van Cal Poly, Team 20-68, Walters Spring 2011
CPSU-WALTERS-S11S20G68
4 Leden
12 handleidingen geschreven