Ga door naar hoofdinhoud
Droid Ultra XT1080 Charging Port  Replacement

Droid Ultra XT1080 Charging Port Replacement

knoyes

knoyes en een andere bijdrager

Voor het laatst geüpdatet op March 4, 2022

35 minuten
Moeilijk

This guide will teach you how to replace the charging port of your device.

Wat je nodig hebt

Gereedschap

Toon meer…

  1. Droid Ultra XT1080 Charging Port  Replacement, Charging Port: stap 1, afbeelding 1 van 1
    • Remove SIM card tray from the device with a plastic opening tool.

  2. Droid Ultra XT1080 Charging Port  Replacement: stap 2, afbeelding 1 van 1
    • Once SIM card tray is removed press the spudger between the plastic case and the frame of the device until you hear a snap.

    • Work your away around the device until all the plastic clips are undone.

    • Be gentle with the plastic to make sure it doesn't break.

  3. Droid Ultra XT1080 Charging Port  Replacement: stap 3, afbeelding 1 van 1
    • Remove the five screws on top of the device with a T5 Torx.

    • Remove the single screw holding the camera with a T4 Torx.

    • Remove the two screws on the bottom of the device with a T5 Torx.

  4. Droid Ultra XT1080 Charging Port  Replacement: stap 4, afbeelding 1 van 2 Droid Ultra XT1080 Charging Port  Replacement: stap 4, afbeelding 2 van 2
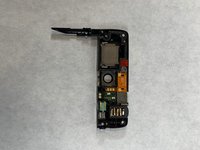
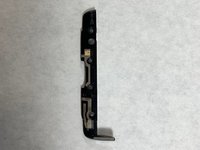
    • Once the screws are removed, use a plastic spudger and lift up the two plastic pieces that were secured by the screws.

  5. Droid Ultra XT1080 Charging Port  Replacement: stap 5, afbeelding 1 van 1
    • Remove the four T5 Torx screws securing the motherboard.

  6. Droid Ultra XT1080 Charging Port  Replacement: stap 6, afbeelding 1 van 1
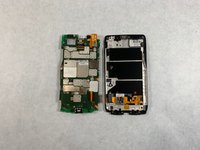
    • Gently pry the motherboard out of the frame of the device.

  7. Droid Ultra XT1080 Charging Port  Replacement: stap 7, afbeelding 1 van 2 Droid Ultra XT1080 Charging Port  Replacement: stap 7, afbeelding 2 van 2
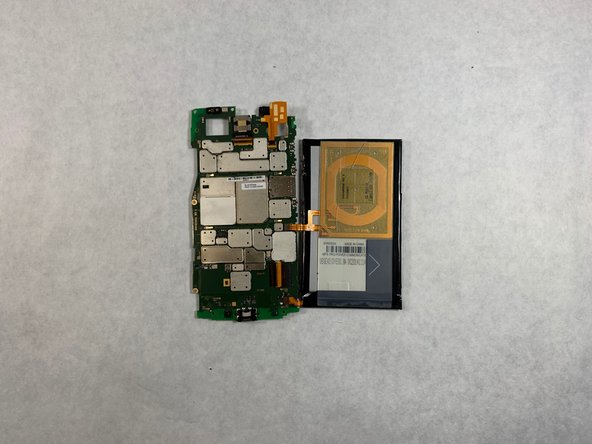
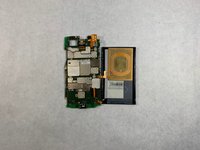
    • Once the motherboard is free flip it over on its back so all the components are showing.

  8. Droid Ultra XT1080 Charging Port  Replacement: stap 8, afbeelding 1 van 1
    • To fully replace the charging port you need to desolder the port and solder a new one in.

Conclusie

To reassemble your device, follow these instructions in reverse order.

Één andere persoon heeft deze handleiding voltooid.

knoyes

Lid sinds: 10/30/18

785 Reputatie

5 handleidingen geschreven

Team

UMass Dartmouth, Team S3-G8, Peak Fall 2018 Lid van UMass Dartmouth, Team S3-G8, Peak Fall 2018

UMASSD-PEAK-F18S3G8

3 Leden

10 handleidingen geschreven

0 opmerkingen

Voeg opmerking toe

Weergavestatistieken:

Afgelopen 24 uren: 0

Afgelopen 7 dagen: 2

Afgelopen 30 dagen: 27

Altijd: 921