
Droid Ultra XT1080 Battery Replacement
Inleiding
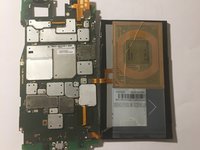
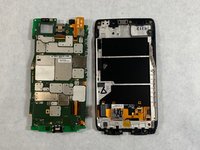
Ga naar stap 1This guide is to replace a damaged battery on the Motorola Droid XT 1080. It is important because your phone will not charge or turn on if the battery needs to be replaced.
Wat je nodig hebt


-
-
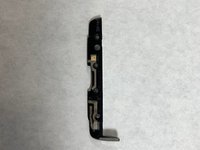
Remove the SIM card tray from the side of the device using a plastic opening tool.
-
-


To reassemble your device, follow these instructions in reverse order.
To reassemble your device, follow these instructions in reverse order.
Annuleren: ik heb deze handleiding niet afgemaakt.
3 andere personen hebben deze handleiding voltooid.
Team

UMass Dartmouth, Team S3-G8, Peak Fall 2018 Lid van UMass Dartmouth, Team S3-G8, Peak Fall 2018
UMASSD-PEAK-F18S3G8
3 Leden
10 handleidingen geschreven