Ga door naar hoofdinhoud
Dell Precision M4700 RAM Replacement

Dell Precision M4700 RAM Replacement

dvalencia

dvalencia en 2 andere bijdragers

Voor het laatst geüpdatet op June 3, 2024

20 minuten
Gemiddeld

If your Dell Precision M4700 laptop's performance has deteriorated from years of use or does not meet your current demands, use this guide to revitalize it by replacing the RAM.

The laptop's RAM provides temporary storage for data and instructions, facilitating the fast execution of tasks and programs on a computer. If your RAM is old or insufficient, it can result in slowness, freezing, crashing of applications, and an overall drop in performance.

Wat je nodig hebt

Gereedschap

  1. Dell Precision M4700 RAM Replacement, RAM: stap 1, afbeelding 1 van 3 Dell Precision M4700 RAM Replacement, RAM: stap 1, afbeelding 2 van 3 Dell Precision M4700 RAM Replacement, RAM: stap 1, afbeelding 3 van 3
    • Unplug the charging cable before disassembly to avoid electric shocks.

    • Shut down the laptop.

    • Slide the battery eject button to the right until the battery lifts.

    • Carefully remove the battery from the laptop.

  2. Dell Precision M4700 RAM Replacement: stap 2, afbeelding 1 van 3 Dell Precision M4700 RAM Replacement: stap 2, afbeelding 2 van 3 Dell Precision M4700 RAM Replacement: stap 2, afbeelding 3 van 3
    • Remove two 5 mm screws using a Phillips #0 screwdriver.

  3. Dell Precision M4700 RAM Replacement: stap 3, afbeelding 1 van 2 Dell Precision M4700 RAM Replacement: stap 3, afbeelding 2 van 2
    • Slide the back panel upwards.

    • Lift the panel out of the way to access the RAM bay.

  4. Dell Precision M4700 RAM Replacement: stap 4, afbeelding 1 van 2 Dell Precision M4700 RAM Replacement: stap 4, afbeelding 2 van 2
    • Use your fingers to push the metal retaining clips in opposite directions.

    • The RAM will pop up.

    • Remove the RAM from its slot.

  5. Dell Precision M4700 RAM Replacement: stap 5, afbeelding 1 van 2 Dell Precision M4700 RAM Replacement: stap 5, afbeelding 2 van 2
    • If you have purchased more than one RAM chipset, repeat Step 4 for the right side of the RAM bay.

Conclusie

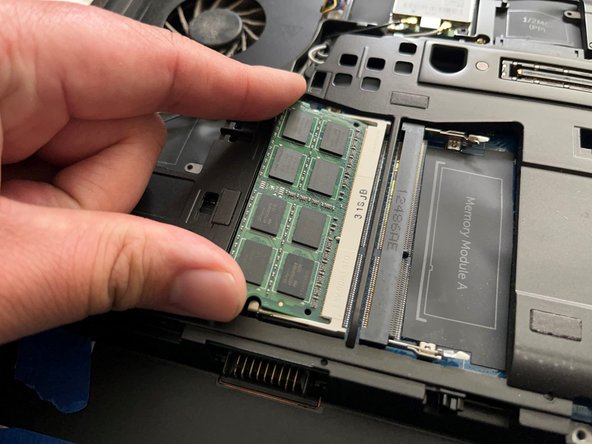
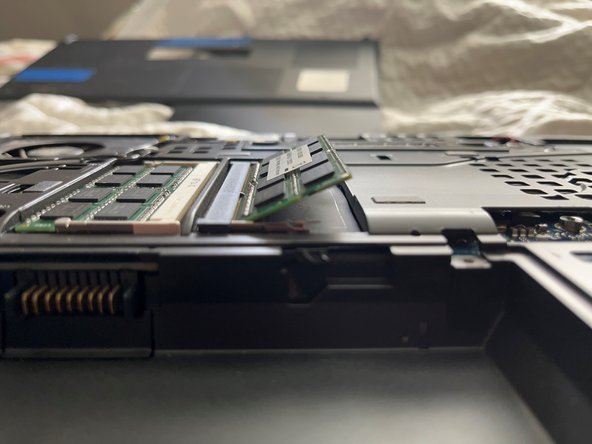
To reassemble your device, follow these instructions in reverse order.

Één andere persoon heeft deze handleiding voltooid.

dvalencia

Lid sinds: 02/21/24

148 Reputatie

1 Handleiding geschreven

Team

CSU Sacramento, Team 1-19, Laflen Spring 2024 Lid van CSU Sacramento, Team 1-19, Laflen Spring 2024

CSUSAC-LAFLEN-S24S1G19

1 Lid

1 handleiding geschreven

0 opmerkingen

Voeg opmerking toe

Weergavestatistieken:

Afgelopen 24 uren: 1

Afgelopen 7 dagen: 1

Afgelopen 30 dagen: 9

Altijd: 127