
Dell Inspiron Mini 10 Motherboard Replacement
Inleiding
Ga naar stap 1This guide will take you step-by-step through the process of replacing the motherboard. This may be a necessary process if the component is no longer functioning or as a prerequisite for working on another component such as replacing the RAM module or display assembly.
Wat je nodig hebt


-
-
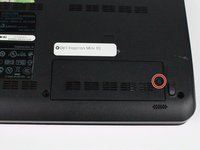
On the bottom of the laptop locate the removable panel and screw holding it to the body. Loosen the screw and take the cover off.
-
-
Gereedschap gebruikt in deze stap:Tweezers$4.99
-
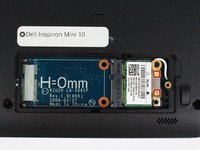
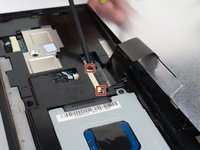
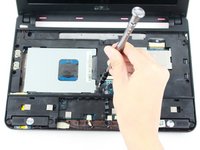
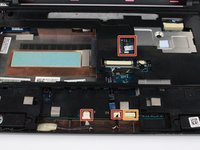
Remove the black and white antenna cable from the wifi adapter by pinching the gold contacts with the tips of your finger, or you can use tweezers, and pull them straight away from the adapter.
-
Unscrew the single 5mm Phillips 0 screw on the top right of the adapter. The adapter should start to angle away from the body of the computer. Once the screw is off completely, pull the adapter out of the data slot.
-
-
-
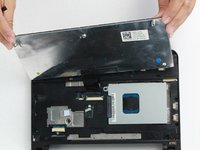
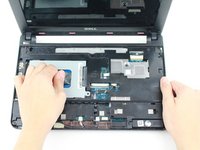
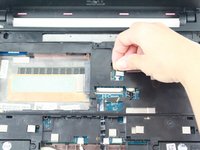
Using a prying tool, gently pry the palm rest off of the palm rest bracket. Start prying from one side and slowly work your way around.
-
-
-
-
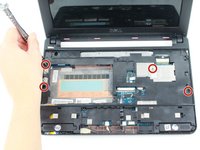
Close the device and turn over.
-
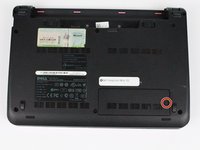
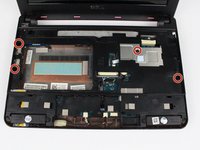
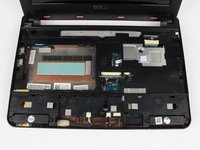
Remove the five 8mm Phillips 0 screws.
-
-
-
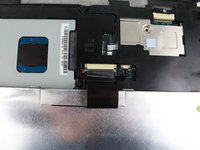
Remove the following:
-
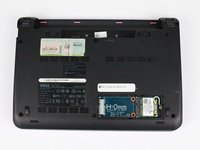
Two 4mm Phillips screws securing the motherboard
-
AC adapter cable
-
USB and SIM card cable connector
-
Display cable connector
-
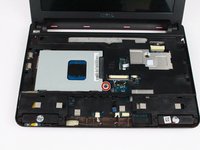
Carefully lift the motherboard out.
-


To reassemble your device, follow these instructions in reverse order.
To reassemble your device, follow these instructions in reverse order.
Team

UW Tacoma, Team 1-4, Rose Fall 2016 Lid van UW Tacoma, Team 1-4, Rose Fall 2016
UWT-ROSE-F16S1G4
4 Leden
10 handleidingen geschreven