
Dell Inspiron M531R-5535 Fan Replacement
Inleiding
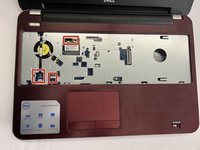
Ga naar stap 1Use this guide to replace the fan in your Dell Inspiron M531R-5535 laptop.
The fan is an essential component for preventing the computer from overheating. The fan allows the computer hardware to cool off and make the computer more smoothly.
Make sure to power off your laptop completely and disconnect from any external power source prior to beginning the process.
Wat je nodig hebt


-
-
-
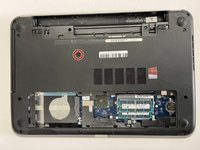
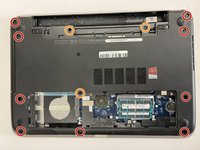
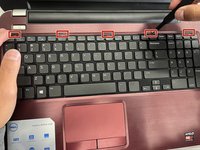
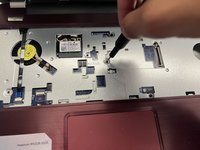
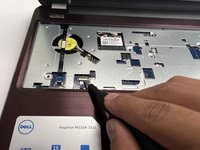
Unscrew the Phillips #1 screw.
-
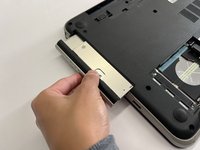
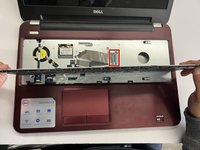
Pull the white connector out to disconnect the cables from the motherboard.
-
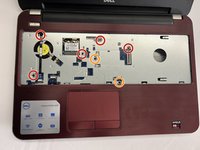
Pull up on gold connectors (MHF4) to disconnect the cables connecting the WLAN card.
-
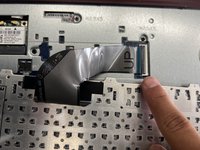
Pull up on the white flap and pull out the strip to disconnect the strip from the motherboard.
-


To reassemble your device, follow these instructions in reverse order.
To reassemble your device, follow these instructions in reverse order.
Annuleren: ik heb deze handleiding niet afgemaakt.
2 andere personen hebben deze handleiding voltooid.
Team

CSU Los Angeles, Team 6-5, Adachi Fall 2022 Lid van CSU Los Angeles, Team 6-5, Adachi Fall 2022
CSULA-ADACHI-F22S6G5
3 Leden
5 handleidingen geschreven