
Canon EOS 5D Mark II Top Panel Replacement
Inleiding
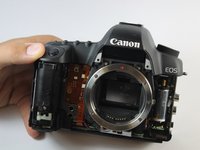
Ga naar stap 1This guide will show users how to replace the top panel and access many internal parts such as the viewfinder and shutter assembly.
Wat je nodig hebt
Gereedschap

-
-
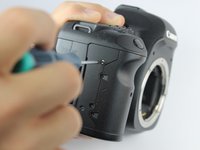
Peel back the rubber cover above the in/out ports to reveal two screw heads.
-
-
-
-
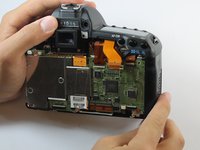
Remove each data ribbon cable from the motherboard by applying pressure down towards the motherboard and gently sliding your thumb upwards on the slot where the cable meets the motherboard. This will raise a very small clip that locks the cable in place.
-
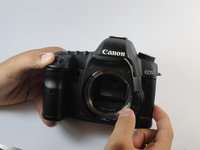
The back panel is now free from the rest of the device.
-
-
Gereedschap gebruikt in deze stap:Tweezers$4.99
-
Using tweezers, pull out the wire attaching the front panel to the motherboard.
-
-
-
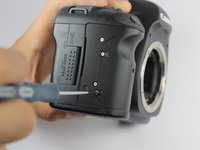
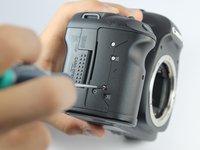
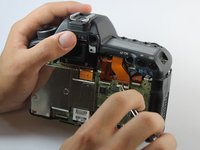
Remove the single 5.9 mm screw next to the the strap loop on the same side as the shutter button.
-


To reassemble your device, follow these instructions in reverse order.
To reassemble your device, follow these instructions in reverse order.
Annuleren: ik heb deze handleiding niet afgemaakt.
14 andere personen hebben deze handleiding voltooid.
Team

USF Tampa, Team 1-6, Hickman Fall 2014 Lid van USF Tampa, Team 1-6, Hickman Fall 2014
USFT-HICKMAN-F14S1G6
3 Leden
16 handleidingen geschreven
13 opmerkingen
Everything it's very nice in this guide.
I just have a question?
Where do I can find the top panel to buy it?
It's seem almost impossible...
I would also like to know where a replacement top panel can be purchased from.
I purchased one on Ebay , (US) $100 USD