Inleiding
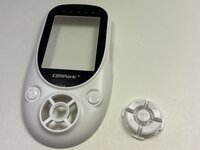
If the buttons of your CamPark BM20 baby monitor are jammed or broken, follow this guide to replace them.
Before using this guide, review the Buttons Not Responding troubleshooting page to see if one of those steps fixes the issue you are experiencing.
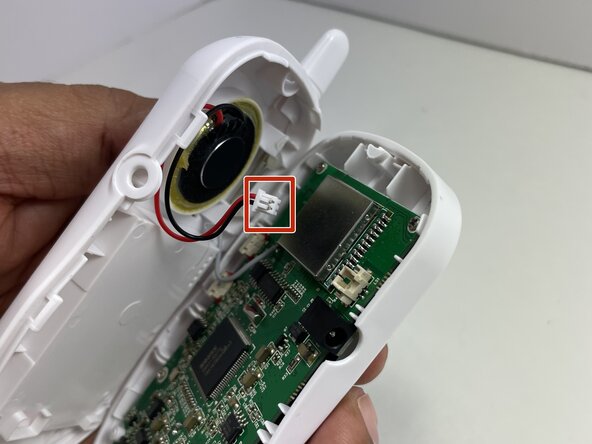
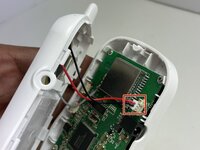
In step 4, the volume button will come off easily when prying open the unit. In step 5, there is a gray wire attached to the motherboard. Be careful not to pull the motherboard forcefully.
Make sure to power off the device before beginning the repair.
Wat je nodig hebt
-
-
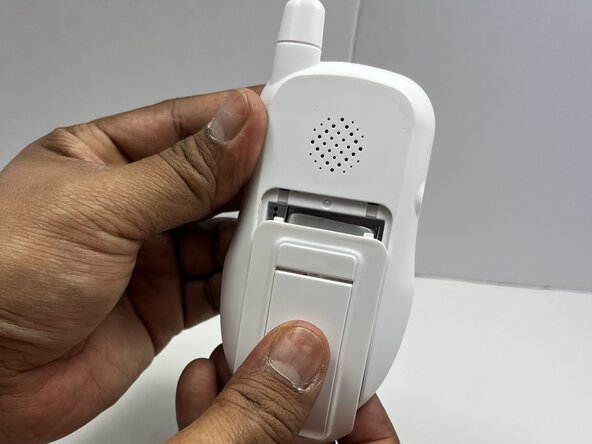
Flip the handheld monitor so the back is facing you.
-
Use your fingers to slide the battery cover off to access the battery.
 Vraag FixBot
-
-
-
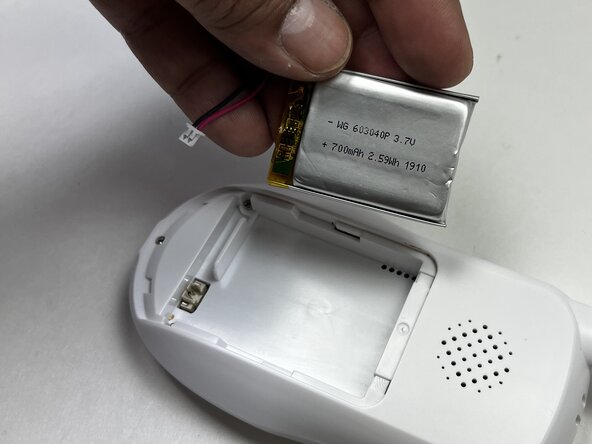
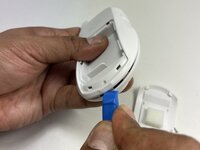
Use a spudger or your fingers to unplug the battery cable from the handheld device.
-
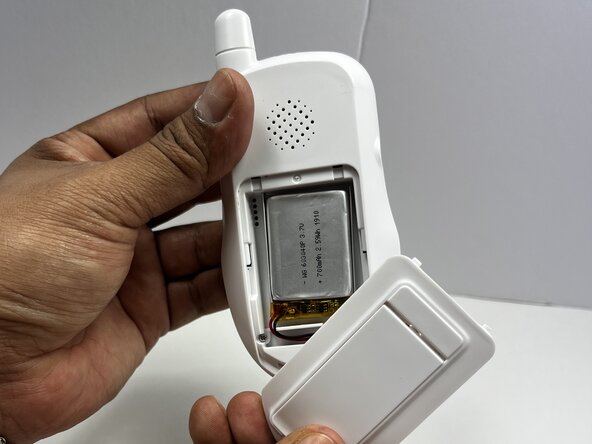
Remove the battery.
-
-
-
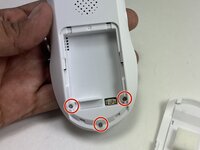
Use a Phillips #0 screwdriver to remove the three 12.7 mm screws from the lower back of the device.
-
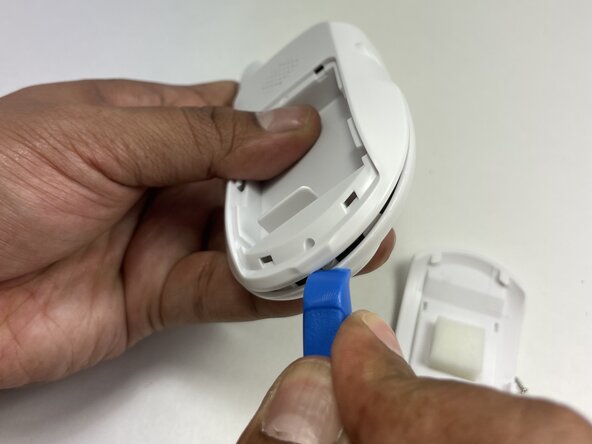
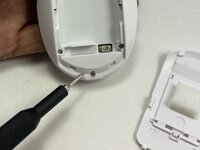
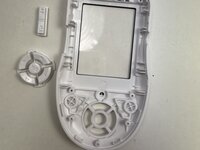
Insert the tip of an iFixit opening tool between the front and back casing seams to release the clips securing the two halves.
-
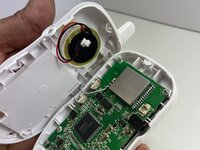
Gently pry apart the handheld unit.
-
-
-
-
Using a Phillips #00 screwdriver, remove the four 6.35 mm screws from the corners of the motherboard.
-
-
-
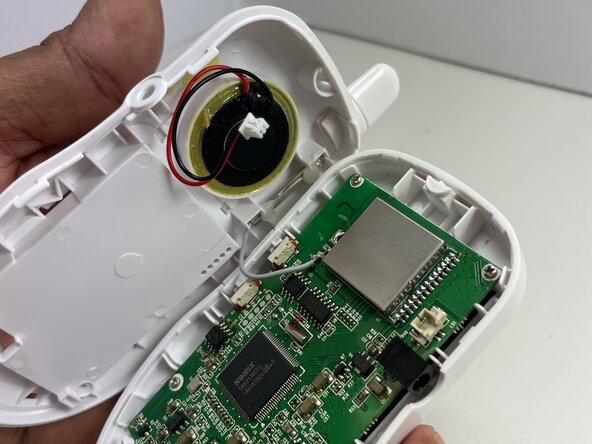
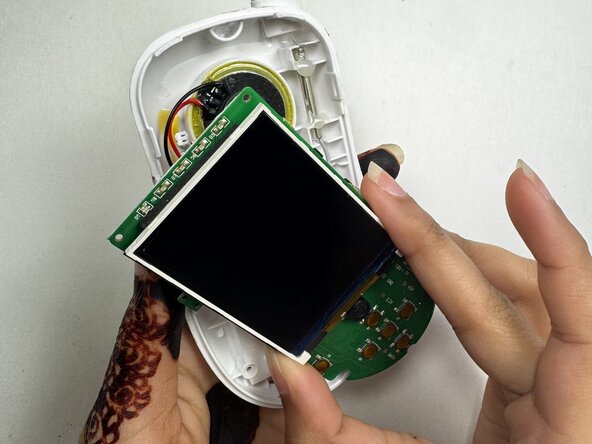
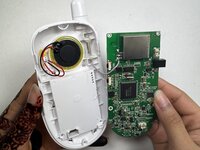
Remove the motherboard from the front case and set it on the bottom case with the speaker.
-


To reassemble your device, follow these instructions in reverse order. Take your e-waste to an R2 or e-Stewards certified recycler.
