
Asus X551CA Spacer Replacement

Inleiding
Ga naar stap 1The Asus X551CA spacer keeps the laptop light weight and stable, but also provides the owner with the option to instal an optical drive.
Wat je nodig hebt
Gereedschap


-
-
Turn the laptop upside-down and remove the following screws using a Phillips #0 driver:
-
Two 9.5 mm screws in the middle of the back edge, and one 9.5 mm screw in the right edge
-
Two 4.3 mm screws in the back corners
-
One 17.5 mm screw at the left edge near the optical drive
-
Three 4.3 mm screws in the front edge
-
-
-
-
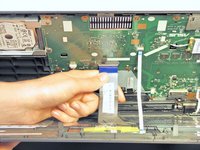
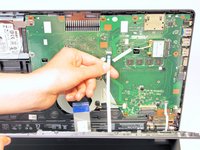
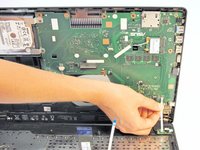
Using the Phillips #0 Screwdriver, unscrew the 5.5 mm Phillips #0 screw that holds the spacer in place.
-


To reassemble your device, follow these instructions in reverse order.
To reassemble your device, follow these instructions in reverse order.
Annuleren: ik heb deze handleiding niet afgemaakt.
4 andere personen hebben deze handleiding voltooid.

Team

Cal Poly, Team 7-22, Regan Spring 2014 Lid van Cal Poly, Team 7-22, Regan Spring 2014
CPSU-REGAN-S14S7G22
5 Leden
15 handleidingen geschreven