
Acer Aspire V5-131-2629 Hard Drive Replacement
Inleiding
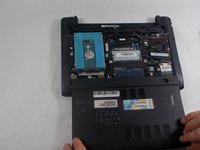
Ga naar stap 1This guide provides in-depth instructions on how to remove and replace a hard drive in the Acer Aspire V5-131-2629
If the hard drive is experiencing clicking, program crashes, error messages while running software, or any strange behavior that hasn’t happened until recently, it may be due to replace it.
The process will give a step by step instruction from removing the cover and taking out the hard drive itself.
Unfortunately, the Acer website has taken down information regarding this device. However, a basic, rather informal summary of the details and specs can be found at the following link:
++Acer Aspire V5-131-2629 prices and specs++
A general disassembly tutorial of the device can be found:
++How to Disassemble the Acer Aspire V5 131++
Outside Resources-
The link to replacement hard drive can be found at:
Wat je nodig hebt
Reparatiesets
Deze sets bevatten alle onderdelen en tools om deze handleiding te voltooien.


Onderdelen


Gereedschap


Toon meer…
-
-
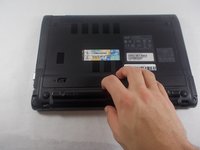
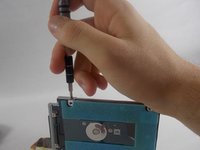
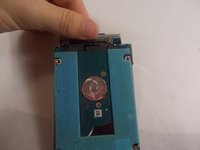
Carefully turn your Acer Aspire V5-131-2629 upside down, so that the battery cell is visible and nearest to you.
-
-
-
-
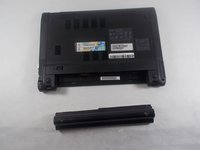
Remove the single Phillips #0 screw from the cover on the underside of the laptop.
-


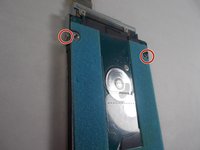


To reassemble your device, follow these instructions in reverse order.
To reassemble your device, follow these instructions in reverse order.
Annuleren: ik heb deze handleiding niet afgemaakt.
4 andere personen hebben deze handleiding voltooid.
Team

UMass Dartmouth, Team S1-G3, O'Connell Fall 2019 Lid van UMass Dartmouth, Team S1-G3, O'Connell Fall 2019
UMASSD-O'CONNELL-F19S1G3
3 Leden
12 handleidingen geschreven