
ASUS X550LB-DS71 Display Panel Replacement
Inleiding
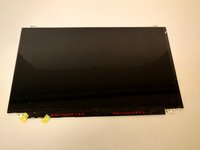
Ga naar stap 1The display monitor is an output device which presents data on the screen. It is what allows the user to see what inputs they are putting into the device.
Wat je nodig hebt
Gereedschap


-
-
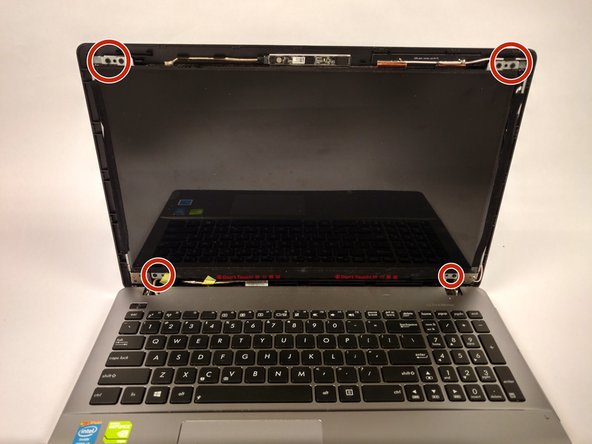
Flip open the laptop with the screen facing towards you.
-
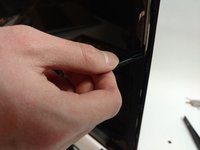
Using the plastic opening tool, remove the square tape from the marked locations.
-
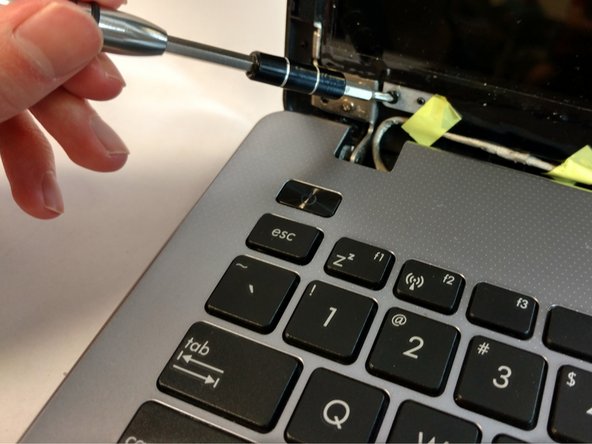
Use the Phillips #0 Screwdriver to remove the two 2mm screws from those locations.
-
-


To reassemble your device, follow these instructions in reverse order.
To reassemble your device, follow these instructions in reverse order.
Team

USF Tampa, Team S16-G1, Eyestone Fall 2017 Lid van USF Tampa, Team S16-G1, Eyestone Fall 2017
USFT-EYESTONE-F17S16G1
4 Leden
5 handleidingen geschreven