
ASUS X502CA Motherboard Replacement
Inleiding
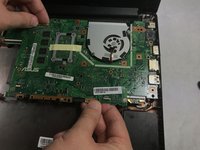
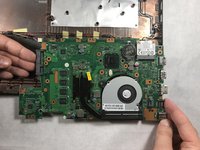
Ga naar stap 1The motherboard is a somewhat complex piece to take apart but only because there are so many things which are connected to it. In order to replace the motherboard you must disconnect the the Hard drive, LED lights, IO board, battery, fan and the wifi card. All of these are already in guides and are considered prerequisites for the motherboard replacement which is just a matter of taking out five screws and carefully pulling out the motherboard.
Wat je nodig hebt


-
-
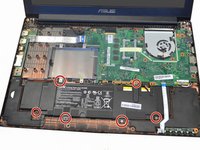
Use the Phillips #00 screwdriver to remove the seven 90mm screws.
-
Use the Phillips #00 screwdriver to remove the four 50mm screws.
-
-
-
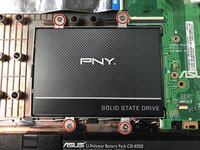
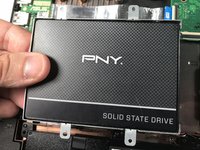
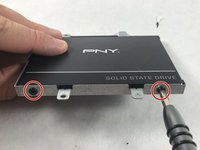
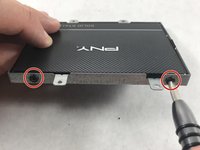
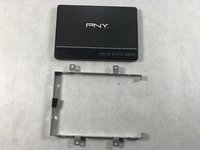
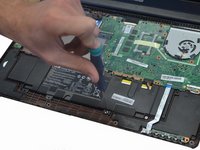
Remove the four 5mm screws that attach the hard drive bracket using the Phillips #0 screwdriver.
-
-
-
-
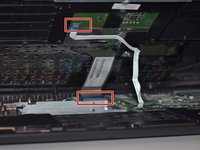
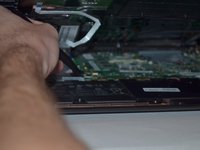
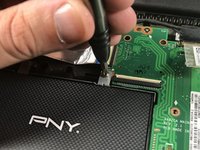
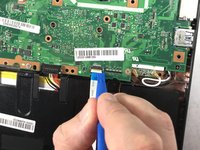
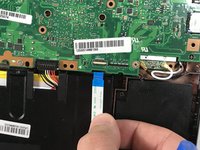
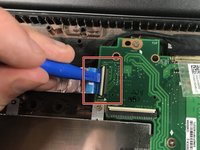
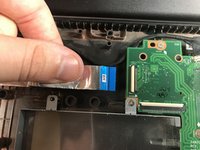
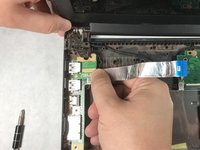
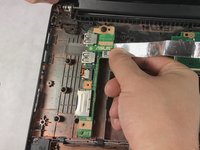
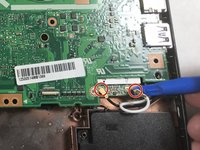
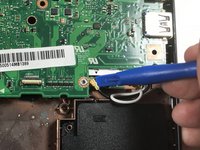
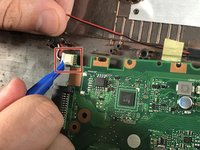
Use the plastic opening tool to flip up the small clamp and pull out the ribbon cable.
-
-
-
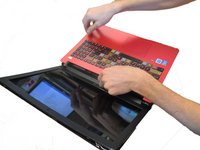
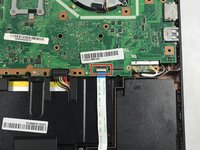
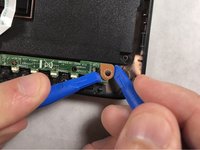
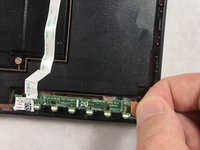
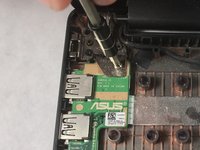
Locate the I/O board on the left of the computer. Using the Phillips #0 screwdriver, unscrew the three 5mm screws to unhinge the screen, which will free the board allowing it to be removed and replaced.
-
-
-
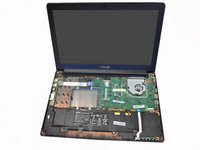
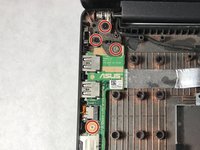
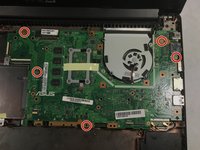
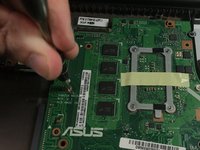
Use the Phillips #0 screwdriver to remove the last five 5mm screws holding the motherboard down.
-


To reassemble your device, follow these instructions in reverse order.
To reassemble your device, follow these instructions in reverse order.
Annuleren: ik heb deze handleiding niet afgemaakt.
Één andere persoon heeft deze handleiding voltooid.
Team

UMass Dartmouth, Team S5-G6, Gulbrandsen Fall 2018 Lid van UMass Dartmouth, Team S5-G6, Gulbrandsen Fall 2018
UMASSD-GULBRANDSEN-F18S5G6
3 Leden
5 handleidingen geschreven