
ASUS X42J Motherboard Replacement
20 - 45 minuten
Gemiddeld
Betere introductie
Wat je nodig hebt


-
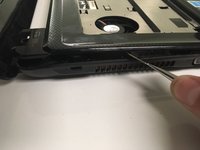
Gereedschap gebruikt in deze stap:Metal Spudger$2.99
-
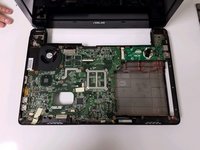
Using a Spudger, gently pry up the keyboard.
-
-
-
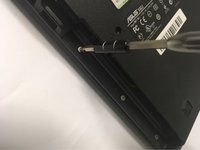
Use the Phillips #0 screwdriver to remove the two screws on the back of the laptop.
-
-
-
-
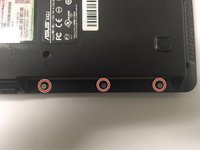
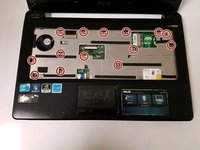
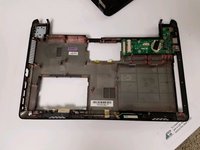
Remove all screws located on the bottom plate of the laptop, beginning with the three located underneath the disc drive.
-


Bijna klaar!
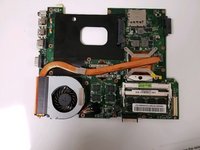
To reassemble your device, follow these instructions in reverse order.
Conclusie
To reassemble your device, follow these instructions in reverse order.
Team

University of North Texas, Team S6-G2, Thompson Fall 2018 Lid van University of North Texas, Team S6-G2, Thompson Fall 2018
UNT-THOMPSON-F18S6G2
4 Leden
6 handleidingen geschreven