Ga door naar hoofdinhoud
Word lid van de reparatiegemeenschap - Account aanmaken

ASUS ROG Spatha X Scroll Wheel Replacement

Wat je nodig hebt

    1. ASUS ROG Spatha X Scroll Wheel Replacement, Mouse Cover: stap 1, afbeelding 1 van 3 ASUS ROG Spatha X Scroll Wheel Replacement, Mouse Cover: stap 1, afbeelding 2 van 3 ASUS ROG Spatha X Scroll Wheel Replacement, Mouse Cover: stap 1, afbeelding 3 van 3
      • Make sure the mouse is unplugged and the power switch on the underside is set to the off position.

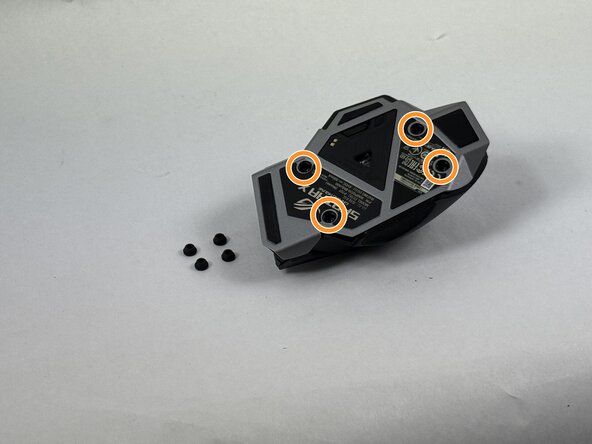
      • Use the pointed edge of a spudger to remove the four soft rubber covers on the underside of the mouse.

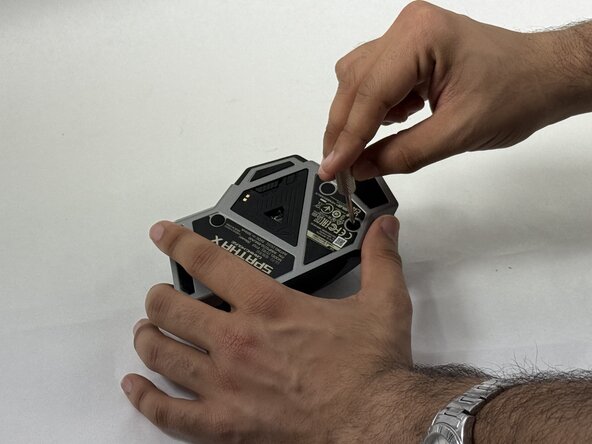
      • Use the included Torx screwdriver, or a T3 Torx screwdriver, to remove the four 4 mm screws.

      Vraag FixBot

      Voeg opmerking toe

    2. ASUS ROG Spatha X Scroll Wheel Replacement: stap 2, afbeelding 1 van 2 ASUS ROG Spatha X Scroll Wheel Replacement: stap 2, afbeelding 2 van 2
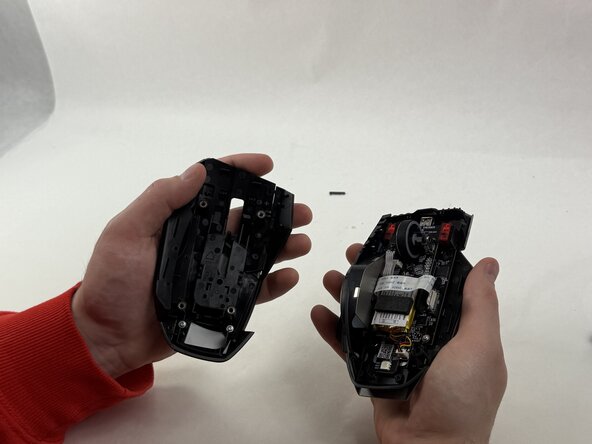
      • Lift the upper mouse cover up and off.

      Vraag FixBot

      Voeg opmerking toe

    1. ASUS ROG Spatha X Scroll Wheel Replacement, Scroll Wheel: stap 3, afbeelding 1 van 3 ASUS ROG Spatha X Scroll Wheel Replacement, Scroll Wheel: stap 3, afbeelding 2 van 3 ASUS ROG Spatha X Scroll Wheel Replacement, Scroll Wheel: stap 3, afbeelding 3 van 3
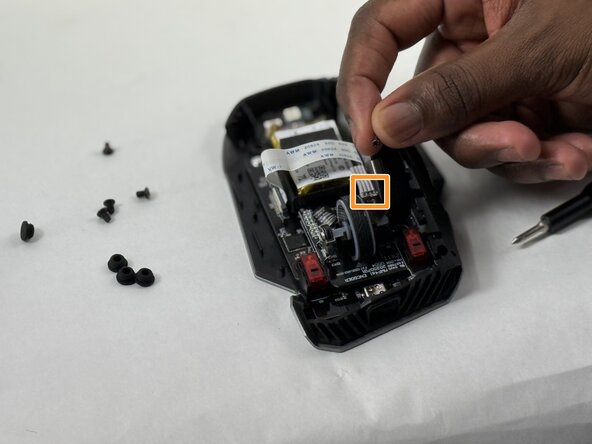
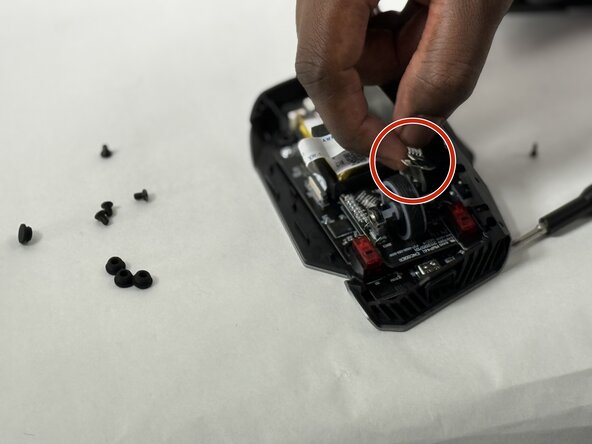
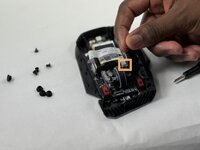
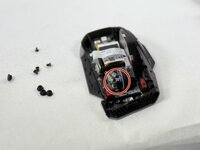
      • Remove the Phillips screw securing the ribbon cable scroll wheel.

      • Disconnect the ribbon cable from the scroll wheel.

      Vraag FixBot

      Voeg opmerking toe

    2. ASUS ROG Spatha X Scroll Wheel Replacement: stap 4, afbeelding 1 van 3 ASUS ROG Spatha X Scroll Wheel Replacement: stap 4, afbeelding 2 van 3 ASUS ROG Spatha X Scroll Wheel Replacement: stap 4, afbeelding 3 van 3
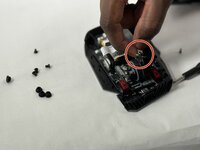
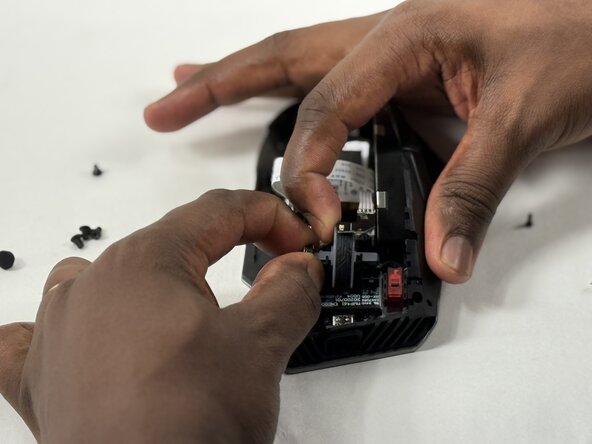
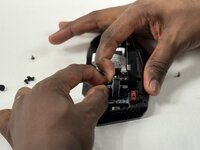
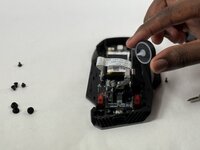
      • There is a plastic axle holding the scroll wheel in place. It is cinched into a plastic housing unit towards the right side of the mouse (towards the pinky rest).

      • Use one hand to gently pull the housing for the axle away from the scroll wheel as you simultaneously use the other hand to pull up and away from the housing unit.

      Vraag FixBot

      Voeg opmerking toe

Conclusie

To reassemble your device, follow the above steps in reverse order.
Take your e-waste to an R2 or e-Stewards certified recycler.
Repair didn’t go as planned? Try some basic troubleshooting or ask our Answers community for help.

Annuleren: ik heb deze handleiding niet afgemaakt.

cgrabowski1

Lid sinds: 03/21/25

678 Reputatie

5 handleidingen geschreven

Team

UMass Dartmouth, Team 3-4, Botvin Spring 2025 Lid van UMass Dartmouth, Team 3-4, Botvin Spring 2025

UMASSD-BOTVIN-S25S3G4

3 Leden

15 handleidingen geschreven

1Gids Commentaar

Easy replacement but good luck finding the part. It's not sold ANYWHERE.

Tyler Pratt - Antwoord Deel

Voeg opmerking toe

Weergavestatistieken:

Afgelopen 24 uren: 9

Afgelopen 7 dagen: 39

Afgelopen 30 dagen: 130

Altijd: 1,218