Hi @chets ,
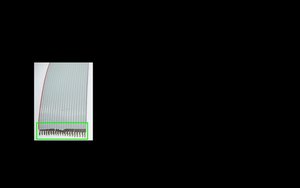
It seems from your picture that the ribbon cable has been poorly soldered onto the terminals and has come adrift
If the end of your ribbon cable looks like the image below, i.e. wires exposed at the end of the cable, all that you need to do is solder the wires back onto the connectors, using flux, solder and a soldering iron.
(click on image to enlarge for better viewing)
Of course you have to know which way the cable was attached in the first place so as to not reverse the connections to whatever the other end of the cable is connected to.
Your picture shows 19 terminals so therefore it should be a 19 wire cable (possibly 20 wire with one wire cut off - not showing from the end of the cable) and that hopefully there is an indication of which way the cable was connected, e.g. cable bent so that it lines up with the terminals and doesn’t have to be turned over. If there are <19 wires in the cable then obviously all the connectors are not needed. This may make it more difficult to reconnect, as you cannot assume that the cable was lined up from one end or the other but perhaps from somewhere in the middle, although it appears to me that the two terminals at the left end in your picture show signs of having been soldered more so than the right end, but that could just be a trick of the light when the picture was taken
If you don’t have the tools or expertise to do the repair, contact a reputable, professional electronics or mobile phone repair service and ask for a quote. It shouldn’t be that much if you take the clock already dismantled to them and all they have to do is solder the cable back on correctly and you will then do the re-assembly yourself.


 4
4 
 398
398  1,5k
1,5k 
4 opmerkingen
This question was migrated from https://meta.ifixit.com/Answers.
door iRobot
Hi @chets ,
Try posting some close up pictures of the ribbon cable connection.
Perhaps someone may have a solution.
Here's how to do this. Voeg afbeeldingen toe aan een bestaande vraag
door jayeff
I added a picture but I am not sure if it will show with this post. And in the mean time I accidentally triggered the "no more email response" link
door Carroll Stroh
Hi @chets ,
Your picture is not here, try again following the directions in the link above.
Is there a model number on the clock?
You should get a notification at the top of the page when you're logged into the forum, just no message to your email address
door jayeff