Inleiding
In this guide, we will be taking apart a Macintosh Centris 610, which is basically the same as a Quadra 610.
First, let's take a look at the specs of this computer:
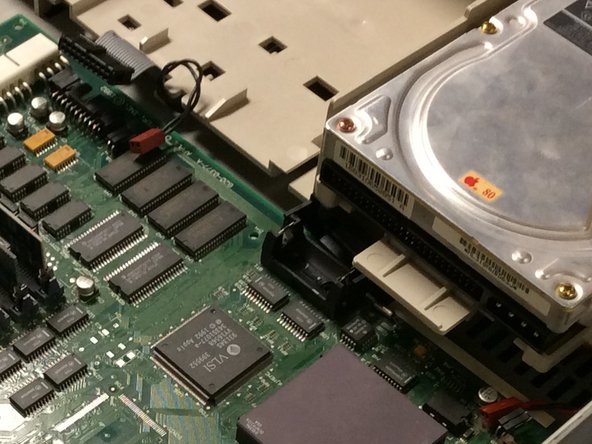
- Centris 610
- 80 MB hard drive
- 32 MB RAM
- 512 KB VRAM
Wat je nodig hebt
-
-
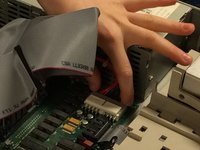
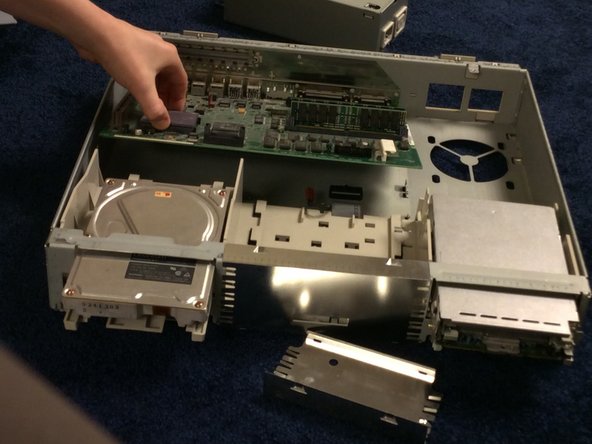
To start, lift the two tabs on the back of the computer and take the cover off.
-
-
Gereedschap gebruikt in deze stap:Phillips #1 Screwdriver$5.49
-
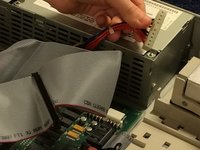
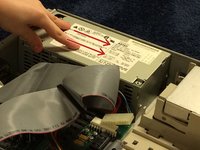
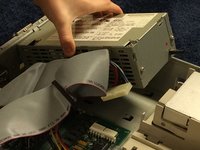
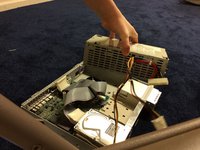
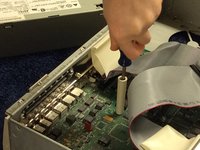
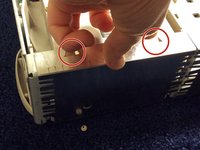
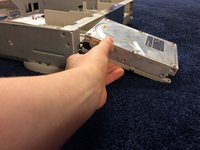
Unscrew the screw holding the power supply in place with the #1 Phillips screwdriver.
-
-
Gereedschap gebruikt in deze stap:Phillips #1 Screwdriver$5.49
-
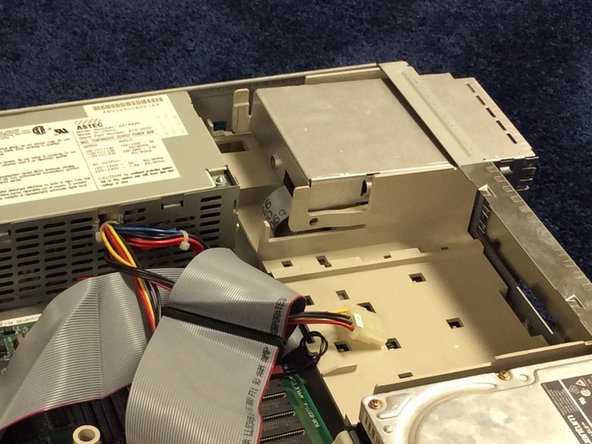
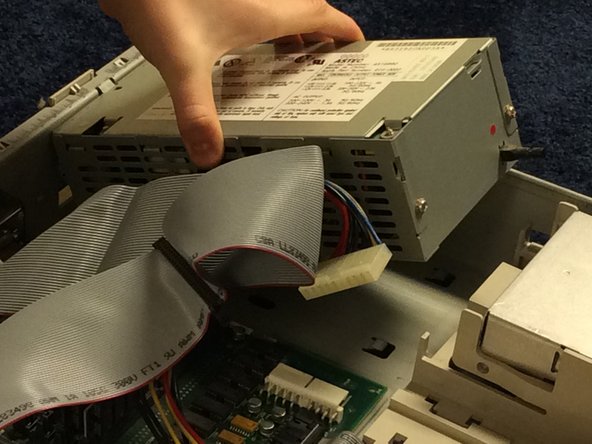
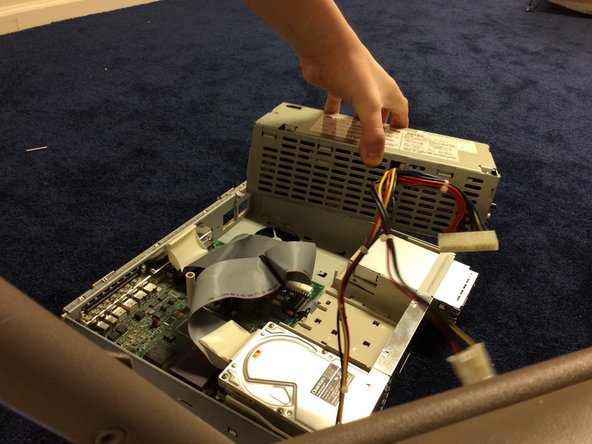
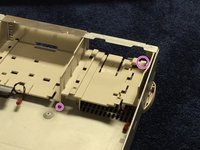
Remove the two screws with the Phillips #1 screwdriver.
-
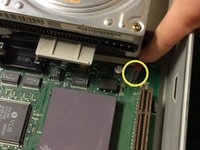
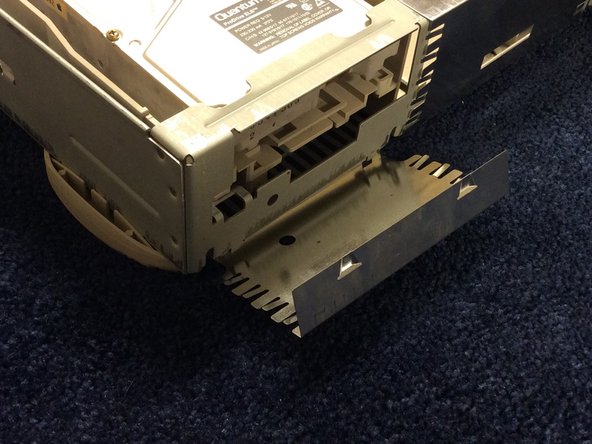
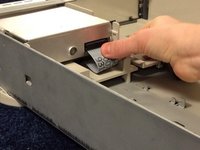
Remove the standoff.
-
-
-
-
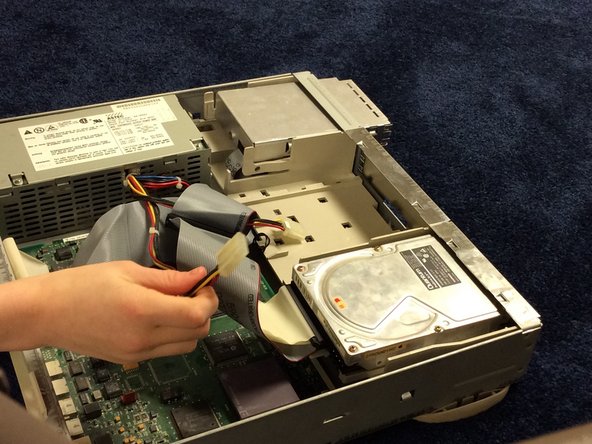
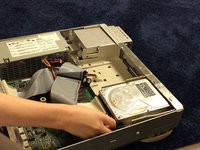
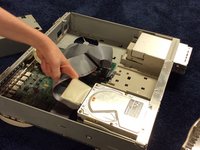
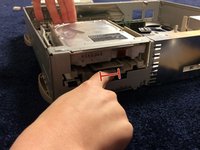
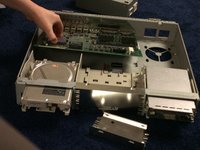
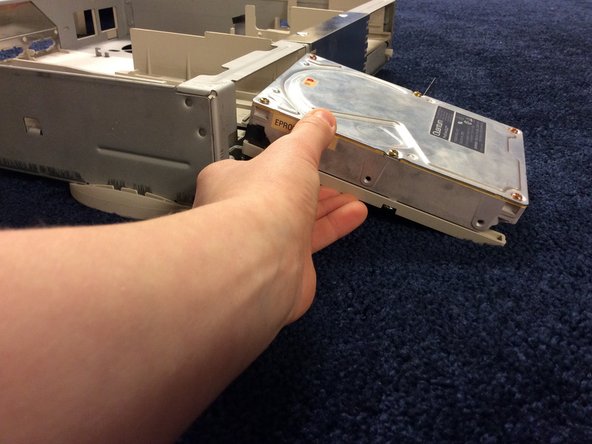
Push the CD-ROM drive out of the computer (I don't have a CD-ROM drive installed in mine, so I can't give you any pictures. Sorry!).
-
-
-
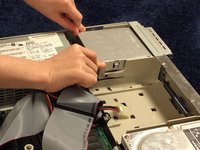
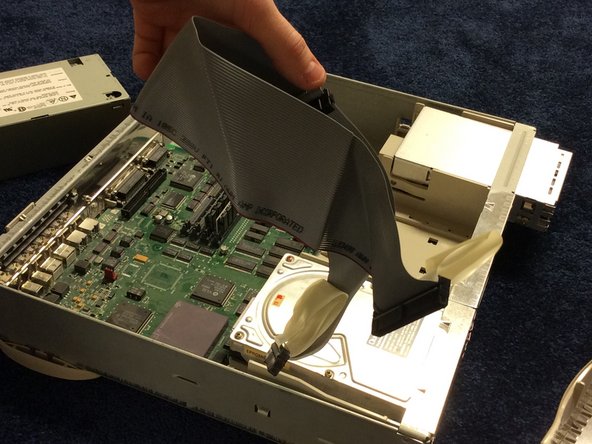
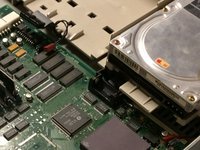
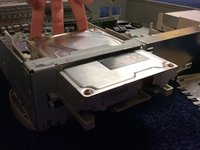
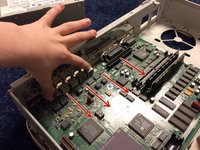
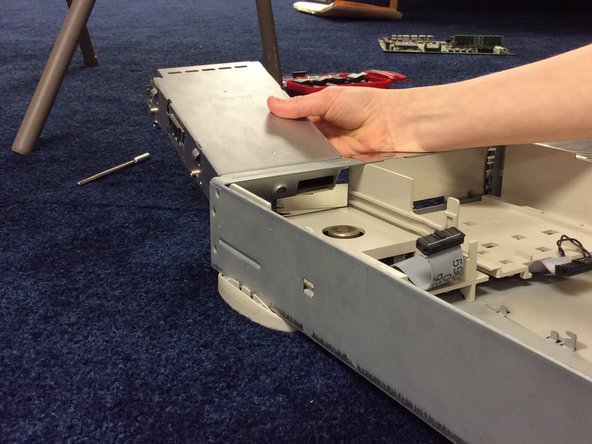
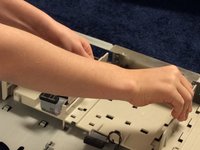
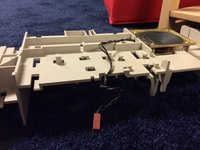
Step 1: Press up on one of the front tabs while lifting the support post. Step 2: Repeat this step on the other side until the internal chassis slides easily toward the back of the computer.
-
-
Gereedschap gebruikt in deze stap:TR10 Torx Security Screwdriver$5.99
-
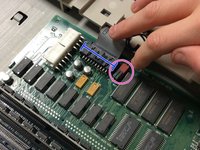
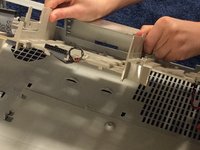
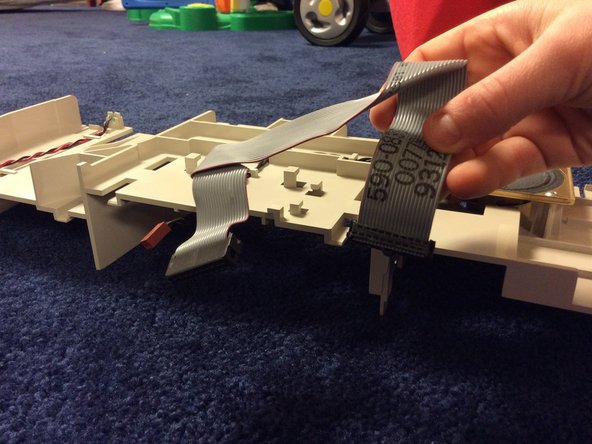
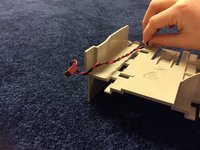
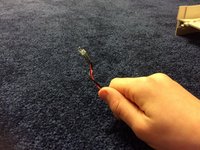
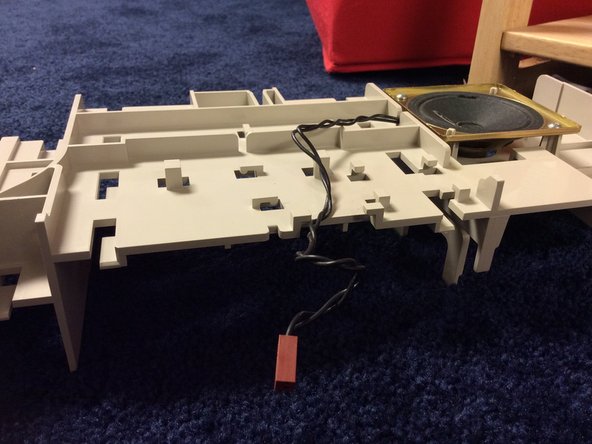
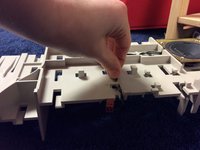
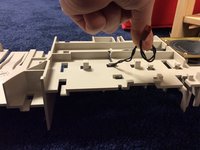
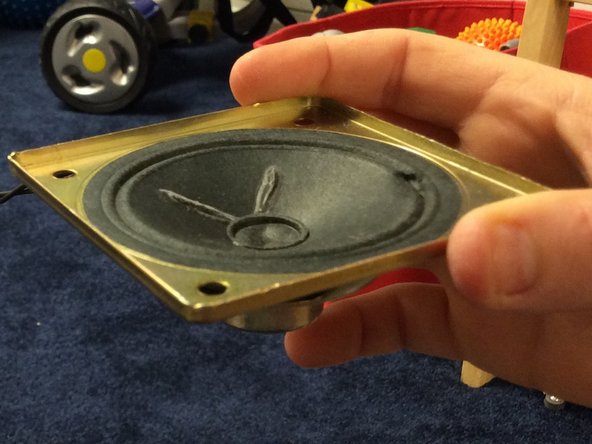
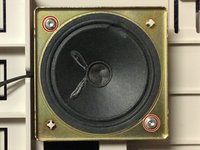
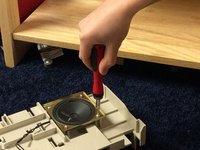
Unscrew the two marked Torx screws with your T10 Torx screwdriver and remove the speaker.
-
-
-
Congratulations! You just took apart your Macintosh Quadra / Centris 610!
-