Inleiding
Some months after its initial release and lukewarm reception, the Pixel C has found its way back into the news, with a hefty discount to developers who want to try out the new Android N operating system. Sounds like it's teardown time.
For the freshest produce, find us on Facebook, Instagram, or Twitter for the latest teardown news.
Wat je nodig hebt
-
-
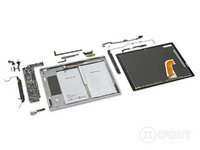
What makes a Pixel C? Let's see!
-
10.2" LTPS LCD with a resolution of 2560 x 1800 (308 ppi)
-
Nvidia Tegra X1 64-bit quad-core processor paired with a 256-core Maxwell GPU
-
3 GB LPDDR4 memory
-
32 or 64 GB storage options
-
USB Type-C
-
8 MP rear camera and 2 MP front camera
-
Android 6.0 Marshmallow
-
-
Gereedschap gebruikt in deze stap:iOpener$17.99
-
The Pixel C features a slick unibody aluminum chassis, with stereo speakers, USB C, and the usual power and volume rockers.
-
Along the top are holes for the "quad noise-cancelling microphones." Interesting feature for a device that doesn't yet support always-on "OK Google."
-
(Apparently this feature is "coming soon.")
-
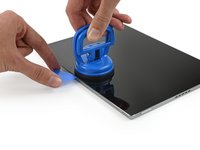
But enough of the outside—let's slap some heat on this fondleslab and open it up.
-
-
Gereedschap gebruikt in deze stap:Heavy-Duty Suction Cups (Pair)$14.95
-
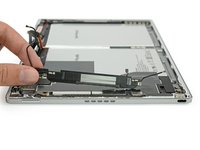
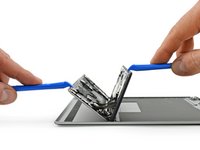
After much heating and some heavy duty suction, we have liftoff!
-
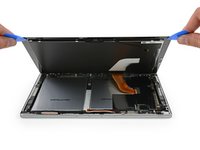
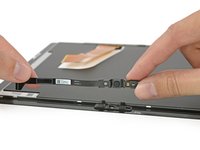
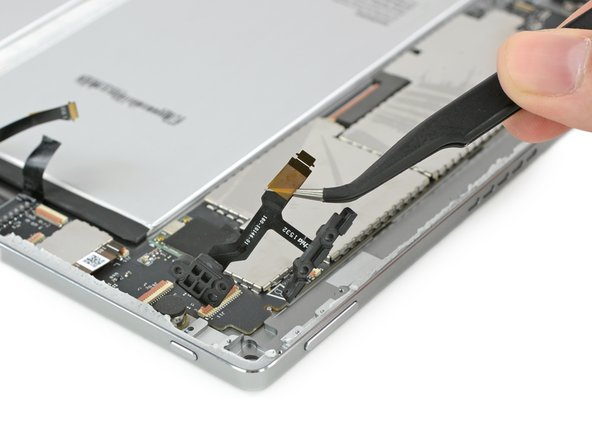
Alas, we seem to be tethered to the launchpad: a thin cable for the front-facing camera keeps us from immediate opening success.
-
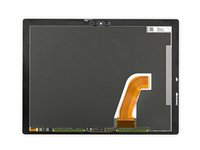
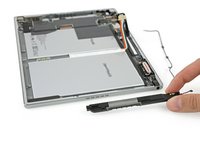
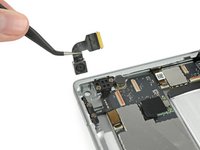
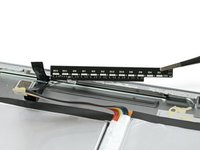
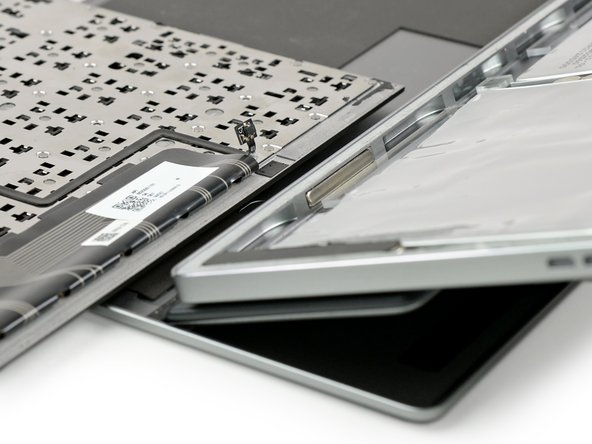
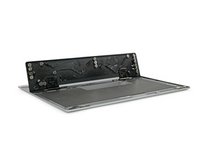
With the camera cable dispatched, we're able to open the Pixel C, with the wide display data ribbon cable still attached.
-
-
-
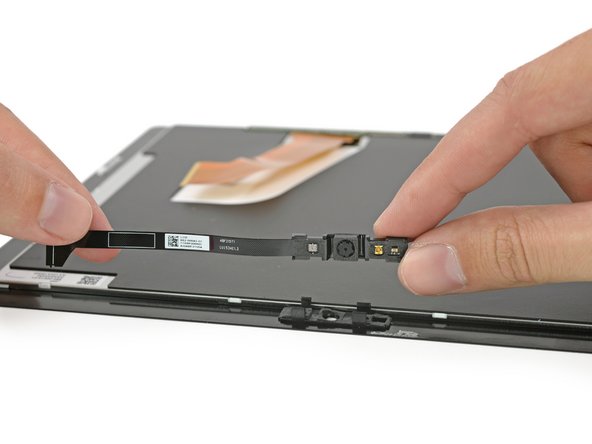
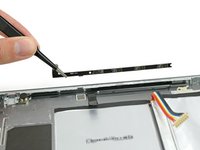
Unlike most other tablets we've seen, the Pixel C's front-facing camera assembly lives on the display, not within the device's unibody chassis.
-
That makes for an annoying extra cable to disconnect when opening the device.
-
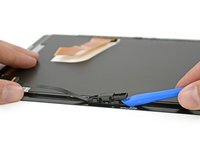
A small daughterboard connects the display data cable and is host to the Synaptics touchscreen controller (S3370B).
-
-
-
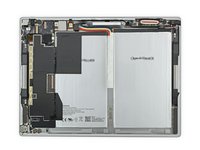
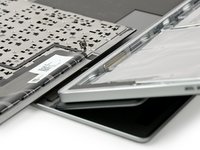
Display dispatched, we get a better look at the goods.
-
In the interest of safety, we decide to disconnect the battery first—no easy task.
-
The connector is buried under two ribbon cables and a piece of tape.
-
And an exploratory battery poke tells us those cells are very solidly adhered to the case... We'll save that chore for later...
-
-
-
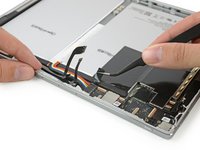
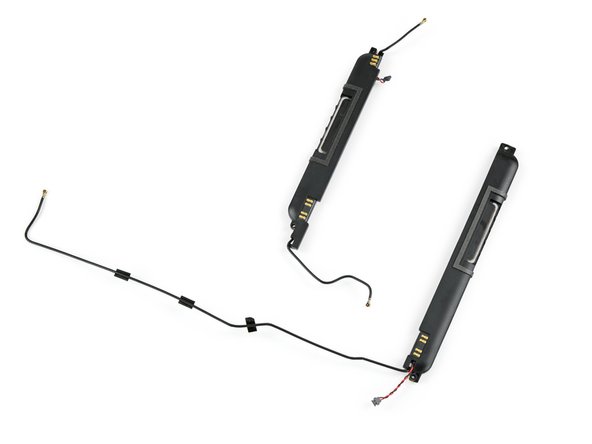
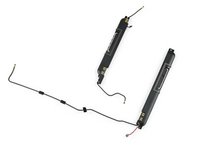
Where to next? Perhaps those fancy stereo speakers.
-
The speakers are home to adhered-on antennas, so replacing the speaker will probably mean a bit of extra work in the form of peeling and re-sticking.
-
The speakers' backs are covered in spring contacts that all connect to the back of the case—perhaps for grounding or for conducting WiFi signal to the antennas.
-
-
-
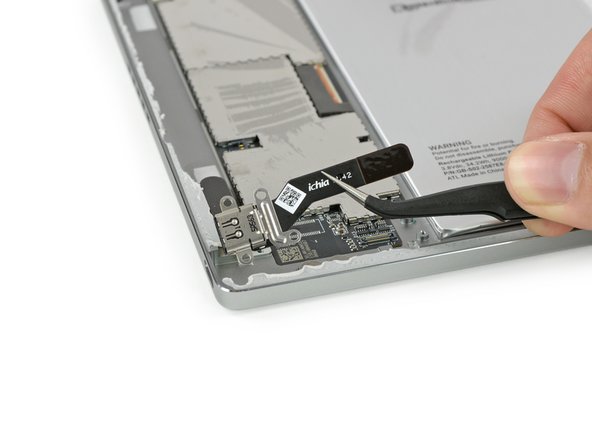
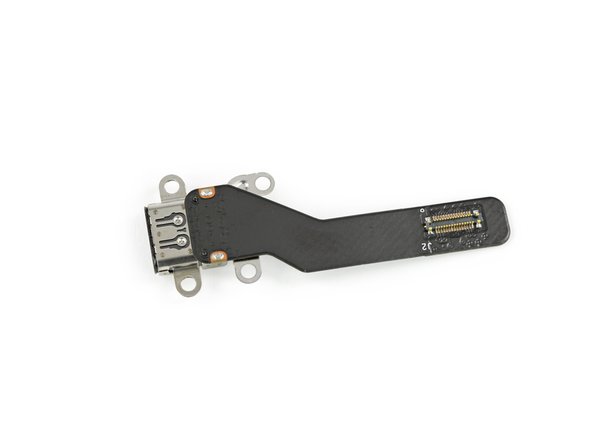
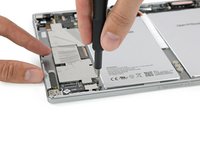
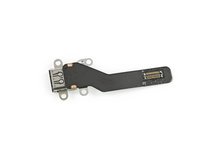
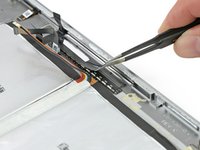
A couple standard Phillips screws secure the USB-C port bracket—but after that, the removal is painless and very modular.
-
We love seeing ports as separate parts! This port will likely get a lot of abuse throughout its life, and a modular component means it can be replaced with relative ease, at low cost (assuming you can get the device open without breaking the display...)
-
-
-
More modular components ahead!
-
The rear-facing camera comes out of its hutch after taking off the metal bracket keeping it in place.
-
We continue to be confused about tablet cameras—but at 8 MP, you can take pretty decent photos of your cats without grabbing your phone.
-
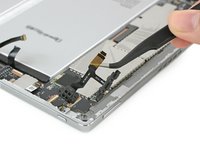
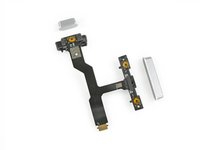
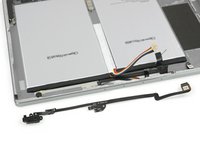
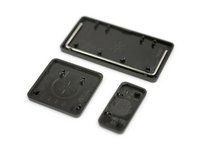
The power button and volume rocker are simply fixed with two screws apiece. Short cables and simple button covers will make replacements a breeze.
-
-
-
-
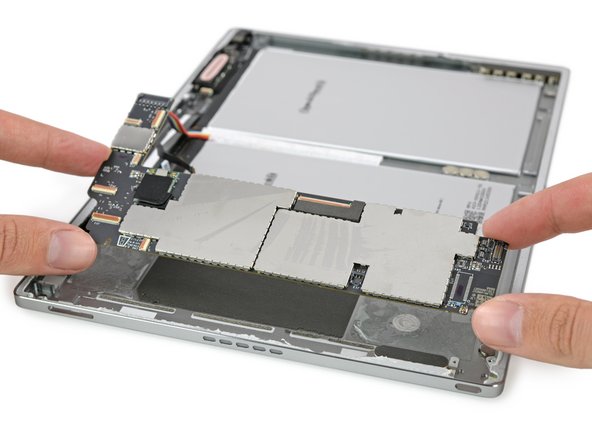
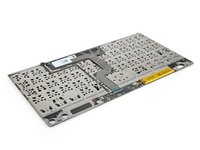
After a honeymoon of modular parts, we encounter a rough patch: an adhered motherboard.
-
And a black one at that! We're having Apple product flashbacks. At least the USB port was modular.
-
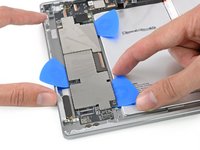
No screws to be found, we opt for some heat action.
-
We finally pry out the heart of the tablet, wresting it from two adhesive pads, some (nonstick) foam padding and a couple strips of conductive foam.
-
-
-
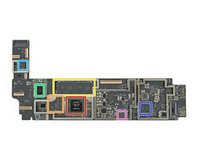
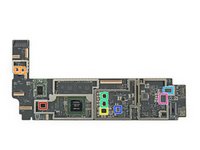
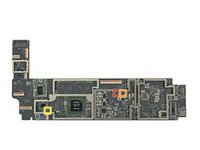
Major players on the board:
-
Nvidia Tegra X1 64-bit quad-core processor
-
Samsung KLMBG4GEND 32 GB eMMC flash storage
-
Samsung K4F2E304HMMGCH 6 Gb (1.5 GB) LPDDR4 RAM (x2 for 3 GB total)
-
Broadcom BCM43540LKUBG 5G Wi-Fi 802.11ac controller
-
Nuvoton NAU88L25 audio codec
-
STMicroelectronics STM32F3x8 32 bit ARM Cortex-M4 microcontroller
-
Infineon SLB 9645 trusted platform module
-
-
-
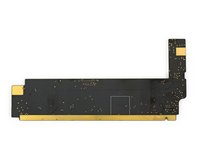
IC Identification, pt. 2:
-
Realtek ALCxxxx card reader controller
-
Analog Devices audio amplifier (likely)
-
Maxim Integrated MAX77620A power management
-
Maxim Integrated MAX77621A power management
-
Diodes Incorporated PI3USB30532 USB 3.2 Type-C analog switch
-
Diodes Incorporated PI3USB9281C USB port protection w/ charger detection
-
Winbond W25Q128FW 128 Mb Serial NOR flash memory
-
-
-
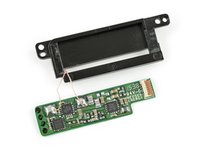
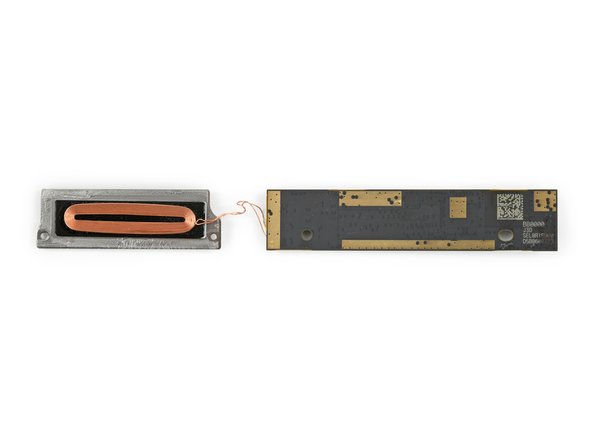
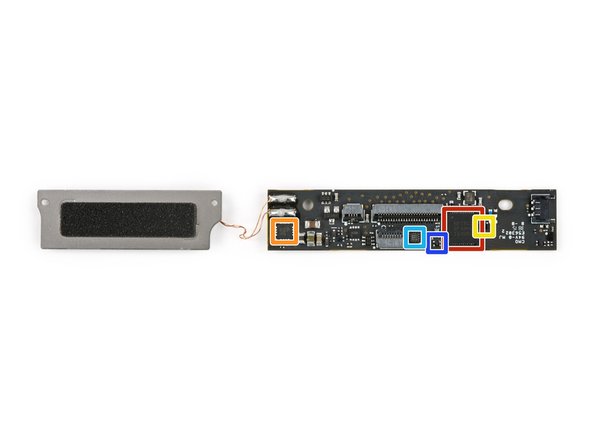
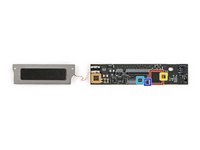
This neat little coil feeds the Pixel C's parasitic keyboard, when it's connected in the proper screen-covering position.
-
Under the coil, we find a control board—probably responsible for turning boring old DC power from the battery into exciting, varying-magnetic-field-generating AC to power the coil.
-
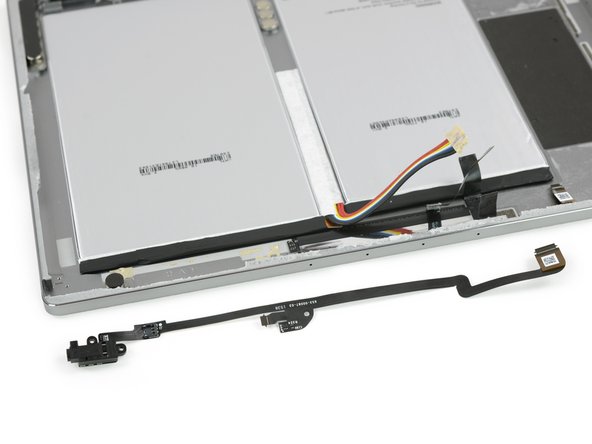
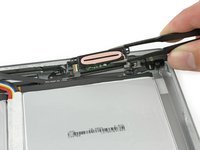
We also get to peel out this record-breaking headphone jack port with the longest tail ever.
-
It actually does double duty as an interconnect cable for the inductive coil and the right speaker.
-
-
-
This portion of the case seems to be geologically interesting; under the headphone jack crust, we find a reflective backing covering an LED board.
-
But wait—those LEDs point up at the display, not toward the indicator bar in the case. That seems weird.
-
The final stratum is an array of four noise-canceling microphones.
-
-
Gereedschap gebruikt in deze stap:Plastic Cards$2.99
-
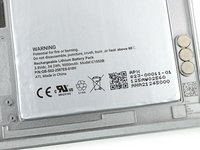
We're finally ready to tackle that hefty battery, but first let's peep those specs.
-
At 34.2 Wh, the Pixel C handily beats the 27.9 Wh 9.7" iPad Pro, but comes in behind the Surface Pro 4's 38.2 Wh powerhouse.
-
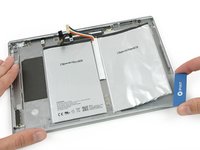
After some serious heating, we start scraping along with a plastic card.
-
Even at the shallowest of angles, we start to curl that battery like some pencil shavings. This is some pretty tough adhesive.
-
-
-
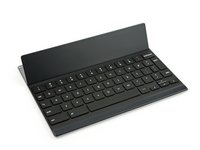
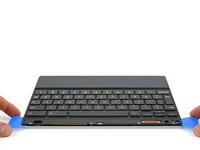
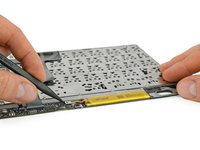
Now on to the Pixel C's keyboard. While not included in the base package, it's still worth a peek.
-
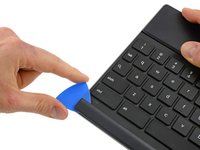
With no obvious point of entry, we start prodding, and heating, and prying.
-
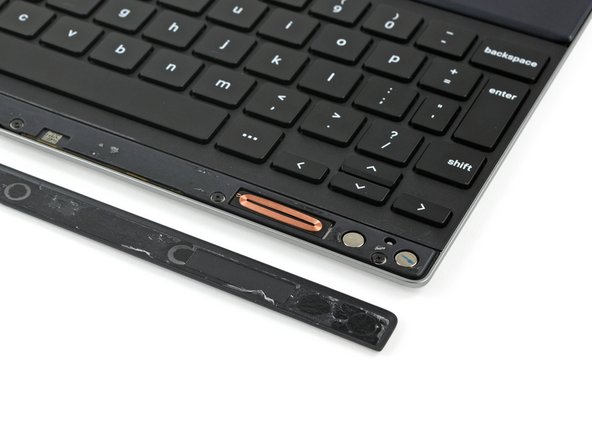
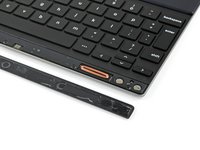
A plastic bezel is the first chink in the armor, and it looks like we made a good choice. Already we have an inductive charging coil, and several magnets exposed to the world.
-
-
-
Removing a few screws, and adding a lot more heat, gives us ingress into the main body.
-
And the keyboard lifts right up—no pesky cables connect the keyboard to the bottom case, and none run near the prying edges. Phew!
-
The big cable is for the keyboard, but what about that thinner one?
-
The narrow cable lines up with a magnet in the Pixel C's case—so, our bets are on Hall effect sensor. This way, the keyboard instantly knows it's attached to the tablet, so "you can start typing in an instant."
-
-
-
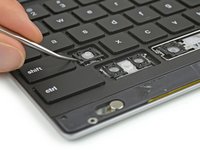
With an opening pick we can simply pop off the single keys.
-
Behind it we find the traditional scissor mechanism. Larger keys have an additional small metal bar.
-
The keys are also easy to clip on again. We are a bit worried about the tiny plastic clips breaking when trying to insert a key in the wrong orientation.
-
-
-
It's looking like the base is just a weight and hinge, while the guts are piggybacked to the keyboard assembly.
-
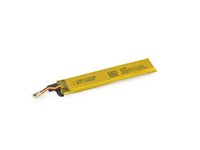
Ignoring the cables for now, we scoop out the teeny battery.
-
Lacking any specs, we can't tell you much about the battery—other than, well, it's small. And inductively charged by the tablet.
-
-
-
Dispatching the keyboard and sensor cable, we pop the main board—and attached inductive charging coil—from the keyboard.
-
And the brains of this (small) beast: Nordic Semiconductor nRF51822 2.4 GHz Bluetooth and 32 bit ARM Cortex-M0 microcontroller
-
Semtech TS51221 wireless power receiver voltage regulator
-
STMicroelectronics BAL-NRF01D3 50 Ω Bluetooth balun
-
Dialog Semiconductor (formerly Silego) SLG46110 Programmable mixed signal array (likely)
-
Texas Instruments LP5907SNX-3.3 250 mA / 3.3 V LDO regulator
-
-
-
Final frontier: the tablet mount hinge.
-
As with the rest of this keyboard, it's packed with glue, but after a heating marathon we manage to pry the hinge components apart.
-
Under the cover we find: many more magnets! Google really wants this tablet to sit securely...
-
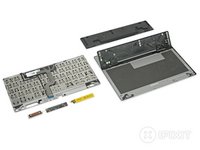
This snappy layout gives you a good idea of the simple, but solid, construction of this peripheral.
-
-
-
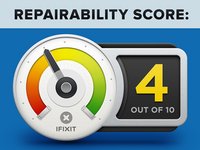
The Pixel C Repairability Score: 4 out of 10 (10 is best):
-
Many parts, including the USB-C port, are modular and can be replaced independently.
-
The motherboard is glued tightly to the rear case.
-
Crazy strong adhesive holds the battery to the rear case, complicating the inevitable replacement.
-
The fused display must be removed to access any interior parts—no easy task, thanks to tough adhesive.
-


Team

Tobias Isakeit - Repairability Engineer Lid van Tobias Isakeit - Repairability Engineer
Business
1 Lid
1.131 handleidingen geschreven
19 opmerkingen
Are you sure of "noise cancelling mic"? Noise cancelling is more about mics in different directions and defining a main one, like the iPhone with it's top, bottom (main), rear ones (still this only works when not in speakerphone, since then you can't define which the main one is).
Coupling mics together is more about get louder audio without increasing mic sensibility (what makes a better quality audio) and stereo effect. It's a tablet, it's like being always in speakerphone, after all.
I love my Nexus 10 too! Best tablet I have ever had. (Replaced iPad)
Do you know where can I find parts for Pixel C? I need another usb type C port.