Inleiding
Apple used its Worldwide Developers Conference to yet again debut a new MacBook Air model. Join us as we see what 12 months of vintaging has done for the 13" variety of Cupertino's prized ultra-slim laptop.
Can't get enough iFixit? Stay up to date with all of the cool happenings by following our Insta-Tweet-Book!
Wat je nodig hebt
Video overzicht
-
-
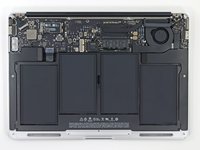
A day after its announcement, the newest 13" MacBook Air is in our hands. Let's see what it's got.
-
4th generation Intel Core i5 processor with Intel HD graphics 5000
-
128 GB flash storage (configurable to 512 GB)
-
4 GB LPDDR3 RAM, configurable (but not upgradable) to 8 GB
-
13.3" 1440x900 pixel display (~128 ppi)
-
802.11ac Wi-Fi connectivity
-
Dual microphones
-
-
-
Externally, the 2013 MacBook Air is nearly identical to its predecessor, including the model number (A1466).
-
The right side ports haven't changed a bit, with the new MacBook sporting the same lineup of SD card reader, USB 3.0, and Thunderbolt port.
-
A 180° rotation gives us a glimpse of the only noticeable change to the outer case: two ports for the dual microphones along the left side.
-
-
Gereedschap gebruikt in deze stap:P5 Pentalobe Screwdriver Retina MacBook Pro and Air$5.99
-
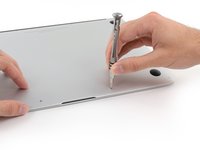
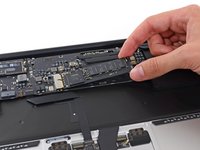
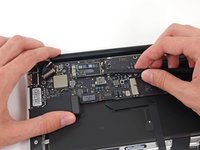
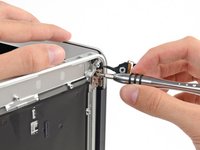
We heard all the new stuff was inside the computer, so we grabbed our unfortunately necessary Pentalobe bit to open 'er up.
-
As we've come to expect by now, MacBooks of all shape and size are easy to open with the appropriate tools at hand.
-
-
-
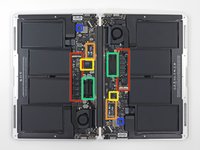
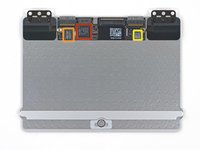
We can spot the differences between the 2012 (left) and 2013 (right) MacBook Airs, but can you? Let's see if you see what we see.
-
Smaller SSD module
-
Updated AirPort card
-
No separate platform controller hub
-
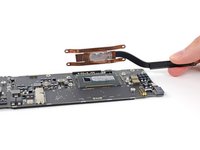
New heat sink clamp
-
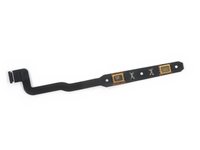
Opposite-facing speaker cable connector
-
We could nitpick the differences between the two models all day, but we'd rather get back to disassembling the new guy.
-
-
-
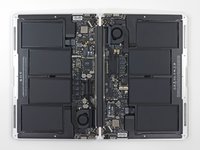
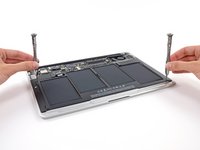
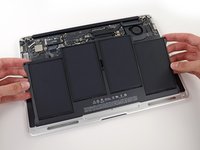
When we want to fast-forward through battery removal we go double time on our screw removal.
-
The 7.6 V, 7150 mAh battery inside this year's Air is an upgrade from the 2012's 7.3 V, 6700 mAh power source and contributes to the claimed 12-hour battery life.
-
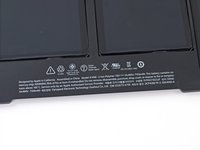
Increased capacity isn't the only addition to the new battery—important information is now printed in
ChineseKorean as well as English.
-
-
-
-
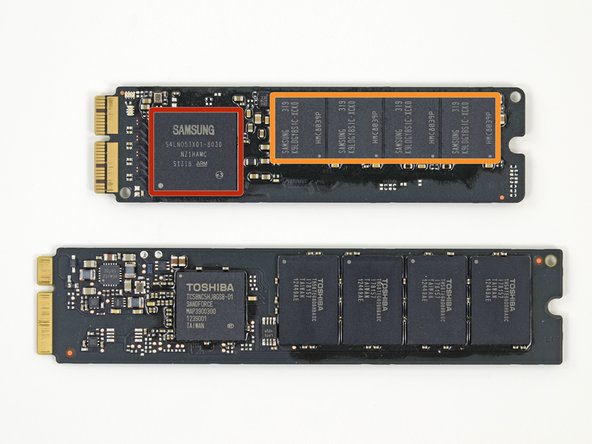
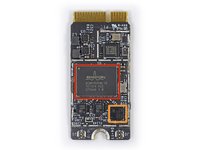
In order to achieve flash storage that's "up to 45 percent faster" than the previous model, Apple switched from SATA to PCIe, and turned to its best pal in the industry: Samsung.
-
In this case we find:
-
Samsung S4LN053X01-8030 (ARM) flash controller
-
8 x Samsung K9LDGY8SIC-XCK0 16 GB flash storage
-
Samsung K4P2G324ED 512 MB RAM (the same RAM used in the Raspberry Pi)
-
-
-
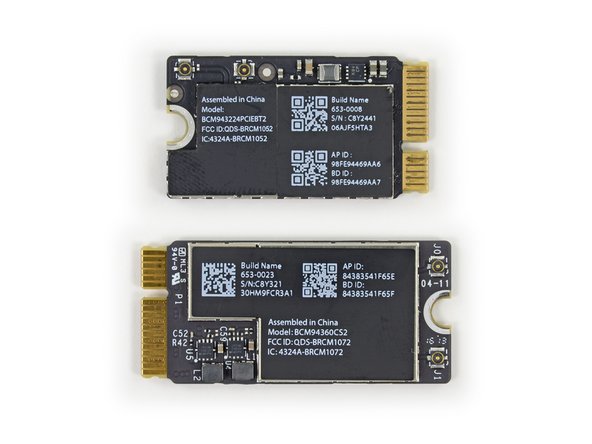
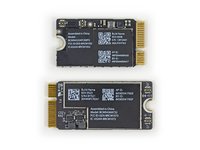
Next out is the totally redesigned AirPort card, providing 802.11ac Wi-Fi connectivity.
-
At the heart of the card we find a Broadcom BCM4360, which enables operation on the 5 GHz band at speeds up to 1.3 Gbps and communication via Bluetooth 4.0.
-
Also on the board is a Skyworks SE5516 dual-band 802.11 a/b/g/n/ac WLAN front-end module.
-
-
-
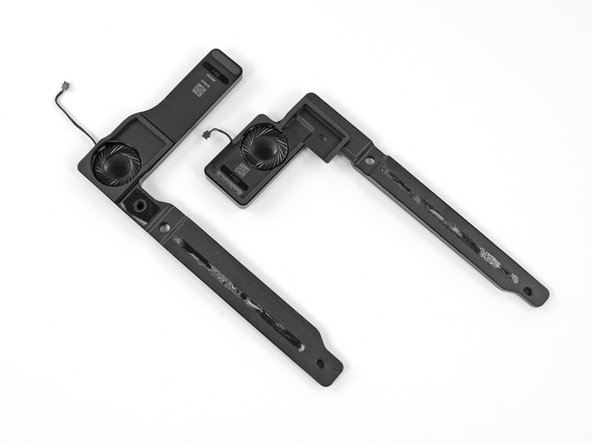
What's that sound? Oh, it's just the MacBook Air's stereo speakers.
-
Other than the aforementioned change in the direction of one of the speaker cables, these appear to be the same speakers found in last year's model.
-
Some computer and smartphone manufacturers like to emphasize an industry partner's audio systems in their marketing. Apple is not one of those companies, simply listing the noisemakers in the MacBook Air as "stereo speakers."
-
-
-
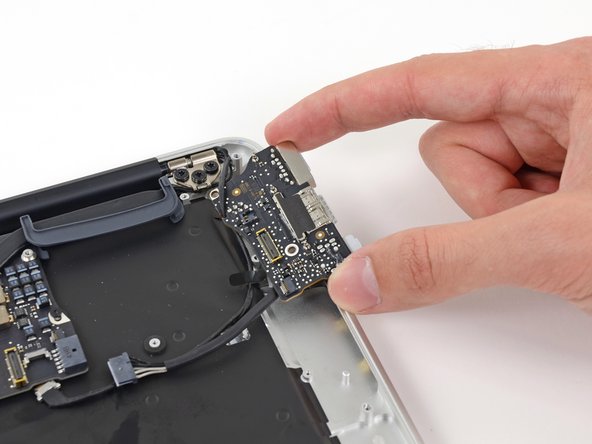
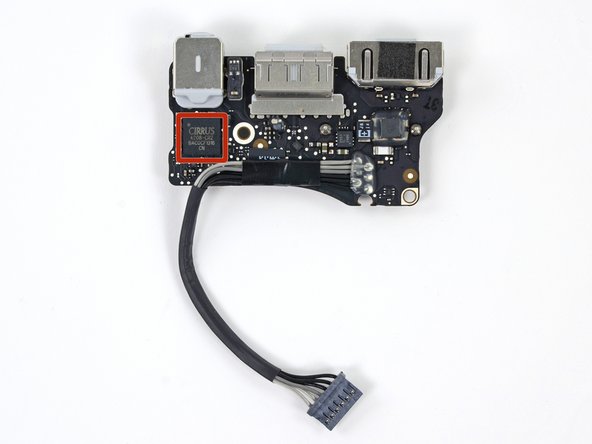
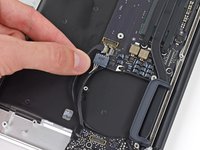
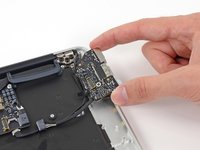
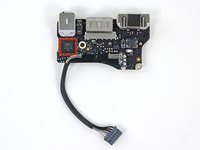
The I/O board in the MacBook Air is mostly unchanged from last year, except that it no longer has a socket for the iSight cable.
-
We find a Cirrus chip marked 4208-CRZ next to the headphone jack. This appears to be a two-channel version of the CS4207 low power HD audio codec with headphone amp.
-
-
-
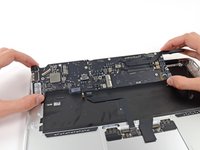
Let's take a closer look at the logic board:
-
1.3GHz (with Turbo Boost up to 2.6 GHz) dual-core Intel Core i5 processor, with integrated Intel HD graphics 5000
-
Intel platform controller hub (unmarked)
-
Intel DSL3510L Thunderbolt controller
-
Genesis Logic GL3219 USB 3.1 Gen 1 hub controller
-
Linear Technology LT3957 inverting controller
-
-
-
On the flip-side we find:
-
Elpida F8132A1MC LPDDR3 RAM 4 x 1 GB modules for 4 GB total
-
Broadcom BCM15700A2
-
Hynix H5TC4G63AFR 8 Gb synchronous DRAM
-
MXIC MX25L6406E 64 Mb serial flash
-
Texas Instruments TPS51980A synchronous buck controller
-
Texas Instruments 980 YFC LM4FS1BH
-
-
-
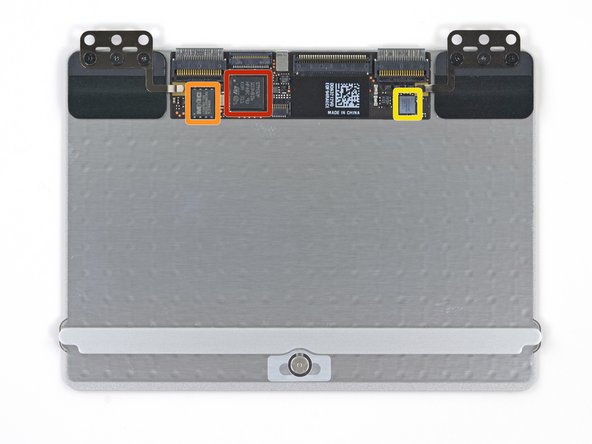
As in most other unibody MacBooks, the Air's trackpad is held to the upper case with six tiny Phillips screws and comes out without much hassle.
-
In addition to a plethora of connectors, we find the following chips on the trackpad board:
-
STMicroelectronics STM32F103VB microcontroller
-
MXIC MX25L2006E 2 Mb serial flash
-
Broadcom BCM5976A0KUB2G trackpad controller
-
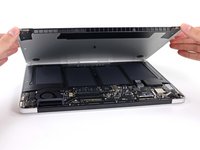
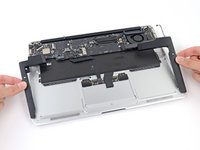
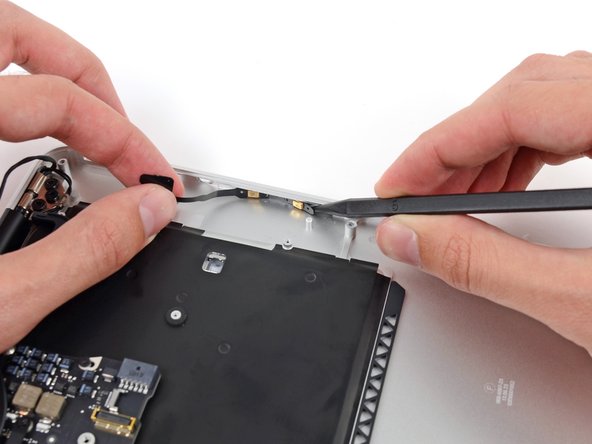
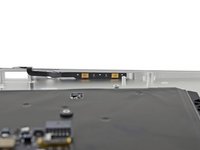
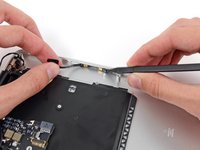
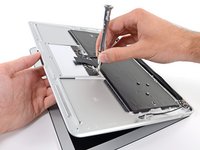
Finally, we free the display assembly from the upper case by removing the Phillips screws that secure the two hinges.
-
-
-
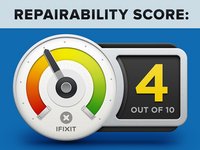
MacBook Air 13" Mid 2013 Repairability Score: 4 out of 10 (10 is easiest to repair).
-
Once you manage to take off the bottom cover, all the parts are pretty easily replaceable.
-
Proprietary screws on the case require the right screwdriver.
-
All the components—including RAM and SSD—are proprietary.
-
As with the prior iterations, this MacBook Air's biggest detractor is the lack of upgradeability. The RAM is still soldered to the logic board, and SSDs are not compatible between generations.
-


18 opmerkingen
The guide is wrong in saying the GPU is segregated in the old model and right beside the processor in the new one, that's not the GPU. The GPU is part of the CPU die, that's why it's long like that. I think the segregated chip in the old one and the adjacent chip in the new one is the Platform Controller.
And they even said so in the older guide, just the new one is wrong.
Updated. We suspect this new chip (next to the CPU) is the Platform Controller Hub.
Would you recommend (if you have the proper tools and know-how) taking apart a new Air and putting thermal compound on the second portion of the cpu?
I've seen a lot of tests about what the best way to apply thermal paste for most heat transfer-ability, and it seems like the less-is-better model has the best effect. I've noticed in repairing a lot of Apple laptops, that they just gob the thermal compound on to the point where it's overflowing out the sides of the processor. So I'd probably redo the thermal compound anyway, might as well put some on the rest of the processor. That would only help right?
It would help thermal transfer, but it's possible it's not necessary. I don't see what it would hurt, but I'd suggest holding off until you see what the thermal characteristics of your system are out of the box.