Deze vertaling is door een computer gegenereerd en is nog niet door iemand nagekeken. Spreek je deze taal? Bekijk het hier.
Inleiding
Gebruik deze handleiding om de primaire camera achteraan van de iPhone te verwijderen.
Let op: Door de batterij te verwijderen heb je betere toegang tot het plaatje dat de (kabel)aansluiting van de camera achteraan bedekt. Het is echter niet strikt noodzakelijk om de batterij te verwijderen. Als je batterij erg lastig te verwijderen is, laat deze dan zitten en werk eromheen.
Wat je nodig hebt
-
-
-
Schakel je iPhone uit voordat je begint met het demonteren.
-
Het achterpaneel van je iPhone 4 kan vastzitten met twee #000 kruiskopschroeven of Apple's 5-puntige "Pentalobe"-schroeven (tweede afbeelding). Controleer welke schroeven je hebt en zorg dat je ook de juiste schroevendraaier hebt om ze te verwijderen.
-
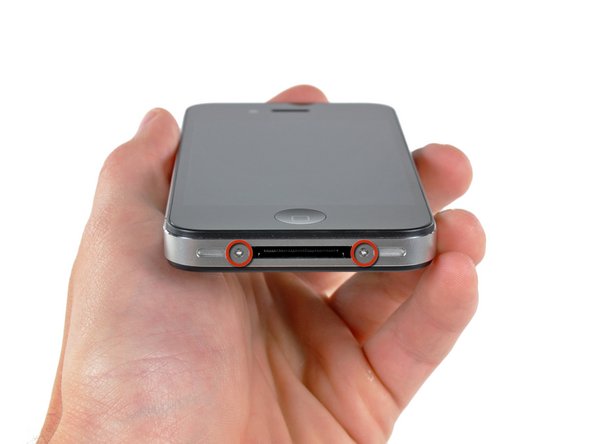
Verwijder de twee 3,6 mm Pentalobe- of kruiskopschroeven naast de dock connector.
 Vraag FixBot
-
-
-
Knijp met je vingers in het achterpaneel en til het van de iPhone af. Gebruik eventueel een kleine zuignap.
-
-
-
-
-
Verwijder de enkele 2,5 mm kruiskopschroef waarmee de (kabel)aansluiting van de batterij op het logic board is bevestigd.
-
-
-
-
Gebruik een plastic openingsgereedschap om de accu-(kabel)aansluiting voorzichtig uit het stopcontact op het logic board te wippen.
-
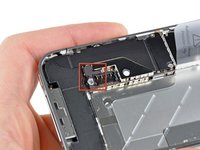
Verwijder de metalen clip die de antenne-(kabel)aansluiting bedekt.
-
-
-
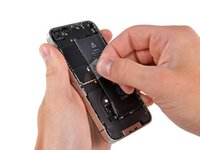
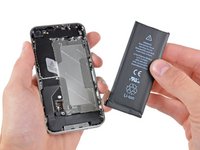
Gebruik de doorzichtige plastic treklip om de batterij voorzichtig uit de iPhone te tillen.
-
Als er nog alcoholoplossing in de telefoon achtergebleven is, veeg deze dan voorzichtig weg of laat deze aan de lucht drogen voordat je je nieuwe batterij installeert.
-
Voordat je de batterijaansluiting weer aansluit, moet je ervoor zorgen dat de contactclip (in rood weergegeven) correct naast de batterijaansluiting is geplaatst.
-
-
-
-
-
Verwijder de volgende vijf schroeven waarmee het afdekplaatje van de kabelaansluiting aan de iPhone is bevestigd:
-
Eén 2,3 mm Phillips-schroef
-
Twee 1,6 mm Phillips-schroeven
-
Eén 1,4 mm Phillips-schroef
-
Eén 4,8 mm Phillips-schroef
-
Opmerking: om hun juiste positie te onthouden, kan het handig zijn om 5 cirkels op een vel papier te tekenen en elke schroef in de bijbehorende cirkel te leggen.
-
-
-
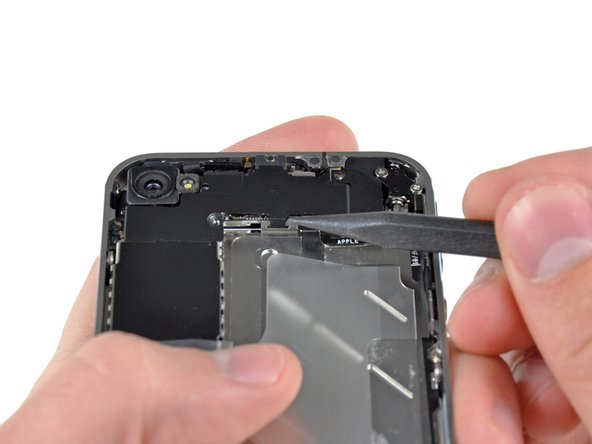
Gebruik een openingsgereedschap om de bovenrand van de kabelaansluiting-bedekking voorzichtig van het logic board af te tillen.
-
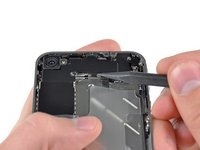
Gebruik de punt van een spudger om de bevestigingsclips van de kabelaansluiting-bedekking van de binnenste omlijsting af te trekken.
-
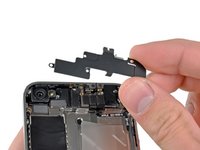
Verwijder de kabelaansluiting-bedekking van de iPhone.
-
Zorg er voor de hermontage voor dat alle metaal-op-metaal contactpunten op de kabelaansluiting-bedekking worden schoongemaakt met een ontvetter, zoals Windex. Huidvetten van je vingers kunnen draadloze storingsproblemen veroorzaken.
-
-
-
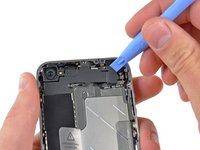
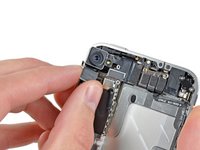
Gebruik een Openingsgereedschap voor iPod om de (kabel)aansluiting van de camera achteraan voorzichtig uit het stopcontact op het moederbord te tillen.
-
-
-
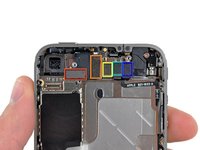
Verwijder de camera achteraan uit de iPhone en vermijd daarbij om enkele van de (kabel)aansluitingen naar rechts te verplaatsen.
-
Controleer na het terugplaatsen van de nieuwe camera deze (kabel)aansluitingen als de iPhone niet inschakelt.
-
Opmerking: De batterij (niet zichtbaar op de foto's) moet worden losgekoppeld, maar hoeft niet volledig te worden verwijderd.
-
-







Volg deze instructies in omgekeerde volgorde om je apparaat weer in elkaar te zetten.
Annuleren: ik heb deze handleiding niet afgemaakt.
194 andere personen hebben deze handleiding voltooid.
Bijgevoegde documenten

11Gids Commentaar
This was super simple. My camera was not focusing after a previous company replaced it due to a faulty flash. I decided to take things into my own hands...no pun intended.
The instructions are super simple and easy to follow. Be aware of the loose clip under the connector - mine flew out - and I was worried I wouldn't figure out how to get it back in.
I also had to use a #0 screwdriver...#00 was too large.
I couldn't get the battery out...so, I was just super careful that the phone was off, and remained off during the repair.
Out with the defective camera...in with the functioning camera...replaced a couple of screws and the battery connector. Tested the camera prior to replacing everything.
Thank you ifixit!
You ROCK!!!
Hi guys. I just did it ! I would not describe it as super easy, but thanks to the screw template provided file, even the now famous pressure contact can not be lost ;-)
I just wanted to comment, not only to praise iFixit (and myself), but also to mention two side effects I had to overcome:
-First, when finished, the power button did not work (I had to plug the Dock Connector to start the phone). As I the power button is not so far from the rear camera, I figured out something went wrong in the reassembly. Since I had just done it once, I thought I could do it a second time, so I removed the newly assembled camera and reassembled it with extra caution. At the end, the power button worked as expected.
-Second: each time I restarted the phone after reassembly (twice, then), the SIM card would not unlock after the PIN code was entered. I had to remove and reinsert the SIM card for the PIN code to finally unlock it.
Otherwise, everything went smoothly, thanks again to the iFixit guys !
Fantastic!!! my problem was the rear camera, when i switch on the camera app the screen were completely black and the torch was not working at all! I buyed the tools and the rear camera everything arrived here in Italy in perfect time as scheduled and in one hour I did the job !!! now my iphone camera is perfectly up and running !!! thanks to IFIXIT.COM and their guides!
hello guys ! I have done the replacement correctly because my camera wasn't able to focus anymore ! But now the flash light isn't working anymore :(( what can i do ?
Sincerly,
Antoine
