Ga door naar hoofdinhoud
Word lid van de reparatiegemeenschap - Account aanmaken

iMac 2011 SSD Upgrade (IcyDock)

Alleen vereisten
Deze gids is alleen bedoeld voor beginners! Deze gids maakt deel uit van een andere procedure en is niet bedoeld om alleen te worden gebruikt.

Wat je nodig hebt

    1. iMac 2011 SSD Upgrade (IcyDock), SSD (2011 IcyDock): stap 1, afbeelding 1 van 3 iMac 2011 SSD Upgrade (IcyDock), SSD (2011 IcyDock): stap 1, afbeelding 2 van 3 iMac 2011 SSD Upgrade (IcyDock), SSD (2011 IcyDock): stap 1, afbeelding 3 van 3
      • Only follow the next 9 steps if you are replacing your hard drive with an SSD kit.

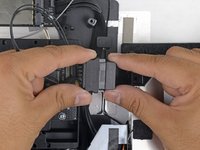
      • Depress the enclosure's front plate latch with your finger. While holding the latch down, swing the plate out.

      • Remove the front plate.

      Vraag FixBot

      Voeg opmerking toe

    2. iMac 2011 SSD Upgrade (IcyDock): stap 2, afbeelding 1 van 3 iMac 2011 SSD Upgrade (IcyDock): stap 2, afbeelding 2 van 3 iMac 2011 SSD Upgrade (IcyDock): stap 2, afbeelding 3 van 3
      • Line up the small SATA connectors so that the narrow side of the connector on the SSD matches the narrow side on the enclosure connector.

      • Slide the drive in through the front of the enclosure until the SATA connector is fully seated.

      • The SSD's ports connect with the enclosure in only one way. If the ports are not lining up, rotate the SSD and try again.

      Vraag FixBot

      Voeg opmerking toe

    3. iMac 2011 SSD Upgrade (IcyDock): stap 3, afbeelding 1 van 1
      • You may optionally install two Philips #1 screws that came with the enclosure kit to secure the SSD in the enclosure.

      Vraag FixBot

      Voeg opmerking toe

    4. iMac 2011 SSD Upgrade (IcyDock): stap 4, afbeelding 1 van 2 iMac 2011 SSD Upgrade (IcyDock): stap 4, afbeelding 2 van 2
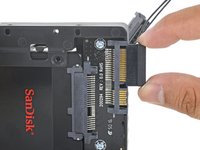
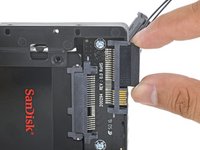
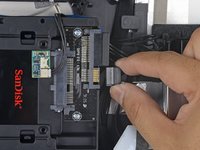
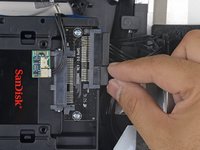
      • Plug the included sensor-enabled SATA power cable into the wide side of the enclosure's SATA connector.

      • The cable is keyed to connect in only one way. If you can't connect the cable, rotate it 180°, and try again.

      Vraag FixBot

      Voeg opmerking toe

    5. iMac 2011 SSD Upgrade (IcyDock): stap 5, afbeelding 1 van 3 iMac 2011 SSD Upgrade (IcyDock): stap 5, afbeelding 2 van 3 iMac 2011 SSD Upgrade (IcyDock): stap 5, afbeelding 3 van 3
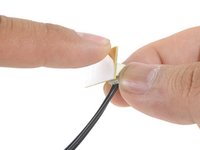
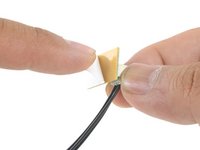
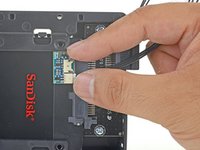
      • Peel the backing off of the adhesive back of the small temperature sensor board.

      • Adhere the temperature sensor board to an exposed, metal area of the surface of the SSD, as close as possible to the SATA connector.

      • Fold the excess temperature sensor wires so that they are out of the way while you install the enclosure.

      Vraag FixBot

      Voeg opmerking toe

    6. iMac 2011 SSD Upgrade (IcyDock): stap 6, afbeelding 1 van 1
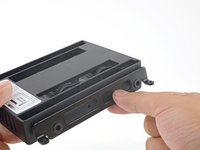
      • Install the mounting pins from the old hard drive onto the sides of the enclosure.

      • The holes on the enclosure may not be threaded, so screwing the mounting pins into them may require extra effort. Take your time and screw them in slowly, making sure they go in straight.

      Vraag FixBot

      Voeg opmerking toe

    7. iMac 2011 SSD Upgrade (IcyDock): stap 7, afbeelding 1 van 2 iMac 2011 SSD Upgrade (IcyDock): stap 7, afbeelding 2 van 2
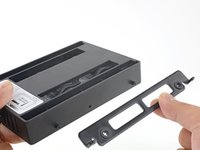
      • Attach any mounting brackets removed from the old hard drive onto the enclosure.

      Vraag FixBot

      Voeg opmerking toe

    8. iMac 2011 SSD Upgrade (IcyDock): stap 8, afbeelding 1 van 2 iMac 2011 SSD Upgrade (IcyDock): stap 8, afbeelding 2 van 2
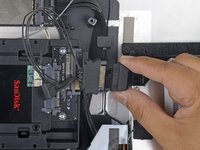
      • Connect the iMac's SATA power cable to the new temperature-capable SATA power cable.

      • Route the SATA cables where they will not interfere with any other components.

      Vraag FixBot

      Voeg opmerking toe

    9. iMac 2011 SSD Upgrade (IcyDock): stap 9, afbeelding 1 van 2 iMac 2011 SSD Upgrade (IcyDock): stap 9, afbeelding 2 van 2
      • Connect the iMac's SATA data cable to the enclosure's SATA data connector.

      Vraag FixBot

      Voeg opmerking toe

Conclusie

To reassemble your device, follow these instructions in reverse order.

Annuleren: ik heb deze handleiding niet afgemaakt.

8 andere personen hebben deze handleiding voltooid.

Arthur Shi

Lid sinds: 01/03/18

344.859 Reputatie

915 handleidingen geschreven

Team

iFixit Lid van iFixit

Staff

123 Leden

47.015 handleidingen geschreven

0Gids Commentaar

Voeg opmerking toe

Weergavestatistieken:

Afgelopen 24 uren: 1

Afgelopen 7 dagen: 14

Afgelopen 30 dagen: 65

Altijd: 10,101