Ga door naar hoofdinhoud
Word lid van de reparatiegemeenschap - Account aanmaken

dreamGEAR Quad Dock Pro LEDs Replacement

Wat je nodig hebt

    1. dreamGEAR Quad Dock Pro LEDs Replacement, Prerequisite Guide to Accessing Interior: stap 1, afbeelding 1 van 2 dreamGEAR Quad Dock Pro LEDs Replacement, Prerequisite Guide to Accessing Interior: stap 1, afbeelding 2 van 2
      • Remove the rubber foot pads on the bottom of the device using a plastic opening tool.

      Vraag FixBot

      Voeg opmerking toe

    2. dreamGEAR Quad Dock Pro LEDs Replacement: stap 2, afbeelding 1 van 2 dreamGEAR Quad Dock Pro LEDs Replacement: stap 2, afbeelding 2 van 2
      • Remove the six 2 mm PH0 screws on the bottom of the device.

      • Four of those screws are located under the foot pads.

      Vraag FixBot

      Voeg opmerking toe

    3. dreamGEAR Quad Dock Pro LEDs Replacement: stap 3, afbeelding 1 van 1
      • Gently remove the bottom of the device.

      Vraag FixBot

      Voeg opmerking toe

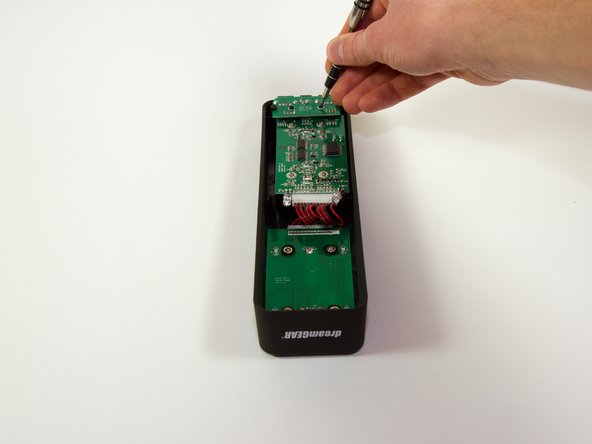
    1. dreamGEAR Quad Dock Pro LEDs Replacement, Mother Board: stap 4, afbeelding 1 van 2 dreamGEAR Quad Dock Pro LEDs Replacement, Mother Board: stap 4, afbeelding 2 van 2
      • Remove the four 1.8 mm J1 screws.

      • Remove the two 2mm PH0 screws.

      Vraag FixBot

      Voeg opmerking toe

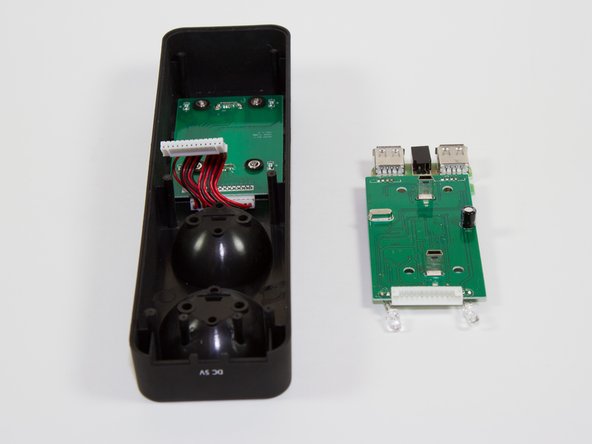
    2. dreamGEAR Quad Dock Pro LEDs Replacement: stap 5, afbeelding 1 van 1
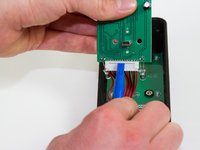
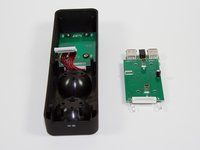
      • Gently pick up the mother board

      • Pick the mother board straight up or you may risk damaging the mini-USB charging ports.

      Vraag FixBot

      Voeg opmerking toe

    3. dreamGEAR Quad Dock Pro LEDs Replacement: stap 6, afbeelding 1 van 2 dreamGEAR Quad Dock Pro LEDs Replacement: stap 6, afbeelding 2 van 2
      • Use a plastic opening tool or similar tool to gently pry the power ribbon cord out of its port.

      Vraag FixBot

      Voeg opmerking toe

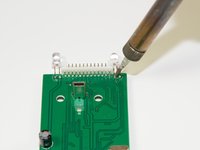
    1. dreamGEAR Quad Dock Pro LEDs Replacement, LEDs: stap 7, afbeelding 1 van 2 dreamGEAR Quad Dock Pro LEDs Replacement, LEDs: stap 7, afbeelding 2 van 2
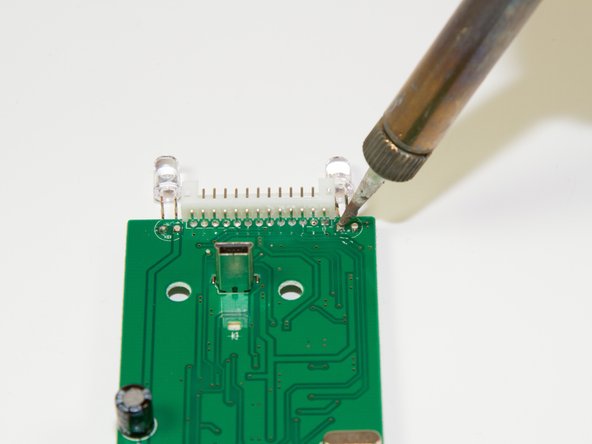
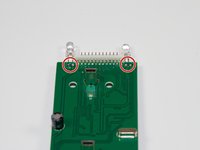
      • Desolder the two points following the instructions included in your soldering kit as you remove the light.

      • FIRE HAZARD! BURN DANGER! Follow all the safety precautions included with your soldering kit.

      • You can follow iFixit's guide to soldering here.

      Vraag FixBot

      Voeg opmerking toe

Conclusie

To reassemble your device, follow these instructions in reverse order.

Annuleren: ik heb deze handleiding niet afgemaakt.

Één andere persoon heeft deze handleiding voltooid.

Jacob

Lid sinds: 03/11/15

757 Reputatie

6 handleidingen geschreven

Team

Colorado Springs, Team 4-4, Panko Spring 2015 Lid van Colorado Springs, Team 4-4, Panko Spring 2015

UCCS-PANKO-S15S4G4

3 Leden

12 handleidingen geschreven

0Gids Commentaar

Voeg opmerking toe

Weergavestatistieken:

Afgelopen 24 uren: 3

Afgelopen 7 dagen: 8

Afgelopen 30 dagen: 31

Altijd: 484