Inleiding
Follow this guide to remove and replace the SSD card on a Xbox Series S.
There are some photo discontinuities with the exterior Bluetooth, Wifi, and power boards. These discontinuities do not affect the repair procedure.
Wat je nodig hebt
-
Gereedschap gebruikt in deze stap:Tweezers$4.99
-
Use tweezers to peel off the two white screw covers located on the bottom corners of the back panel.
-
-
Gereedschap gebruikt in deze stap:Magnetic Project Mat$19.95
-
Use a T8 Torx driver to remove the two 10 mm-long screws securing the back panel to the bottom panel.
-
-
-
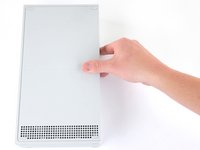
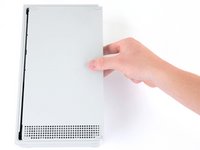
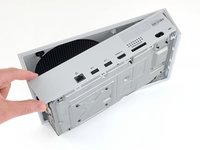
Slide the bottom panel horizontally toward the back of the console until it comes to a stop.
-
Lift straight up and remove the bottom panel from the plastic case.
-
-
-
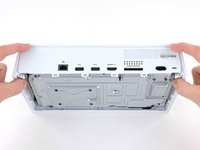
Use a T10 Torx driver to remove the seven 51 mm-long screws securing the chassis to the plastic case.
-
-
-
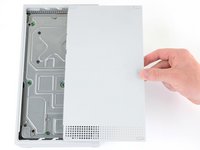
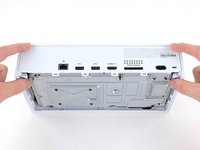
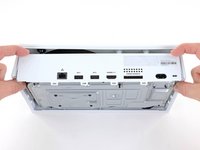
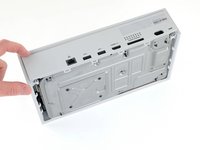
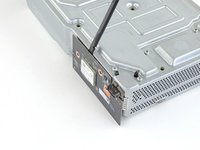
With the bottom of the Xbox facing you, pull the two bottom-rear corners of the plastic case away from each other.
-
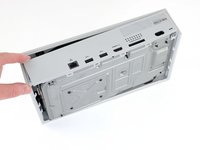
As you pull the corners apart, slide the back panel towards the bottom of the device. This releases the back panel from the plastic case.
-
-
-
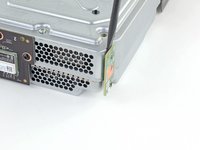
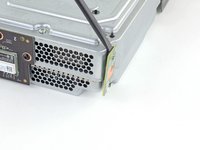
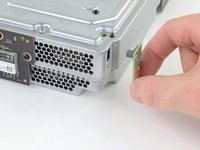
Use a T8 Torx driver to remove the 9.5 mm-long screw securing the power button board to the chassis.
-
-
-
-
Use a T8 Torx driver to remove the three 9.5 mm-long screws securing the Wi-Fi board to the short edge of the chassis.
-
-
-
Use a T8 Torx driver to remove the three 9.5 mm-long screws securing the Bluetooth board to the long edge of the chassis.
-
-
-
Use a T10 Torx driver to remove the seven 11.3 mm-long screws securing the power supply to the chassis.
-
-
-
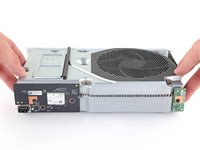
Flip the device over.
-
Lift the upper chassis straight up to remove it.
-
-
-
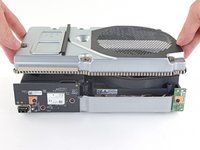
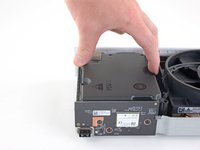
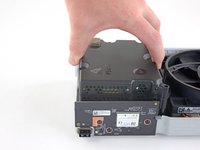
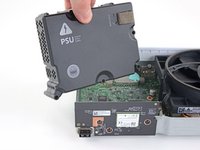
Lift the power supply straight up to disconnect it from the motherboard.
-
Remove the power supply.
-
-
-
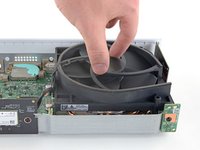
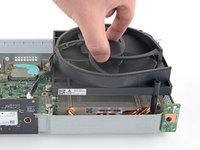
Use a T10 Torx driver to remove the two 11.3 mm-long screws securing the fan to the chassis.
-
-
-
Flip the device over.
-
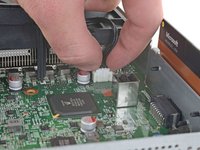
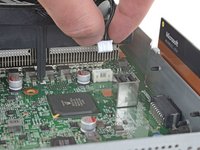
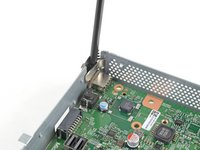
Use your fingers to pull and disconnect the fan connector from its motherboard socket.
-
-
Stap 19 Remove the motherboard screws
Voorzichtig: stappen 19-21 komen van een handleiding die in bewerking is.
-
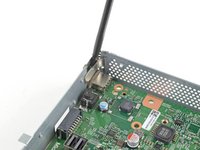
Use a T8 Torx driver to remove the four 9.4 mm-long screws securing the motherboard to the chassis.
-
-
-
Flip the device over.
-
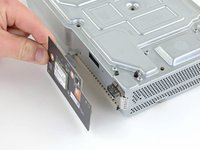
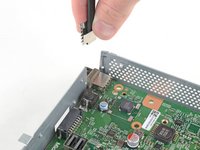
Insert a spudger into the locking clip located on the front-left corner of the chassis.
-
Lift straight up to remove the clip.
-
-
-
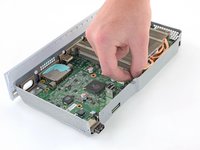
Grasp the heat sink with your fingers and lift up the front of the motherboard up above the edge of the chassis.
-
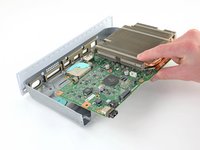
Pull the motherboard towards the front of the chassis to remove it.
-
-
-
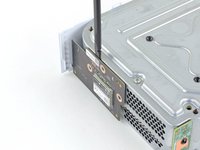
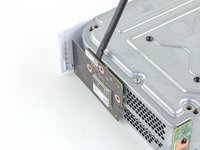
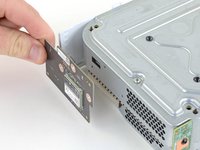
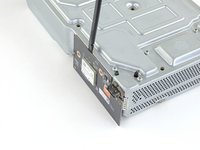
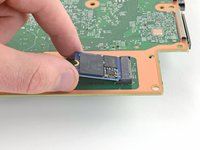
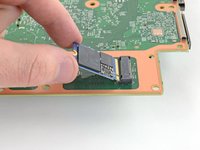
Use a T8 Torx driver to remove the 5.1 mm-long screw securing the SSD card to the motherboard.
-


To reassemble your device, follow these instructions in reverse order.
Take your e-waste to an R2 or e-Stewards certified recycler.
Repair didn’t go as planned? Try some basic troubleshooting, or ask our Answers community for help.
To reassemble your device, follow these instructions in reverse order.
Take your e-waste to an R2 or e-Stewards certified recycler.
Repair didn’t go as planned? Try some basic troubleshooting, or ask our Answers community for help.
Annuleren: ik heb deze handleiding niet afgemaakt.
19 andere personen hebben deze handleiding voltooid.

9 opmerkingen
hello,i wanna ask on the new ssd how we install the firmware?
Use this free Disk Clone tool.
Well it certainly looks like a 2230 M-Key M.2 NVMe SSD. Will it work in a PC? Will non-OEM SSDs work in the Xbox? $100 for 512GB is highway robbery.
That's why I'm trying to retrofit my 1tb from old xbox one s into my Series S
Can I take my 1tb hard drive from one s all digital and use it for my Series S?