Inleiding
Are there gremlins in your projector? Is your new projector's functionality in general disarray? Are you have trouble with hooking up your projector through USB or HDMI cable? Well, then you may need to replace the motherboard, and this guide will help you do that.
Before continuing on to the processes of taking this projector apart and ripping out the brains, I would do a few simple checks to makes sure it's not something else that is causing the issues. I would make sure that your projector is not in a spot where it could overheat. Say, in a corner or directly up against a wall with no ventilation. Then I would try factory resetting the projector, which could work out bugs in the system.
Before beginning make sure that the projector is unplugged from it's power source and is on a level sturdy work surface.
Wat je nodig hebt
-
-
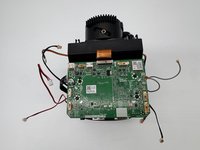
Set the projector on its side so the the front is facing to your left.
-
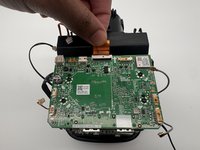
Insert an opening tool into the seam between the black chassis and the silver case.
-
Pry around the perimeter until the case fully releases.
-
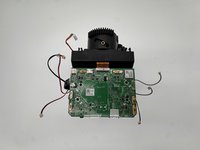
Remove the case.
-
-
-
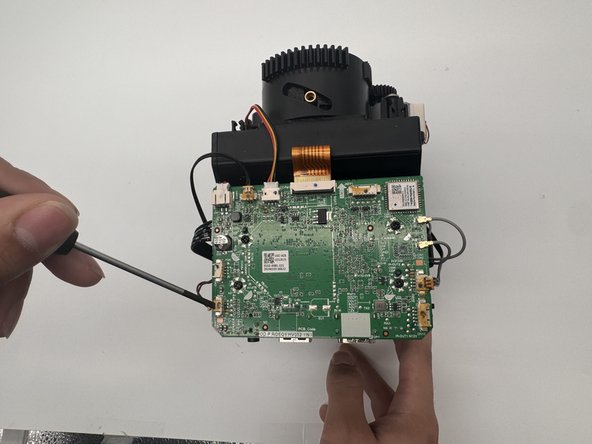
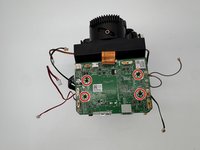
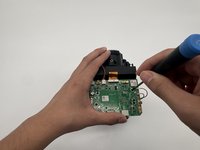
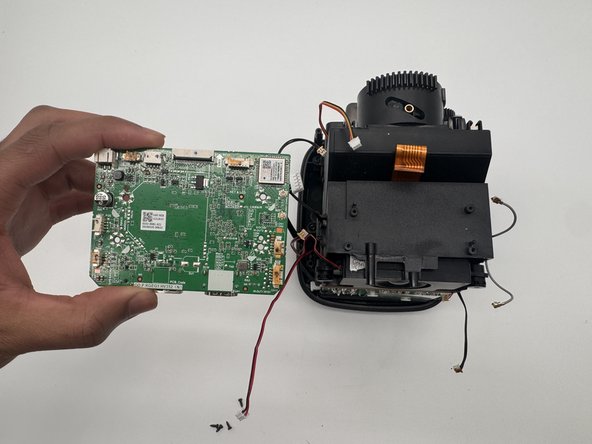
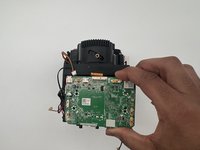
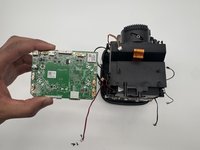
Use your fingernails to gently disconnect the six sliding connectors from their motherboard sockets.
-
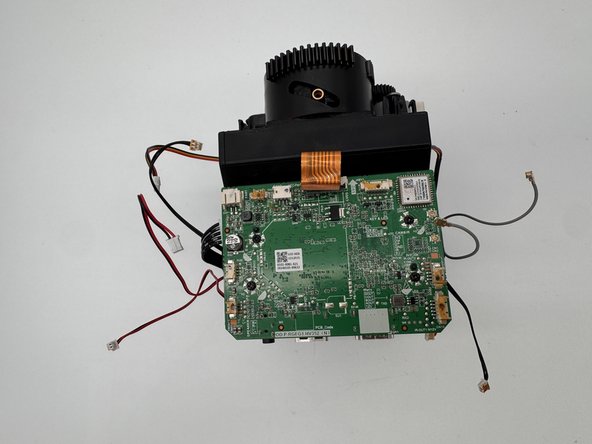
Gently lift the two antenna cable connector to disconnect them.
-
-


To reassemble your device, follow the above steps in reverse order.
Take your e-waste to an R2 or e-Stewards certified recycler.
Repair didn’t go as planned? Try some basic troubleshooting or ask our Answers community for help.
To reassemble your device, follow the above steps in reverse order.
Take your e-waste to an R2 or e-Stewards certified recycler.
Repair didn’t go as planned? Try some basic troubleshooting or ask our Answers community for help.

Team

University of North Texas, Team 6-2, Kilpatrick Fall 2024 Lid van University of North Texas, Team 6-2, Kilpatrick Fall 2024
UNT-KILPATRICK-F24S6G2
4 Leden
5 handleidingen geschreven