Ga door naar hoofdinhoud
Word lid van de reparatiegemeenschap - Account aanmaken

Tapwave T2907US Zodiac 2 Shoulder Button Replacement

Wat je nodig hebt

    1. Tapwave T2907US Zodiac 2 Shoulder Button Replacement, Back Cover: stap 1, afbeelding 1 van 1
      • Remove the four Torx T5 screws from the back panel.

      Vraag FixBot

      Voeg opmerking toe

    2. Tapwave T2907US Zodiac 2 Shoulder Button Replacement: stap 2, afbeelding 1 van 1
      • Wedge a spudger in between the front and back panel.

      • Apply leverage downwards to the spudger in order to remove the back panel.

      Vraag FixBot

      Voeg opmerking toe

    1. Tapwave T2907US Zodiac 2 Shoulder Button Replacement, Battery: stap 3, afbeelding 1 van 1
      • Slide the battery out from under the brown wire-tape.

      • Be careful of the wires still connected to the other end of the battery. Do not pull or damage may occur.

      Vraag FixBot

      Voeg opmerking toe

    2. Tapwave T2907US Zodiac 2 Shoulder Button Replacement: stap 4, afbeelding 1 van 1
      Gereedschap gebruikt in deze stap:
      Tweezers
      $4.99
      • Slowly pull the white plug from its receptor. Grasp its sides firmly with a pair of tweezers and gently wiggle from side to side.

      Vraag FixBot

      Voeg opmerking toe

    1. Tapwave T2907US Zodiac 2 Shoulder Button Replacement, Motherboard: stap 5, afbeelding 1 van 1
      • Unscrew the 2 Philips #00 screws on each end of the motherboard.

      Vraag FixBot

      Voeg opmerking toe

    2. Tapwave T2907US Zodiac 2 Shoulder Button Replacement: stap 6, afbeelding 1 van 1
      Gereedschap gebruikt in deze stap:
      Tweezers
      $4.99
      • Pull off the black memory card slot piece with tweezers.

      Vraag FixBot

      Voeg opmerking toe

    3. Tapwave T2907US Zodiac 2 Shoulder Button Replacement: stap 7, afbeelding 1 van 1
      • Unscrew the 2 Philips #00 screws on each side of the charging port.

      Vraag FixBot

      Voeg opmerking toe

    4. Tapwave T2907US Zodiac 2 Shoulder Button Replacement: stap 8, afbeelding 1 van 2 Tapwave T2907US Zodiac 2 Shoulder Button Replacement: stap 8, afbeelding 2 van 2
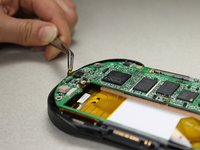
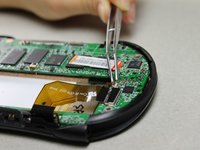
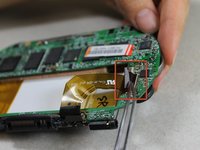
      • Disconnect 2 brown wire-tape ends from each end of the motherboard. Gently pull straight out with tweezers.

      Vraag FixBot

      Voeg opmerking toe

    5. Tapwave T2907US Zodiac 2 Shoulder Button Replacement: stap 9, afbeelding 1 van 1
      • Pull the motherboard and screen component diagonally up and left away from the auxiliary port entrance to remove.

      • Glue connecting the auxiliary port to the casing may make it difficult to remove. Gently apply force as needed.

      Vraag FixBot

      Voeg opmerking toe

    6. Tapwave T2907US Zodiac 2 Shoulder Button Replacement: stap 10, afbeelding 1 van 1
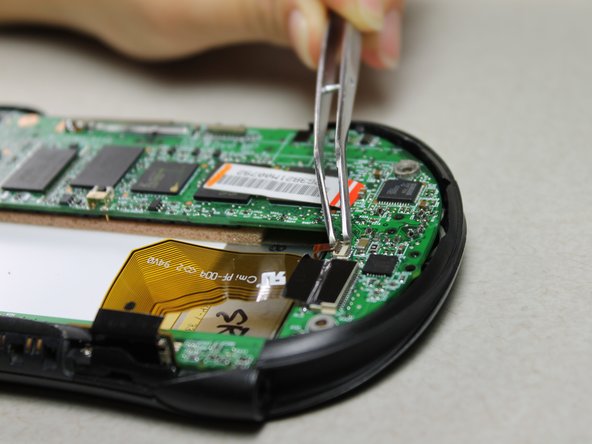
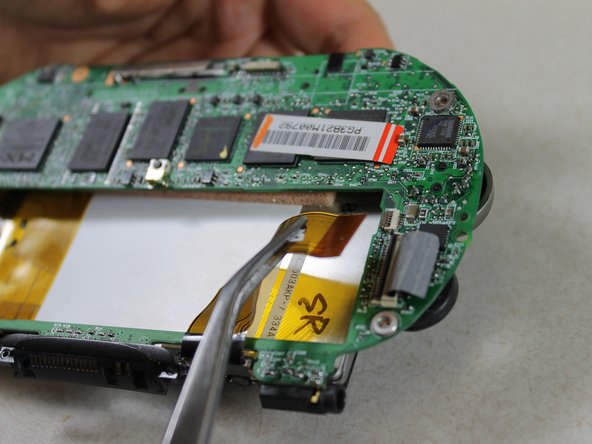
      • Disconnect the 2 brown wire-tape ends from the left side of the battery slot on the motherboard using tweezers.

      Vraag FixBot

      Voeg opmerking toe

    7. Tapwave T2907US Zodiac 2 Shoulder Button Replacement: stap 11, afbeelding 1 van 3 Tapwave T2907US Zodiac 2 Shoulder Button Replacement: stap 11, afbeelding 2 van 3 Tapwave T2907US Zodiac 2 Shoulder Button Replacement: stap 11, afbeelding 3 van 3
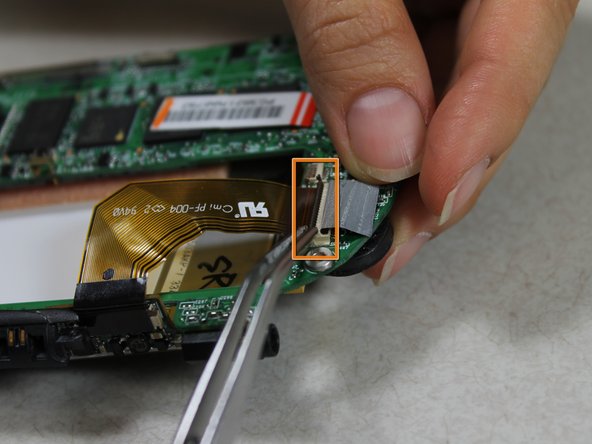
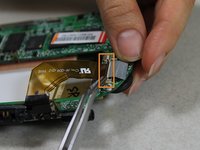
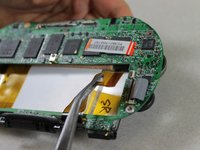
      • Disconnect the large brown wire-tape from the motherboard.

      • Peel the black tape back from the wire-tape using tweezers.

      • Lift the black, hinged, plastic lock with tweezers to release the wire-tape.

      • The screen and motherboard components can now be separated from each other.

      Vraag FixBot

      Voeg opmerking toe

    1. Tapwave T2907US Zodiac 2 Shoulder Button Replacement, Shoulder Button: stap 12, afbeelding 1 van 1
      Gereedschap gebruikt in deze stap:
      Desoldering Pump
      $3.99
      • Carefully remove the solder between the shoulder buttons and the motherboard with the soldering sucker.

      • Try to avoid contact between the solder sucker and other components surrounding the shoulder buttons.

      • For more information on desoldering, look at this soldering/desoldering guide.

      Vraag FixBot

      Voeg opmerking toe

Conclusie

To reassemble your device, follow these instructions in reverse order.

Annuleren: ik heb deze handleiding niet afgemaakt.

Daniel Wiseman

Lid sinds: 01/20/12

133 Reputatie

6 handleidingen geschreven

Team

Cal Poly, Team 10-33, Amido Winter 2012 Lid van Cal Poly, Team 10-33, Amido Winter 2012

CPSU-AMIDO-W12S10G33

4 Leden

26 handleidingen geschreven

0Gids Commentaar

Voeg opmerking toe

Weergavestatistieken:

Afgelopen 24 uren: 3

Afgelopen 7 dagen: 6

Afgelopen 30 dagen: 30

Altijd: 1,266