Inleiding
Inexpensive acquired camera that has a broken LCD. This is a relative easy and straight forward task.
Wat je nodig hebt
-
-
Gereedschap gebruikt in deze stap:Tweezers$4.99
-
Here is a recently acquired camera. Initial cost $3.00
-
Only trouble is, obviously broken LCD
-
Remove the carrying strip. Use a needle and some tweezers to loosen the slip knot.
 Vraag FixBot
-
-
-
Remove one screw on the right of the camera
-
Remove one screw on the left side of the camera
-
Remove the two screws on the bottom
-
-
-
-
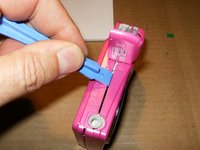
Split the camera from the battery compartment down. You can use an opening tools, or just your fingernails, if so equipped.
-
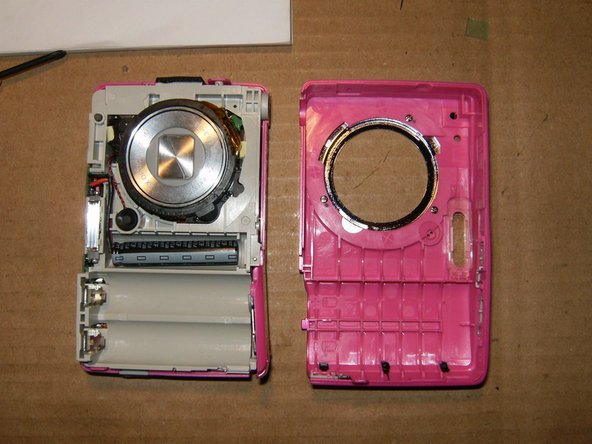
This will remove the front part of the case.
-
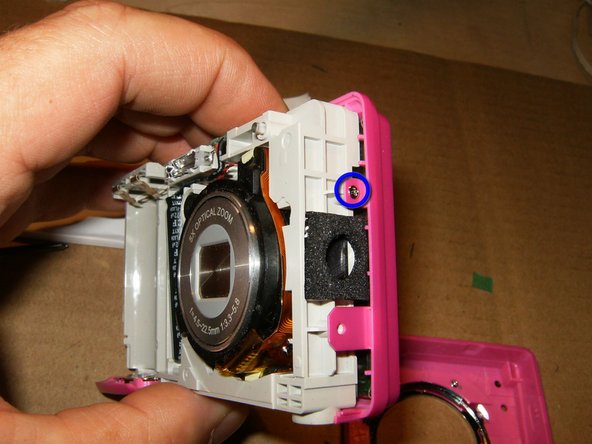
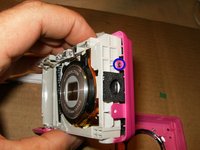
Remove this screw on the right side of the camera. Keep it separate from the 4 screws previously removed. The are of different length
-
-
-
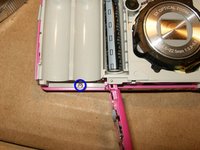
Remove the screw on the bottom of the battery compartment. Keep this screw with the one removed on the previous step. These two screws have a different length than all the other screws. They are the shortest ones in the camera
-
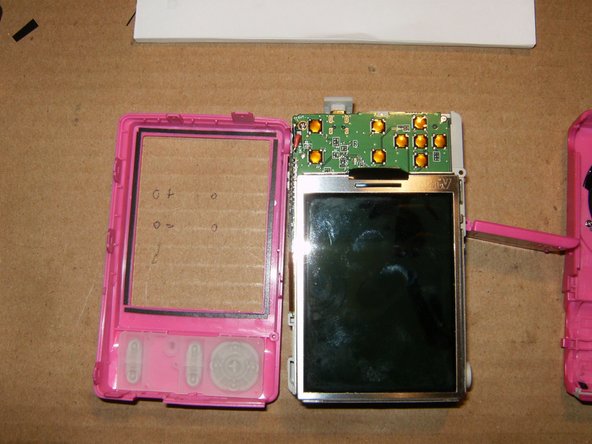
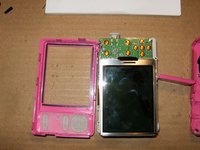
With those two screws removed, you can not separate the back part of the case.
-
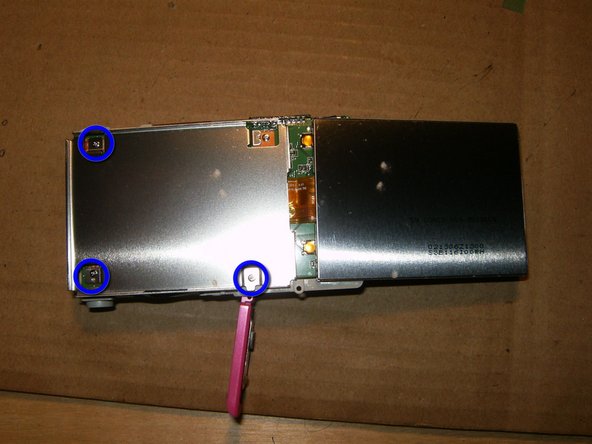
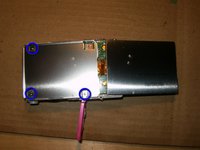
Remove the screw screws that hold the LCD frame to the logic board. Keep the 3 screws separated from the rest of the screws, due to different length.
-
-
-
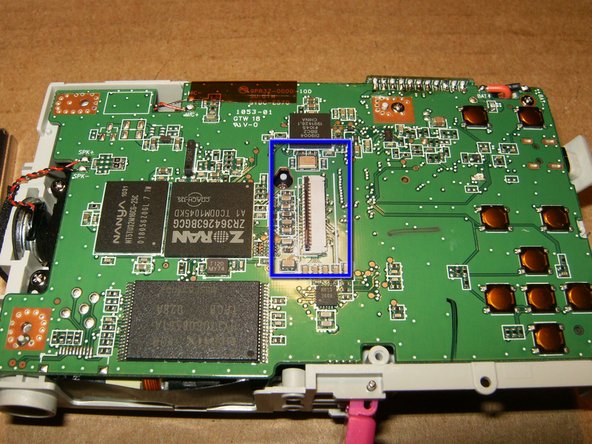
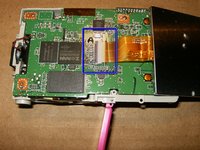
With the frame removed, the connector and LCD cable are now fully accessible. Note the to tabs on the cable and their position on the logic board.
-
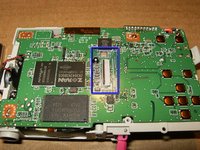
Flip the tab on the connector carefully up and remove the LCD.
-
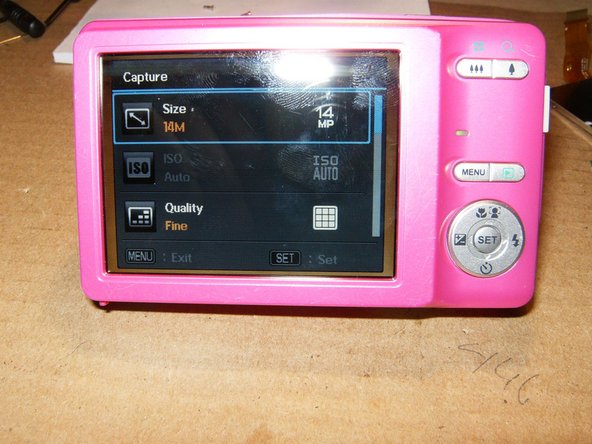
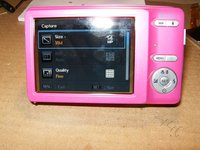
Hopefully this is what you will get after replacing the LCD and reassembling the camera in reverse order. Total replacement cost was $15 and 30 minutes of my time.
-
-




To reassemble your device, follow these instructions in reverse order.