Ga door naar hoofdinhoud
Word lid van de reparatiegemeenschap - Account aanmaken

Samsung RC512 Wi-Fi Card Replacement

Wat je nodig hebt

  1. Samsung RC512 Wi-Fi Card Replacement, Battery: stap 1, afbeelding 1 van 1
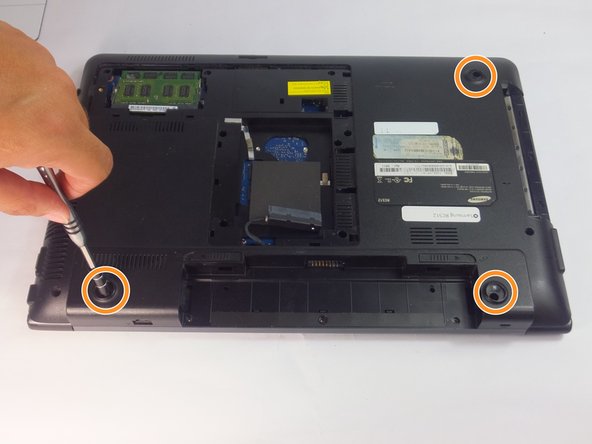
    • Place the laptop upside down.

    Vraag FixBot
    Voeg opmerking toe

  2. Samsung RC512 Wi-Fi Card Replacement: stap 2, afbeelding 1 van 2 Samsung RC512 Wi-Fi Card Replacement: stap 2, afbeelding 2 van 2
    • Locate two notches above the battery.

    • Slide both battery locking notches to either side to remove the battery.

    • Pull the battery out.

    Vraag FixBot

    Voeg opmerking toe

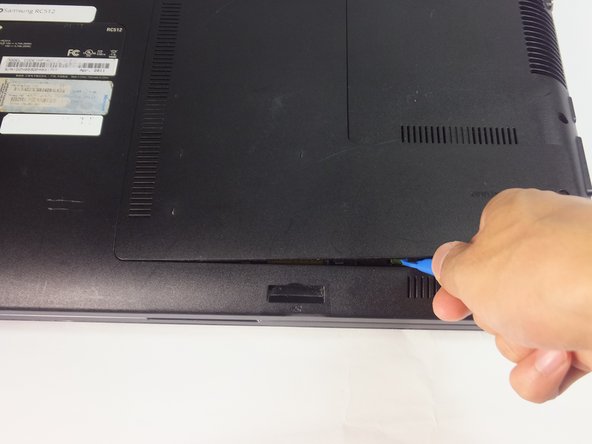
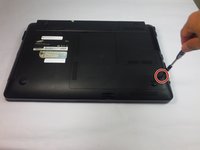
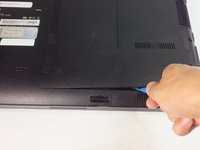
  3. Samsung RC512 Wi-Fi Card Replacement, Back Panel: stap 3, afbeelding 1 van 3 Samsung RC512 Wi-Fi Card Replacement, Back Panel: stap 3, afbeelding 2 van 3 Samsung RC512 Wi-Fi Card Replacement, Back Panel: stap 3, afbeelding 3 van 3
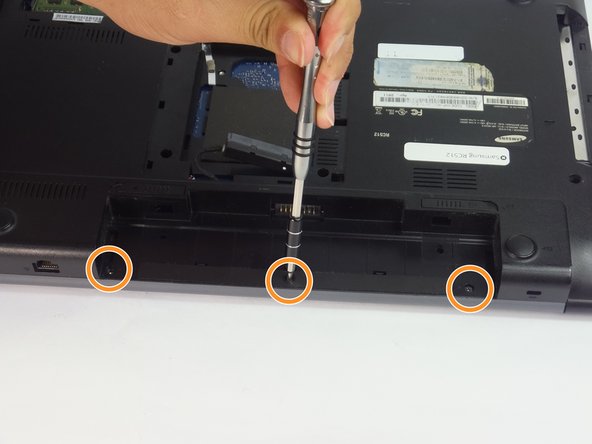
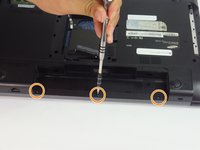
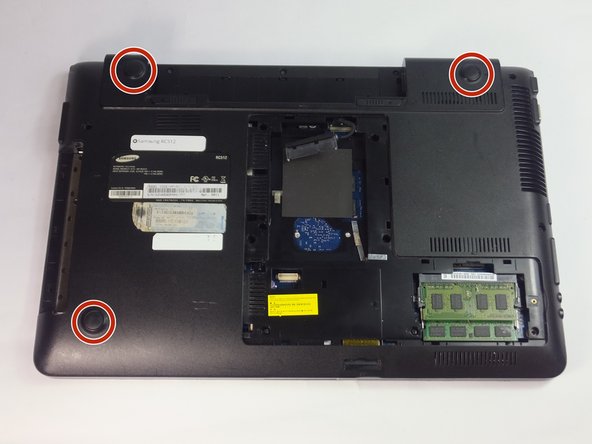
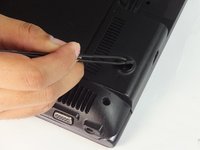
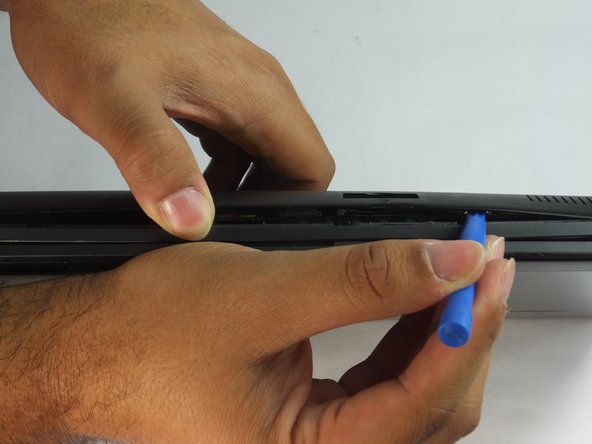
    • Using the Phillips #0 screwdriver, unscrew the one 5mm screw.

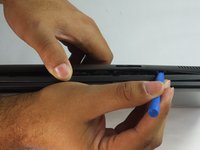
    • Using the blue plastic opening tools, wedge one in between the back panel and the laptop.

    • Carefully remove the back panel..

    Vraag FixBot
    Voeg opmerking toe

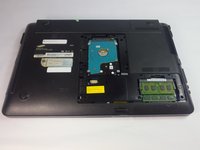
  4. Samsung RC512 Wi-Fi Card Replacement, HDD: stap 4, afbeelding 1 van 1
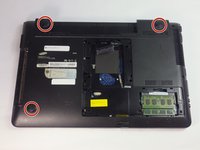
    • Carefully lift the HDD up using plastic opening tool.

    Vraag FixBot
    Voeg opmerking toe

  5. Samsung RC512 Wi-Fi Card Replacement: stap 5, afbeelding 1 van 1
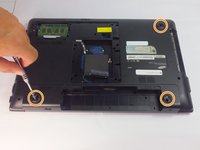
    • Grab the HDD and connector.

    • Carefully pull the HDD away from the connector.

    Vraag FixBot
    Voeg opmerking toe

  6. Samsung RC512 Wi-Fi Card Replacement: stap 6, afbeelding 1 van 1
    • Take out the HDD and leave the connector in the laptop

    Vraag FixBot

    Voeg opmerking toe

  7. Samsung RC512 Wi-Fi Card Replacement, Optic Drive: stap 7, afbeelding 1 van 1
    • Remove the 4mm Phillips #0 screw using a Phillips #0 screwdriver.

    Vraag FixBot
    Voeg opmerking toe

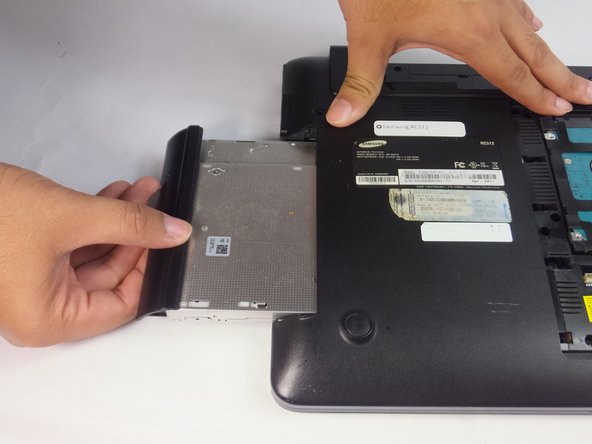
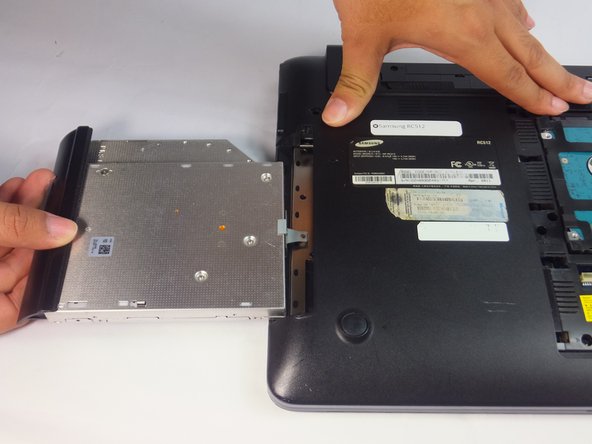
  8. Samsung RC512 Wi-Fi Card Replacement: stap 8, afbeelding 1 van 3 Samsung RC512 Wi-Fi Card Replacement: stap 8, afbeelding 2 van 3 Samsung RC512 Wi-Fi Card Replacement: stap 8, afbeelding 3 van 3
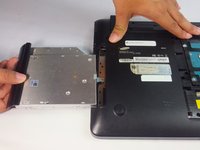
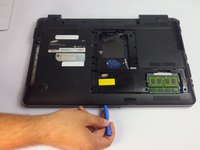
    • Use the spudger or fingers to gently pull the optical drive out.

    • Slide the optic drive away from the laptop.

    Vraag FixBot
    Voeg opmerking toe

  9. Samsung RC512 Wi-Fi Card Replacement, Wi-Fi Card: stap 9, afbeelding 1 van 2 Samsung RC512 Wi-Fi Card Replacement, Wi-Fi Card: stap 9, afbeelding 2 van 2
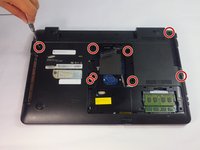
    • Remove the eight 5mm Phillips #0 screws using a Phillips #0 driver.

    • Also remove the three 5mm Phillips #0 using a Phillips #0 driver.

    Vraag FixBot
    Voeg opmerking toe

  10. Samsung RC512 Wi-Fi Card Replacement: stap 10, afbeelding 1 van 3 Samsung RC512 Wi-Fi Card Replacement: stap 10, afbeelding 2 van 3 Samsung RC512 Wi-Fi Card Replacement: stap 10, afbeelding 3 van 3
    Gereedschap gebruikt in deze stap:
    Tweezers
    $4.99
    • Remove three bottom dark covers using tweezers.

    • Remove three 10mm Phillips #0 screws using Phillips #0 driver.

    Vraag FixBot

    Voeg opmerking toe

  11. Samsung RC512 Wi-Fi Card Replacement: stap 11, afbeelding 1 van 2 Samsung RC512 Wi-Fi Card Replacement: stap 11, afbeelding 2 van 2
    • Insert a plastic opening tool into the back cover and the housing of the body.

    • Use the plastic opening tool to pop open the clamps that hold the casing onto the back cover.

    • Work your way around the all sides to completely take off the back cover.

    • You may use your fingers to help remove the cover.

    • Carefully lift the back cover. Do not use excessive force to lift it. If it feels like it will not pull up, make sure all the screws have been taken out.

    Vraag FixBot
    Voeg opmerking toe

  12. Samsung RC512 Wi-Fi Card Replacement: stap 12, afbeelding 1 van 3 Samsung RC512 Wi-Fi Card Replacement: stap 12, afbeelding 2 van 3 Samsung RC512 Wi-Fi Card Replacement: stap 12, afbeelding 3 van 3
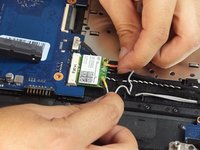
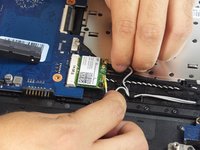
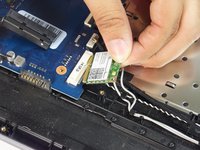
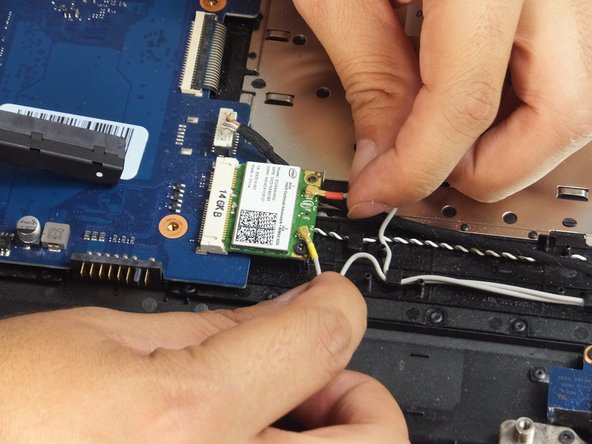
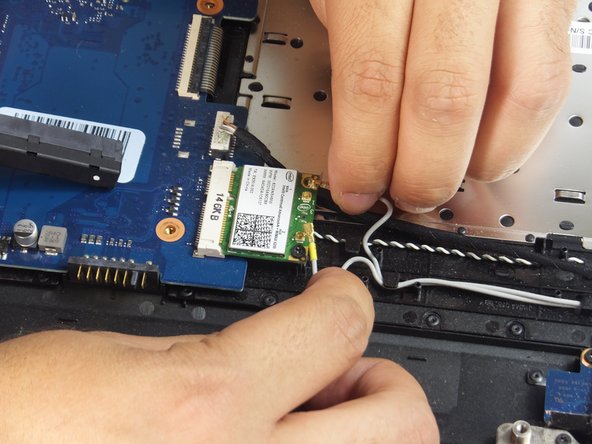
    • Gently lift the connectors from the Wi-Fi card.

    Vraag FixBot
    Voeg opmerking toe

  13. Samsung RC512 Wi-Fi Card Replacement: stap 13, afbeelding 1 van 2 Samsung RC512 Wi-Fi Card Replacement: stap 13, afbeelding 2 van 2
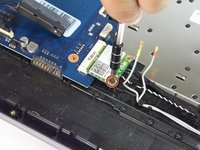
    • Remove one 5mm Phillips #0 screw using a Phillips #0 driver.

    • The Wi-Fi card will rise up itself after removing the Phillips #0 screw. Pull it out away from the slot.
    Vraag FixBot

    Voeg opmerking toe

Conclusie

To reassemble your device, follow these instructions in reverse order.

Annuleren: ik heb deze handleiding niet afgemaakt.

jando

Lid sinds: 09/15/16

917 Reputatie

8 handleidingen geschreven

Team

USF Tampa, Team 18-2, Blackwell Fall 2016 Lid van USF Tampa, Team 18-2, Blackwell Fall 2016

USFT-BLACKWELL-F16S18G2

4 Leden

8 handleidingen geschreven

0Gids Commentaar

Voeg opmerking toe

Weergavestatistieken:

Afgelopen 24 uren: 0

Afgelopen 7 dagen: 2

Afgelopen 30 dagen: 20

Altijd: 955