Deze versie kan foutieve bewerkingen bevatten. Schakel over naar de recentste gecontroleerde momentopname.
Wat je nodig hebt
-
Deze stap is niet vertaald. Help het te vertalen
-
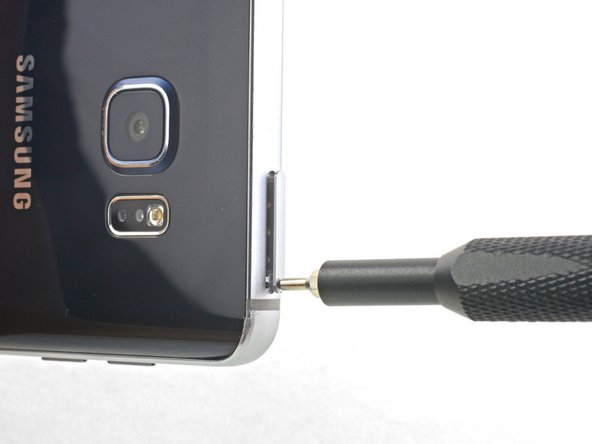
Insert a SIM eject tool, SIM eject bit, or a straightened paperclip into the small hole in the SIM card tray at the top of the phone.
-
Press to eject the tray. This may require some force.
-
Remove the SIM card tray.
-
-
Deze stap is niet vertaald. Help het te vertalen
-
Using your fingernail, push the S-Pen button until it clicks and pops out of the phone.
-
Remove the S-Pen.
-
-
Deze stap is niet vertaald. Help het te vertalen
-
Apply a heated iOpener to the bottom of the phone for about two minutes.
-
-
Deze stap is niet vertaald. Help het te vertalen
-
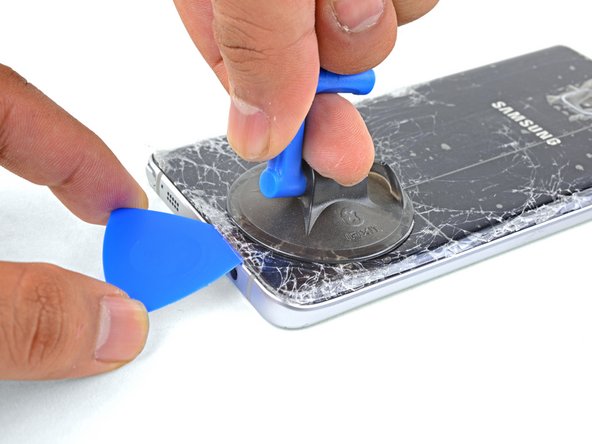
Apply a suction cup as close as possible to the bottom edge of the phone.
-
Lift on the suction cup and insert an opening pick under the rear glass.
-
-
Deze stap is niet vertaald. Help het te vertalen
-
Once the pick is in place, reheat the edge with an iOpener for another minute.
-
-
Deze stap is niet vertaald. Help het te vertalen
-
Slide the pick down the bottom edge of the phone.
-
Leave the pick in place to prevent the adhesive from resealing, and grab another pick as you proceed to the next step.
-
-
Deze stap is niet vertaald. Help het te vertalen
-
Insert another pick and slowly cut around the corner of the phone.
-
-
Deze stap is niet vertaald. Help het te vertalen
-
Before cutting further, apply a heated iOpener to the long edge.
-
-
Deze stap is niet vertaald. Help het te vertalen
-
Repeat the previous heating and cutting procedure for the remaining three sides of the phone.
-
Leave an opening pick in each edge of the phone as you continue to the next to prevent the adhesive from resealing.
-
-
Deze stap is niet vertaald. Help het te vertalen
-
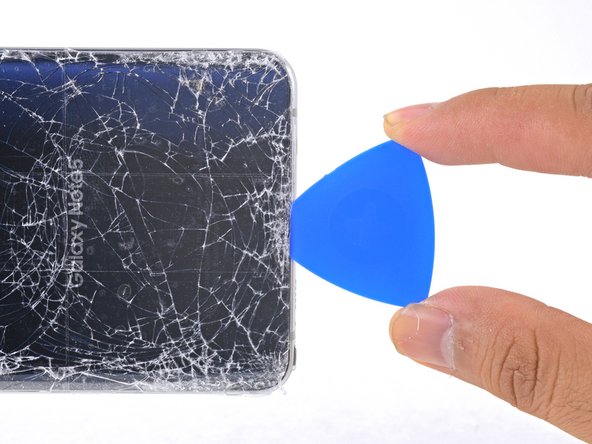
Use an opening pick to cut any remaining adhesive around the edges of the glass.
-
Lift the glass and remove it from the phone.
-
-
Deze stap is niet vertaald. Help het te vertalen
-
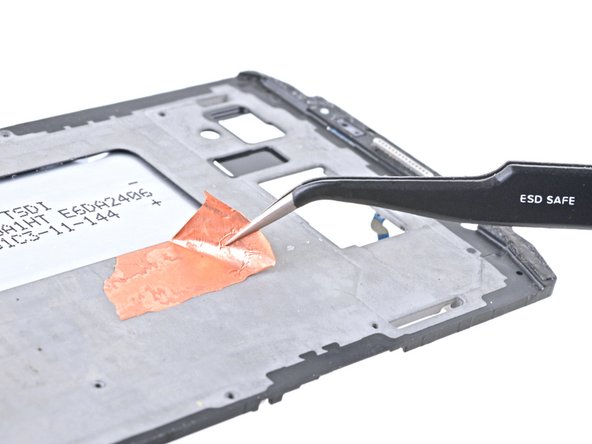
Use tweezers to peel away any remaining adhesive from both the back cover and the phone's chassis.
-
Clean the adhesion areas with high concentration isopropyl alcohol (at least 90%) and a lint-free cloth. Swipe in one direction only, not back and forth. This will help prep the surface for the new adhesive.
-
Be sure to turn on your phone and test your repair before installing new adhesive and resealing the phone.
-
After installing the rear cover, apply strong, steady pressure to your phone for several minutes to help the adhesive form a good bond, such as by placing it under a stack of heavy books.
-
-
-
Deze stap is niet vertaald. Help het te vertalen
-
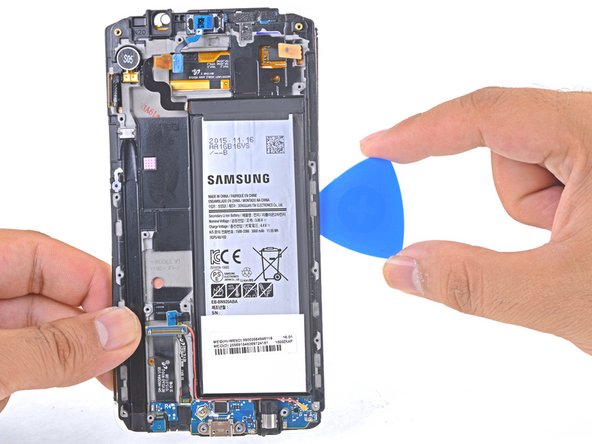
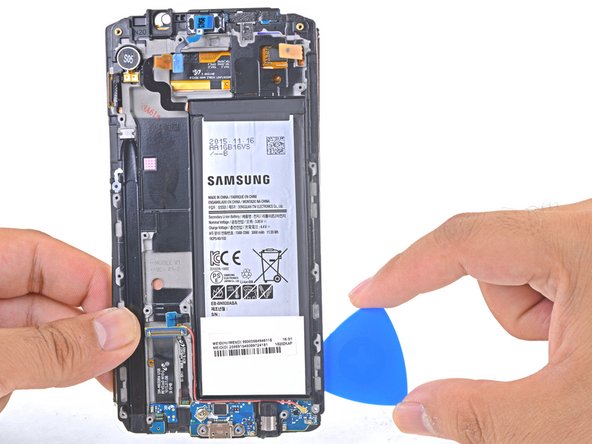
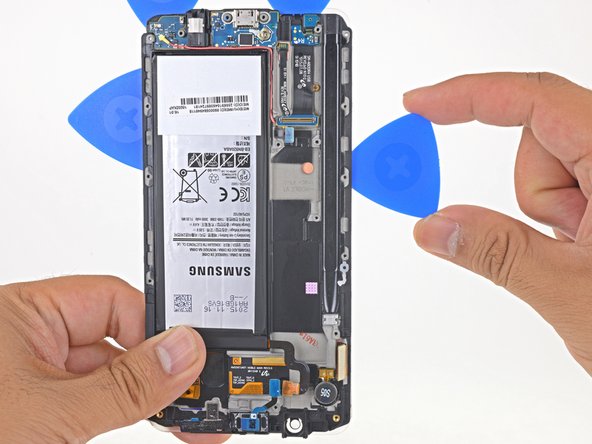
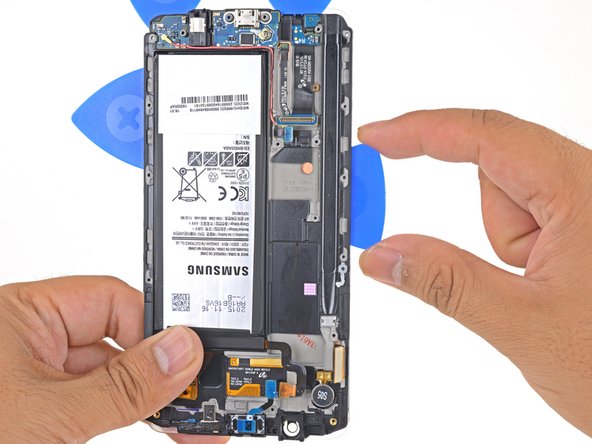
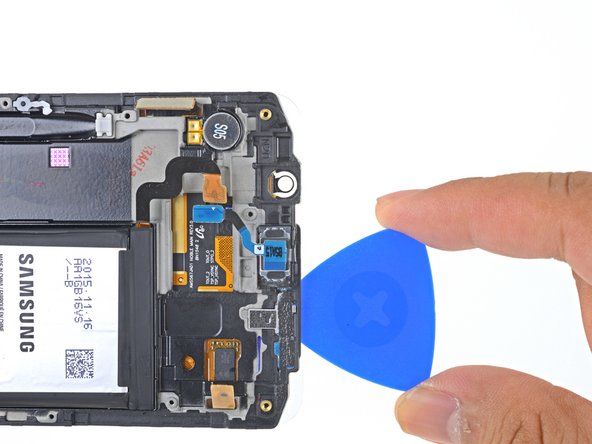
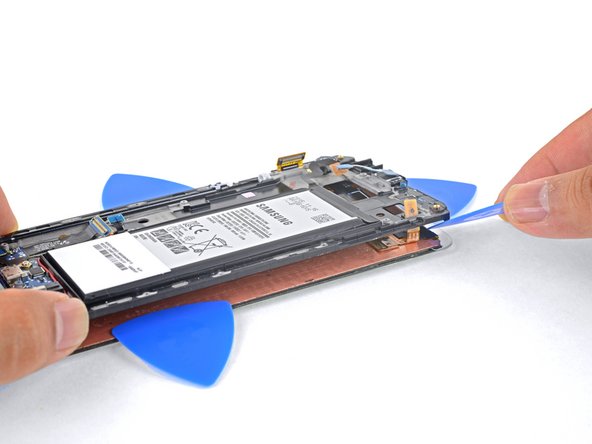
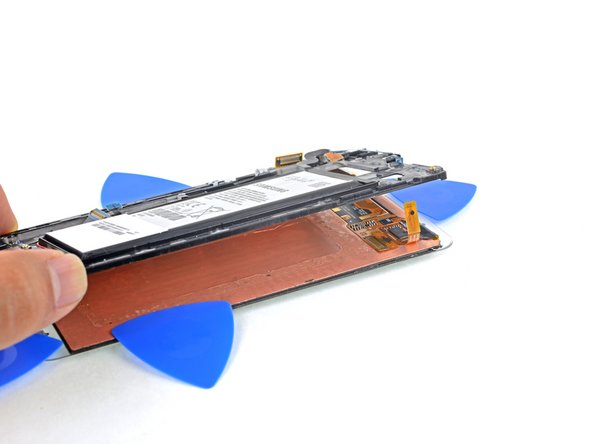
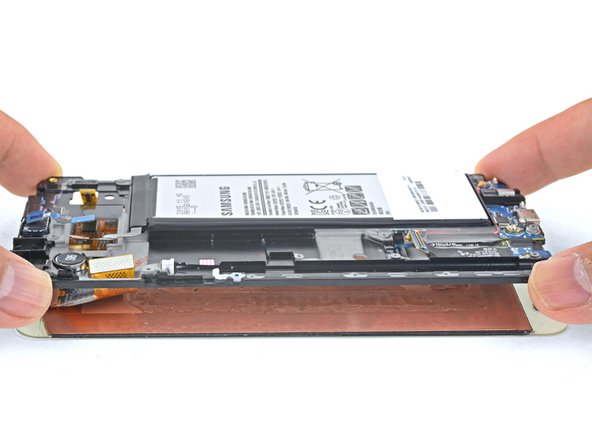
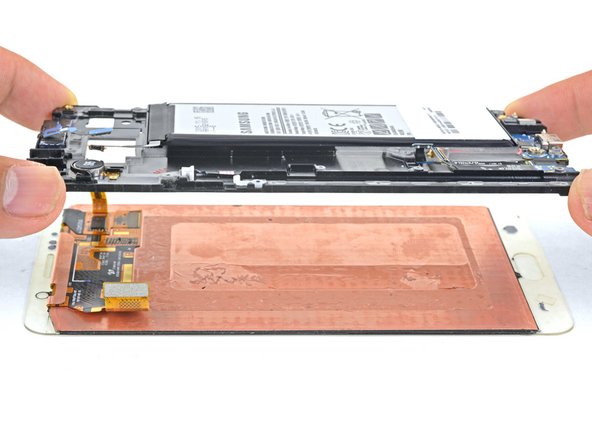
Hold the midframe by the edges and lift it upwards while pushing down against the battery with one finger.
-
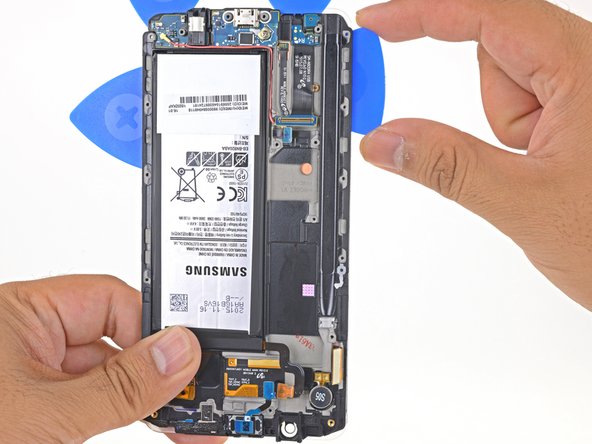
Remove the midframe.
-
-
Deze stap is niet vertaald. Help het te vertalen
-
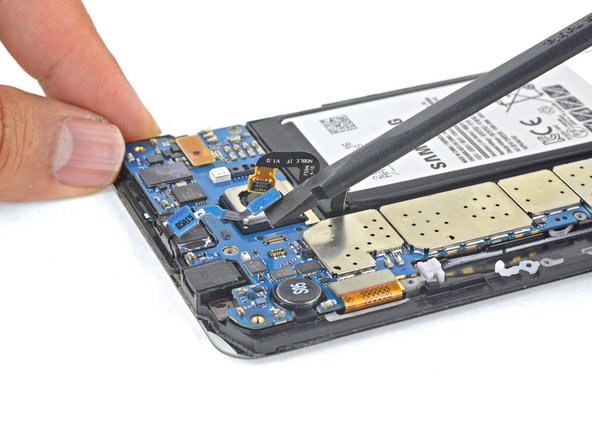
Using the flat end of a spudger, lift the battery connector straight up from its socket on the motherboard.
-
-
Deze stap is niet vertaald. Help het te vertalen
-
Using the flat end of a spudger, disconnect the earpiece connector.
-
-
Deze stap is niet vertaald. Help het te vertalen
-
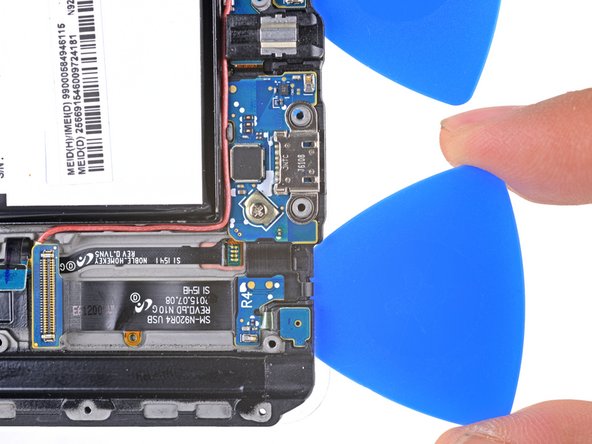
Using the flat end of a spudger, disconnect the touchscreen connector.
-
-
Deze stap is niet vertaald. Help het te vertalen
-
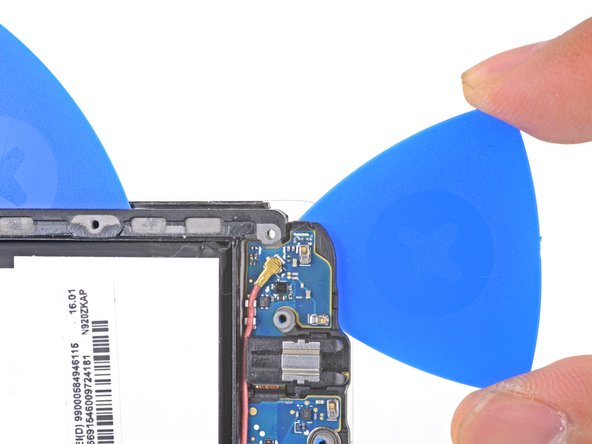
Using the flat end of a spudger, disconnect the display connector.
-
-
Deze stap is niet vertaald. Help het te vertalen
-
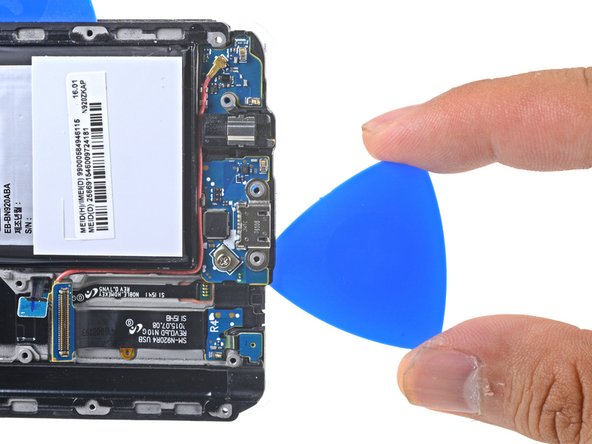
Using the flat end of a spudger, disconnect the navigation buttons connector.
-
-
Deze stap is niet vertaald. Help het te vertalen
-
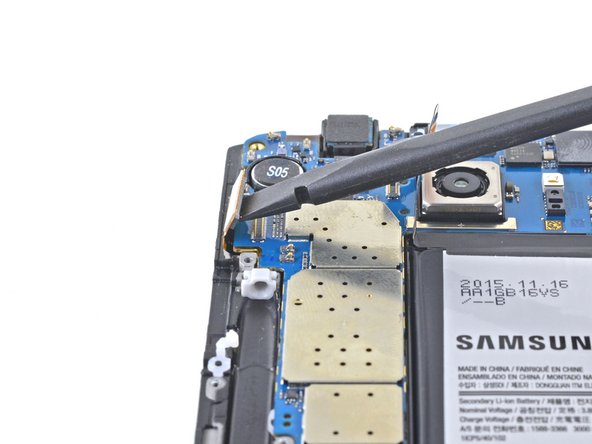
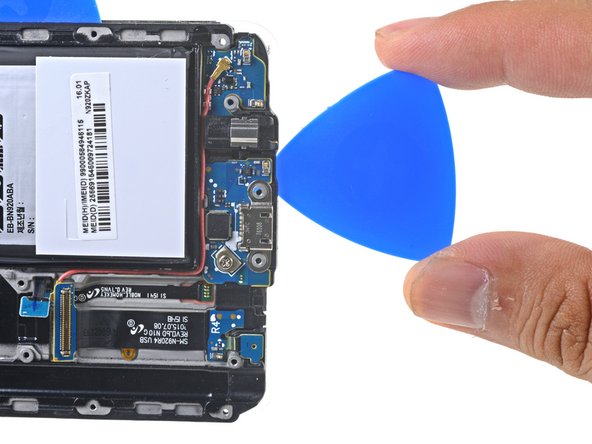
Using the pointed end of a spudger, disconnect the antenna cable.
-
-
Deze stap is niet vertaald. Help het te vertalen
-
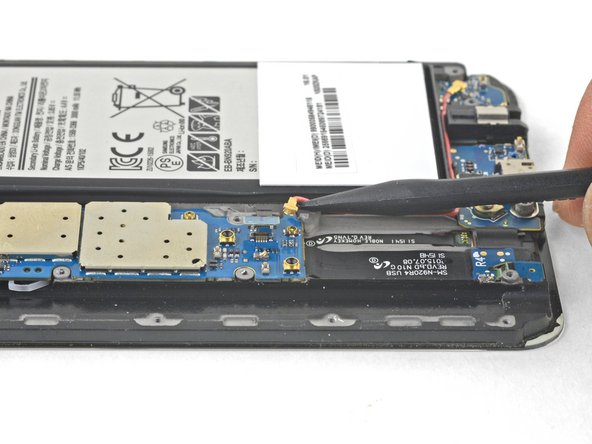
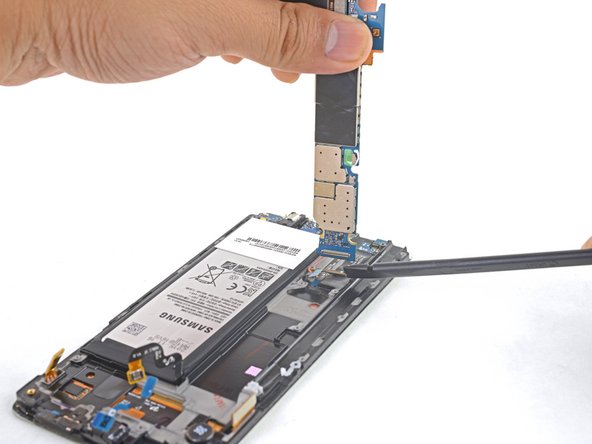
Holding the motherboard by the top corners, hinge it upwards while clearing flex cables out of its path.
-
-
Deze stap is niet vertaald. Help het te vertalen
-
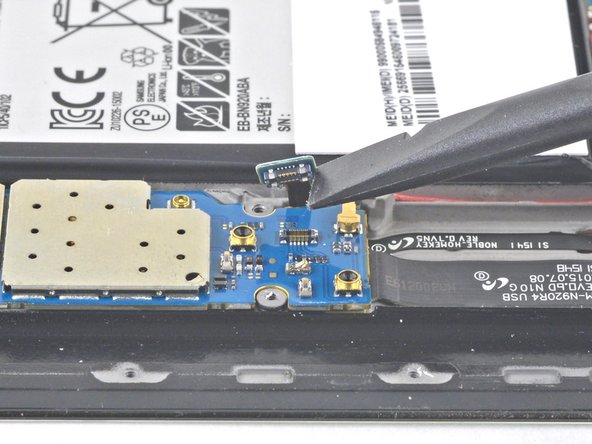
Using the flat end of a spudger, disconnect the daughterboard connector from the motherboard.
-
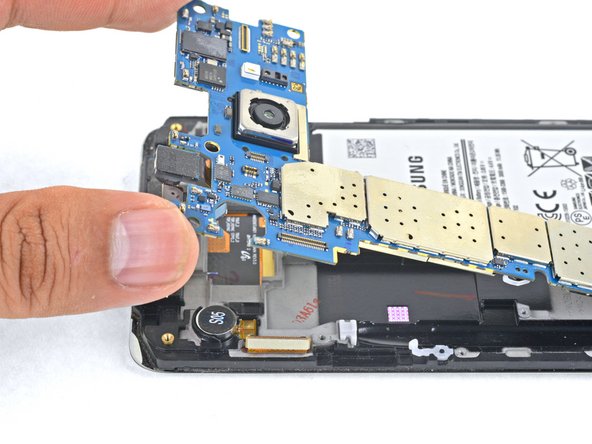
Remove the motherboard.
-
-
Deze stap is niet vertaald. Help het te vertalen
-
Prepare an iOpener and apply it to the left edge of the display for about two minutes.
-
-
Deze stap is niet vertaald. Help het te vertalen
-
Insert an opening pick between the plastic frame and the display assembly on the same edge you just heated.
-
-
Deze stap is niet vertaald. Help het te vertalen
-
Slide the opening pick down the battery-side of the phone, separating the adhesive.
-
Stop when you get to the bottom of the battery to avoid damaging delicate capacitive buttons at the bottom of the display.
-
Go slowly so that the tip doesn't slip out of the seam. If sliding becomes difficult, reheat and reapply the iOpener.
-
Leave the pick in place and grab a second pick as you proceed to the next step. Leaving the pick inserted can help prevent the glue you just separated from re-adhering.
-
-
Deze stap is niet vertaald. Help het te vertalen
-
Heat an iOpener and apply it to the non-battery-edge of the phone.
-
Insert a pick no more than 0.25 inches (~6 mm) into the bottom edge of the phone.
-
Carefully slide the pick along the edge, starting at the headphone jack, until you reach just past the charging port.
-
-
Deze stap is niet vertaald. Help het te vertalen
-
Slide an opening pick from the battery edge battery edge of the phone along the edge of the phone to safely cut over the capacitive button.
-
Leave the pick in place as you proceed to the next button.
-
-
Deze stap is niet vertaald. Help het te vertalen
-
Insert an opening pick under the bottom edge of the display directly below the daughterboard ribbon cable to cut over the other capacitive button.
-
Leave the pick in place.
-
-
Deze stap is niet vertaald. Help het te vertalen
-
Heat an iOpener and apply it to the non-battery-edge of the phone.
-
Slide an opening pick down the non-battery-edge of the phone, separating the adhesive.
-
-
Deze stap is niet vertaald. Help het te vertalen
-
The non-battery-edge contains a wider swath of adhesive than the other sides. Insert the opening pick as deep as you can to cut through all of it.
-
Leave the pick in place to prevent the adhesive from resealing, and grab another pick as you proceed to the next step.
-
-
Deze stap is niet vertaald. Help het te vertalen
-
Heat an iOpener and apply it to the non-battery-edge of the phone.
-
Cut along the top edge of the phone, making sure not to insert the pick more than 0.25 inches (~6 mm) to avoid damaging the front-facing sensors.
-
-
Deze stap is niet vertaald. Help het te vertalen
-
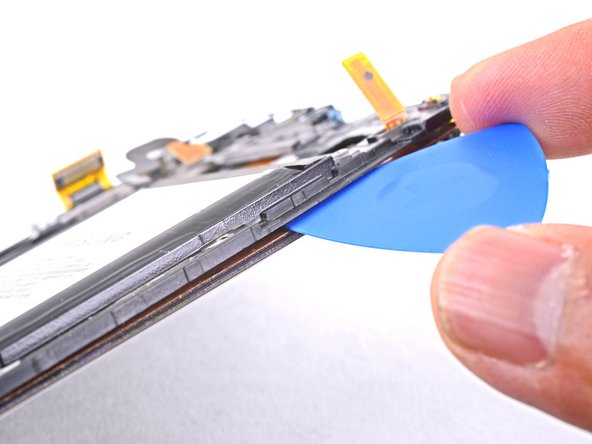
Use the opening picks to cut any remaining adhesive holding the display to the frame.
-
Swing the frame away from the display assembly, threading the touchscreen connector through the frame.
-
-
Deze stap is niet vertaald. Help het te vertalen
-
Lift the frame away from the display assembly, threading the display connector through the frame.
-
Remove the frame.
-
-
Deze stap is niet vertaald. Help het te vertalen
-
After removing all traces of glue and glass from the frame, clean the adhesion areas with 90% (or higher) isopropyl alcohol and a lint-free cloth or coffee filter. Swipe in one direction only, not back and forth.
-


Annuleren: ik heb deze handleiding niet afgemaakt.
29 andere personen hebben deze handleiding voltooid.


Één opmerking
Sorry to say this but this does not video had me cause a problem to the USB charging Board ribbon.
it mentioned starting removing the front panel from down, not mentioning that there is a fine ribbon that can be damaged!
you should start from Top.
apparently the Battery had previously been removed because I could not remove this easy.
I found another video on YouTube which helped me diagnose the error and was more informative.