Ga door naar hoofdinhoud
Word lid van de reparatiegemeenschap - Account aanmaken

Ridgid R86034 Motor Replacement

Wat je nodig hebt

  1. Ridgid R86034 Motor Replacement, Housing: stap 1, afbeelding 1 van 1
    • Use the flat side of a metal spudger to peel the black rubber cover off of the casing.

    • Use some force; the rubber cover is securely attached to the housing.

    • Rotate the casing until it fits onto the housing with no gaps between it and the clear cover.

    • Make sure the casing is properly oriented onto the housing. Orientation is important here.

    Vraag FixBot
  2. Ridgid R86034 Motor Replacement: stap 2, afbeelding 1 van 2 Ridgid R86034 Motor Replacement: stap 2, afbeelding 2 van 2
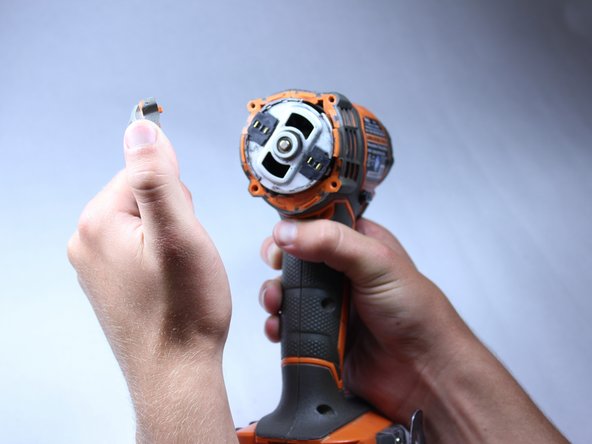
    • Remove the plastic cover with your hands. It should come off fairly easily.

    Vraag FixBot
  3. Ridgid R86034 Motor Replacement: stap 3, afbeelding 1 van 3 Ridgid R86034 Motor Replacement: stap 3, afbeelding 2 van 3 Ridgid R86034 Motor Replacement: stap 3, afbeelding 3 van 3
    • Unscrew the four 16 mm long screws from the back panel with a T10 Torx Screwdriver.

    • Use a firm grip to peel off the back panel. It is sealed tight and requires a good amount of force to remove.

    Vraag FixBot
  4. Ridgid R86034 Motor Replacement: stap 4, afbeelding 1 van 2 Ridgid R86034 Motor Replacement: stap 4, afbeelding 2 van 2
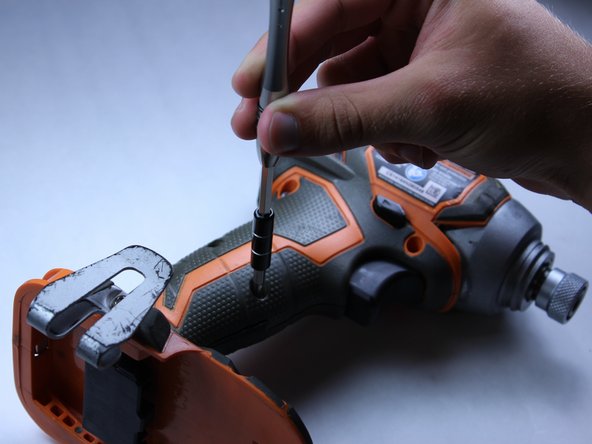
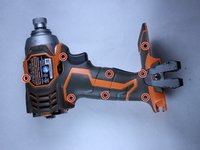
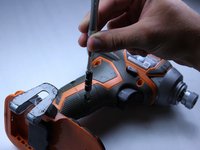
    • Unscrew the eight 15 mm T10 Torx screws from the housing

    • The screw hole located nearest the battery port is deep and small. Most screwdrivers with replaceable bits will not fit into the hole. Instead, use a conventional screwdriver that fits.

    Vraag FixBot
  5. Ridgid R86034 Motor Replacement: stap 5, afbeelding 1 van 1
    • Place the driver flat on a table before completely separating the two halves of the housing so components of the drill don't fall out during opening.

    • Pry apart the two halves of the housing at the back side of the driver using the metal spudger. The housing is easier to remove if you pry from both sides.

    Vraag FixBot
  6. Ridgid R86034 Motor Replacement: stap 6, afbeelding 1 van 2 Ridgid R86034 Motor Replacement: stap 6, afbeelding 2 van 2
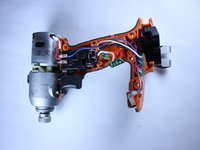
    • Do not remove the direction switch.

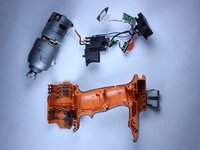
    • Pull out all electrical components from housing by hand. The components should require little force to lift out.

    • Lift out the motor.

    • Follow the wires.

    • The circuit board located nearest the battery pack and the LED light will be hard to pull out.

    • Remember to precisely place all components in their correct slots with their correct orientations when reassembling.

    Vraag FixBot
  7. Ridgid R86034 Motor Replacement, Motor: stap 7, afbeelding 1 van 2 Ridgid R86034 Motor Replacement, Motor: stap 7, afbeelding 2 van 2
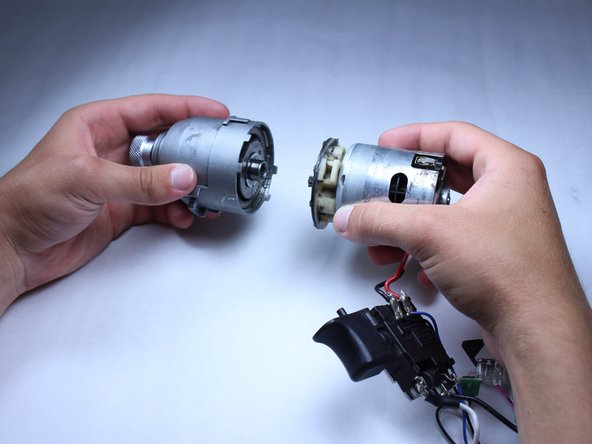
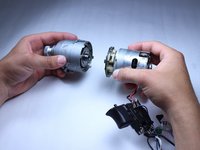
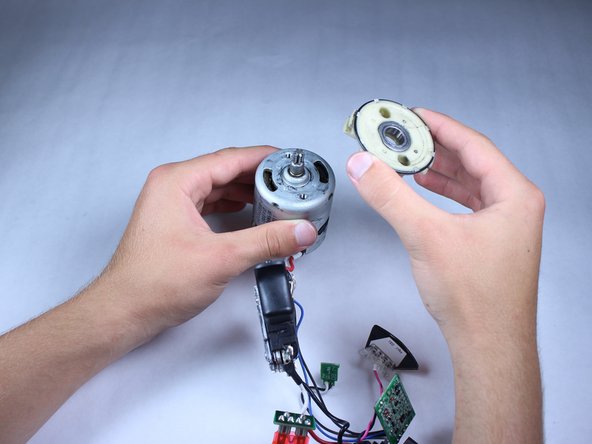
    • Do not invert gear assembly! Keep gear assembly oriented so that the chuck is lower and the place the motor was attached is higher or else gears could fall out.

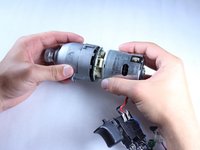
    • Twist off and separate the gear assembly from the motor assembly.

    • Some force will be required to twist off the gear assembly.

    • When putting the motor back onto the gear assembly, make sure that the tabs on the edge of the gear assembly are oriented to fit the tabs found on the edges of the motor.

    Vraag FixBot
  8. Ridgid R86034 Motor Replacement: stap 8, afbeelding 1 van 2 Ridgid R86034 Motor Replacement: stap 8, afbeelding 2 van 2
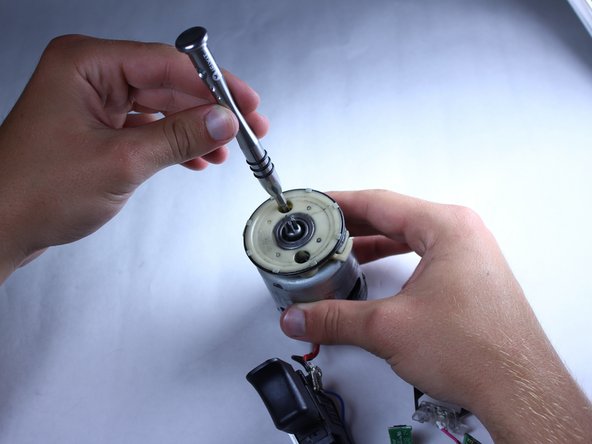
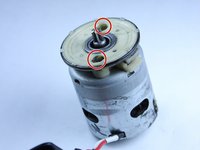
    • Remove the two 14 mm long PH1 screws that connect the plastic object to the motor assembly.

    Vraag FixBot
  9. Ridgid R86034 Motor Replacement: stap 9, afbeelding 1 van 2 Ridgid R86034 Motor Replacement: stap 9, afbeelding 2 van 2
    • Remove the plastic object from the motor assembly.

    • It should not require that much force to remove the plastic object.

    Vraag FixBot
  10. Ridgid R86034 Motor Replacement: stap 10, afbeelding 1 van 2 Ridgid R86034 Motor Replacement: stap 10, afbeelding 2 van 2
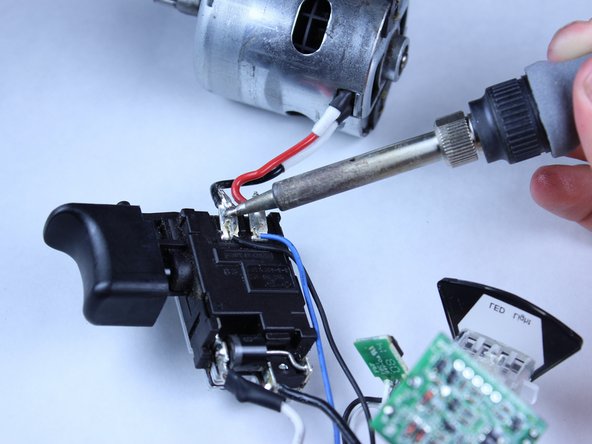
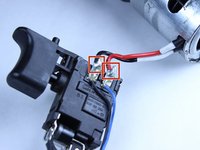
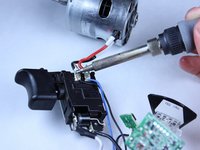
    • Desolder and remove the red and black wires connecting the trigger assembly and the motor.

    • Take note of the orientation of the wires for when they need to be resoldered.

    • You should only desolder the top-left black wire and the top-right red wire, not the bottom-left black wire or the blue wire.

    Vraag FixBot
Conclusie

To reassemble your device, follow these instructions in reverse order.

2 andere personen hebben deze handleiding voltooid.

Tommy Lovelace

Lid sinds: 04/23/15

207 Reputatie

2 handleidingen geschreven

Team

Cal Poly, Team 15-5, Amido Spring 2015 Lid van Cal Poly, Team 15-5, Amido Spring 2015

CPSU-AMIDO-S15S15G5

4 Leden

12 handleidingen geschreven

0Gids Commentaar

Voeg opmerking toe

Weergavestatistieken:

Afgelopen 24 uren: 0

Afgelopen 7 dagen: 12

Afgelopen 30 dagen: 94

Altijd: 3,945