Inleiding
Replace the right speaker on your Retina MacBook 2015. Part of the wireless antenna is also integrated into the right speaker. Use this guide to replace both the speaker and antenna as a single unit.
To avoid logic board damage, when your MacBook repair is complete but before powering it on, connect it to low-voltage power using a 5-Watt iPhone charger and a USB-C to USB-A cable. These accessories are not included with your MacBook, so make sure you have them ready before you begin.
Wat je nodig hebt
-
Gereedschap gebruikt in deze stap:Magnetic Project Mat$19.95
-
Remove the following eight screws securing the lower case:
-
Two 1.8 mm P5 Pentalobe screws
-
Four 2.9 mm P5 Pentalobe screws
-
Two 6.1 mm P5 Pentalobe screws
-
-
-
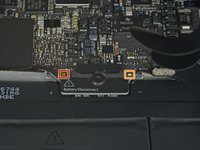
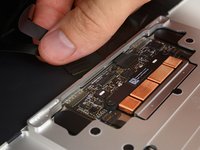
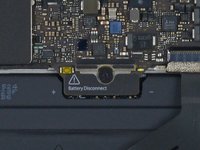
Use the flat end of a spudger to press and hold the small gold 'battery disconnect' button.
-
If the power LED is lit up, continue holding the button until the LED goes dark, and then release. This may take up to 10 seconds.
-
If the LED does not light, release the button after 5-10 seconds. Press and hold it again for 5-10 seconds, and release. Finally, press and hold it a third time for 5-10 seconds, and release.
-
-
-
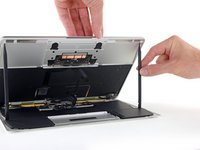
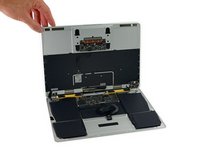
Carefully turn the MacBook over, so that the lower case lays flat.
-
Raise the upper case/display assembly to about a 90° angle, and prop it up against something sturdy so you don't have to hold it.
-
Add a piece of tape near the track pad to secure the upper case and prevent accidental movement.
-
-
Gereedschap gebruikt in deze stap:Battery Blocker$3.99
-
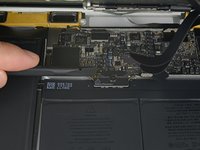
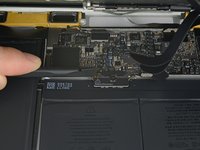
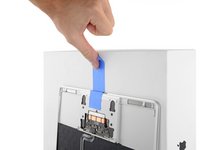
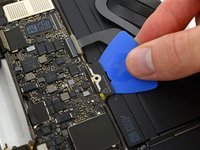
As an added precaution, you may physically disconnect the battery by inserting a battery isolation pick between the logic board and the battery connector.
-
-
-
Gereedschap gebruikt in deze stap:Tweezers$4.99
-
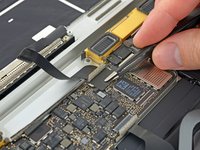
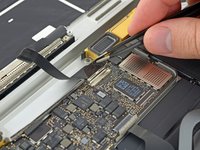
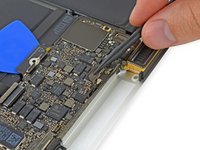
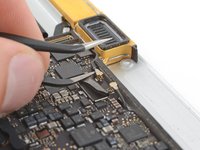
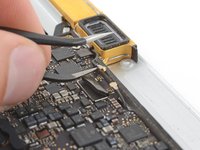
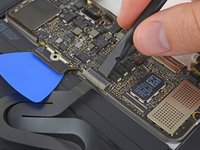
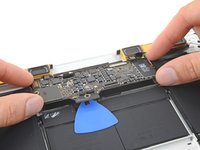
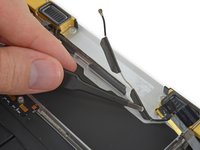
Use tweezers to peel back the tape covering the display cable connector.
-
-
Gereedschap gebruikt in deze stap:Tweezers$4.99
-
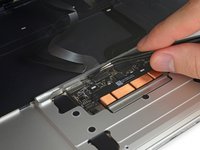
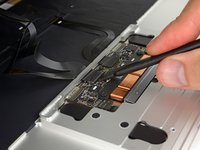
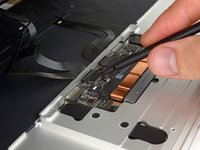
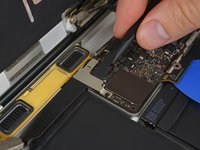
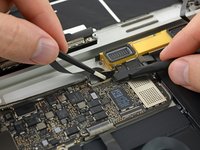
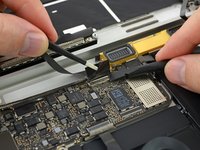
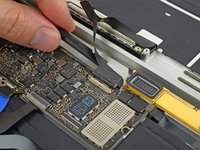
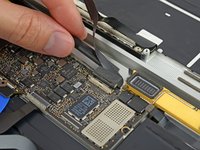
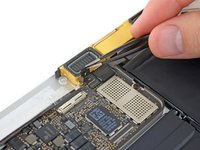
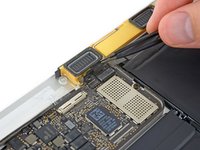
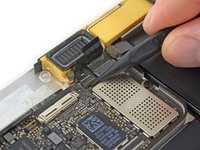
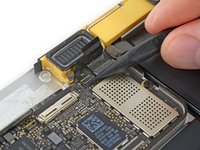
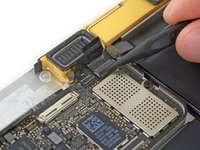
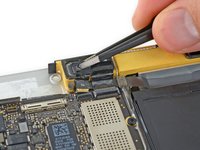
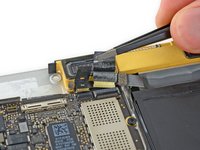
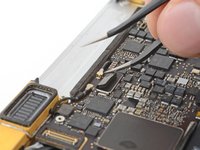
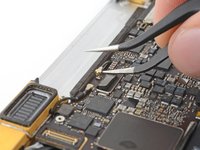
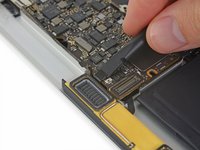
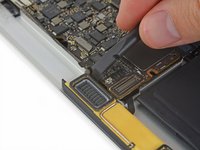
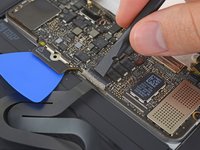
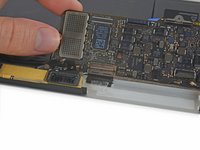
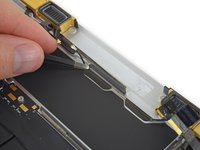
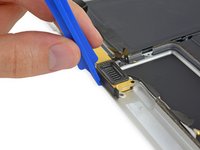
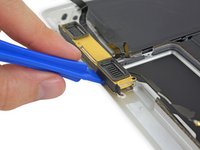
Use tweezers to peel up the tape covering the two ZIF connectors—one for the right speaker cable, and one for the audio jack board cable.
-
-
Gereedschap gebruikt in deze stap:Tweezers$4.99
-
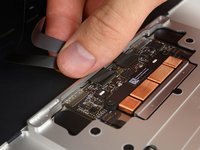
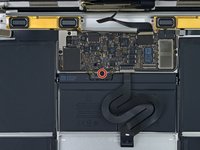
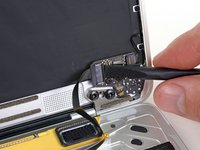
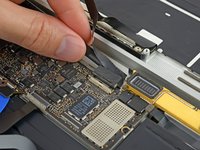
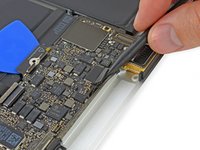
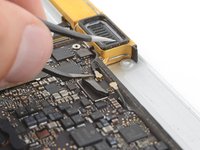
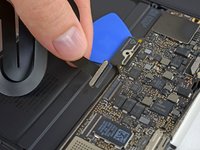
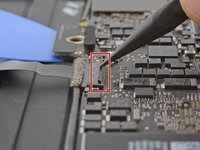
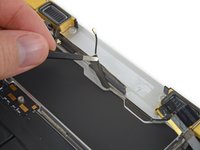
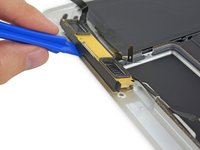
Using tweezers, remove the foam pad covering the screw on the left side of the right speaker.
-
-
-
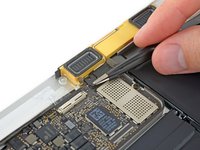
Prepare an iOpener and heat the lower case directly beneath the right speaker for 1-2 minutes, in order to soften up the adhesive securing the speaker.
-


To reassemble your device, follow these instructions in reverse order. To avoid logic board damage, when your MacBook repair is complete but before powering it on, connect it to low-voltage power using a 5-Watt iPhone charger and a USB-C to USB-A cable.
To reassemble your device, follow these instructions in reverse order. To avoid logic board damage, when your MacBook repair is complete but before powering it on, connect it to low-voltage power using a 5-Watt iPhone charger and a USB-C to USB-A cable.
Annuleren: ik heb deze handleiding niet afgemaakt.
Één andere persoon heeft deze handleiding voltooid.
