Ga door naar hoofdinhoud
Word lid van de reparatiegemeenschap - Account aanmaken

Razer DeathAdder V2 Pro Battery Replacement

Wat je nodig hebt

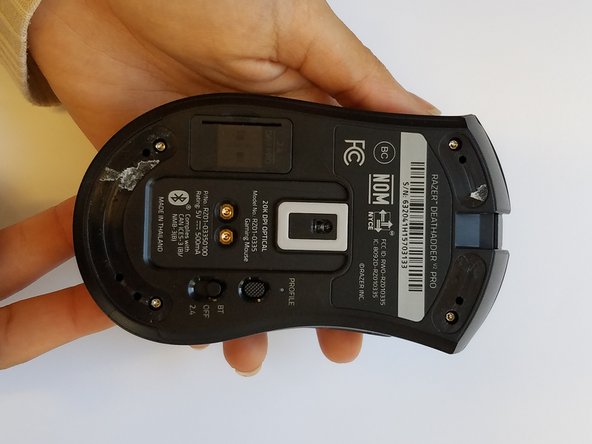
    1. Razer DeathAdder V2 Pro Battery Replacement, Battery: stap 1, afbeelding 1 van 1
      • Turn the mouse over so that the writing on the bottom faces up.

      Vraag FixBot

      Voeg opmerking toe

    2. Razer DeathAdder V2 Pro Battery Replacement: stap 2, afbeelding 1 van 1
      • Use a spudger to remove the three pads on the bottom of the mouse.

      Vraag FixBot

      Voeg opmerking toe

    3. Razer DeathAdder V2 Pro Battery Replacement: stap 3, afbeelding 1 van 2 Razer DeathAdder V2 Pro Battery Replacement: stap 3, afbeelding 2 van 2
      • Remove the four 1.2 mm screws from each corner of the mouse using a T6 Torx screwdriver.

      Vraag FixBot

      Voeg opmerking toe

    4. Razer DeathAdder V2 Pro Battery Replacement: stap 4, afbeelding 1 van 1
      • Use a nylon spudger to pry the back cover away from the mouse.

      • Starting from the lower corner of the mouse is strongly recommended. Once the tool is in, slide it in between the top and the lower part of the mouse, and run it around the edge of the bottom cover until it pops out naturally.

      • Be cautious not to crack the top and the bottom covers of the mouse.

      Vraag FixBot

      Voeg opmerking toe

    5. Razer DeathAdder V2 Pro Battery Replacement: stap 5, afbeelding 1 van 1
      • Detach the white connector with red wires gently from the side that connects the side buttons to the PCB.

      • Be careful not to pull too hard on the connector to avoid damaging the solder that connects to the PCB.

      Vraag FixBot

      Voeg opmerking toe

    6. Razer DeathAdder V2 Pro Battery Replacement: stap 6, afbeelding 1 van 1
      • Make sure the PCB is disconnected as shown before pulling apart the two halves of the mouse.

      Vraag FixBot

      Voeg opmerking toe

    7. Razer DeathAdder V2 Pro Battery Replacement: stap 7, afbeelding 1 van 1
      • Place both the top and bottom pieces of the mouse on their backs.

      Vraag FixBot

      Voeg opmerking toe

    8. Razer DeathAdder V2 Pro Battery Replacement: stap 8, afbeelding 1 van 2 Razer DeathAdder V2 Pro Battery Replacement: stap 8, afbeelding 2 van 2
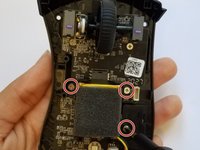
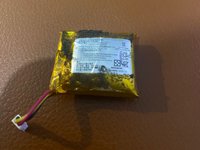
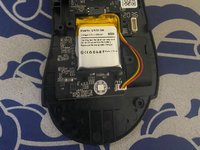
      • Remove the three 1 mm screws that hold the battery to the circuit board using a Phillips #1 screwdriver.

      • Remove the battery from the mouse.

      Vraag FixBot

      Voeg opmerking toe

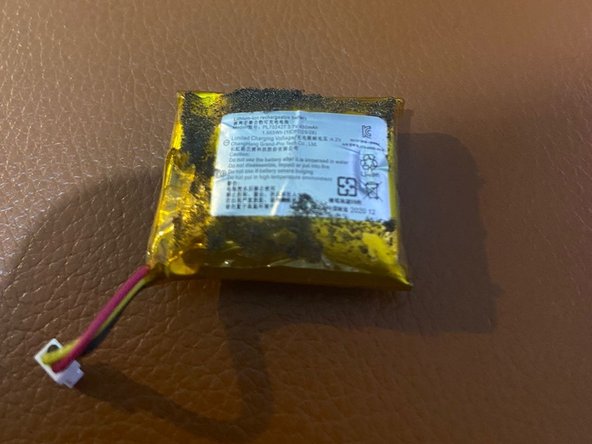
    9. Razer DeathAdder V2 Pro Battery Replacement: stap 9, afbeelding 1 van 2 Razer DeathAdder V2 Pro Battery Replacement: stap 9, afbeelding 2 van 2
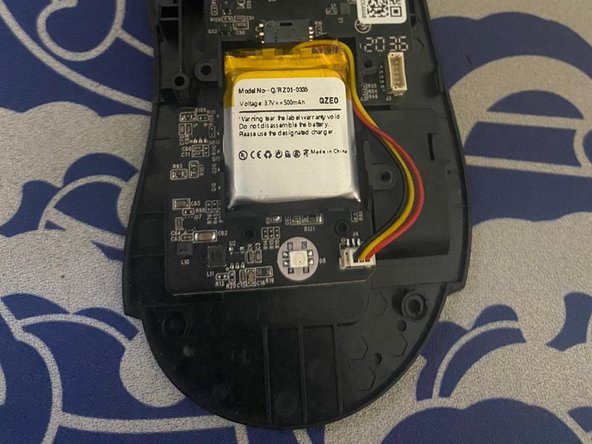
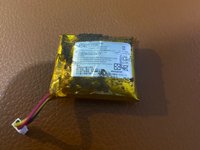
      • the original battery and new battery instaled.

      Vraag FixBot

      Voeg opmerking toe

Conclusie

To reassemble your device, follow these instructions in reverse order.

Annuleren: ik heb deze handleiding niet afgemaakt.

5 andere personen hebben deze handleiding voltooid.

Tatiana Nzeba

Lid sinds: 09/15/22

211 Reputatie

1 Handleiding geschreven

9Gids Commentaar

What Voltage and mAh is the battery?

Nicoolodion - Antwoord Deel

AliExpress ex. has the apropriate battery for this mouse.

It´s a battery with 1500mAh and 3,7V .

Claus Gärtner - Antwoord Deel

Are you referring to LOSONCOER?

pikimouse - Antwoord Deel

In case someone is in the same boat as me:
The original was a 3.7v 450mah battery.

I put in a 1500mah, 3.7v LOSONCOER battery, but also saw a 450 variant on AliExpress. The only problem with the losoncoer is that wasn't the same connector as the original, the losoncoer one was slimmer, so it was a bit odd and only worked with a lot of tinkering, but the guide is perfect!

Mārtiņš Būmanis - Antwoord Deel

Hi! Could you link a battery that works for this mouse? Are the 1500mah batteries just as big? The battery life is just 3 times as good? Do you know the name of the connector that the original uses?

Anton - Antwoord Deel

Voeg opmerking toe

Weergavestatistieken:

Afgelopen 24 uren: 13

Afgelopen 7 dagen: 75

Afgelopen 30 dagen: 355

Altijd: 13,279