Deze vertaling geeft mogelijk niet de meest recente updates van de bronhandleiding weer. Help ons met het updaten van de vertaling of bekijk de bronhandleiding.
Inleiding
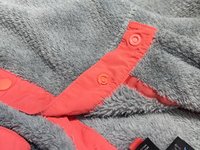
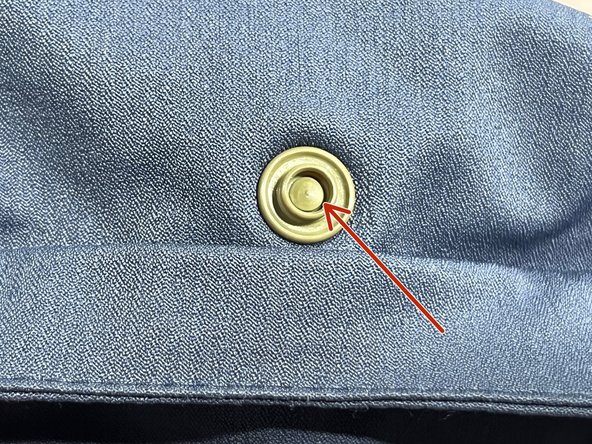
Op veel Patagonia-producten vind je plastic drukkers die ertoe dienen twee delen stof met elkaar te verbinden. Als een van de plastic drukkers loskomt of beschadigd raakt, is het handig deze te vervangen.
In deze handleiding zie je hoe je een beschadigde of ontbrekende drukker vervangt, zonder dat je hoeft te naaien. Om zeker te weten dat deze reparatie mogelijk is, moet je controleren of je beide zijden van de beschadigde drukker kunt zien (dus de kop en de basis). Controleer ook of de stof rondom de drukker niet te veel beschadigd is. Als dit wel het geval is, moet je een extra stuk stof bevestigen om het gat te dichten en het mogelijk te maken dat je een drukker kunt installeren.
Deze handleiding is bedoeld voor professionele reparateurs die beschikken over een handmatige persmachine. Als je een snap tool gebruikt, kun je deze handleiding gebruiken.
Je kunt er ook voor kiezen je Patagonia-producten naar een verkooppunt bij je in de buurt te brengen of op te sturen via Patagonia's reparatieservice.
Laten we beginnen met de reparatie!
Waarschuwing: kleine onderdelen! Patagonia raadt aan deze handleiding niet te gebruiken voor kledingstukken voor kinderen van drie jaar oud of jonger. Patagonia raadt in dat geval aan het kledingstuk terug te sturen naar Patagonia zodat deze op professionele wijze gerepareerd kan worden.
Relevante andere reparatie:
Wat je nodig hebt
-
-
Klein 14L (8,9 mm, 0.35 inches)
-
Middelgroot 20L (12.7 mm, 0.5 inches)
-
Groot 24L (15.3 mm, 0.6 inches)
-
-
-
Leg het stuk voor je met de beschadigde of ontbrekende drukker.
-
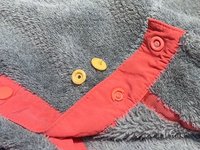
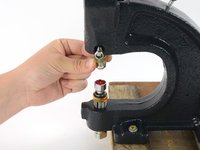
Verzamel de benodigde onderdelen van de drukker:
-
De socket is beschadigd: Pak een socket- en cap-onderdeel.
-
De stud is beschadigd: Pak een stud- en cap-onderdeel.
-
Beide zijden zijn beschadigd: Pak een stud- en een socket-onderdeel en twee cap-onderdelen.
-
Als je een van beide zijden vervangt, moet je eerst controleren of het nieuwe onderdeel wel op het oude onderdeel past.
-
Als je een kapotte drukker moet verwijderen, ga je naar stap 4. Anders kun je verdergaan met stap 5.
-
-
-
Gebruik een nijptang of een draadkniptang en schuif een kant van de tang tussen de drukker en de stof.
-
Druk de tang samen tot de kapotte drukker volledig loskomt.
-
Gooi de kapotte drukker weg op de daarvoor bestemde plek.
-
-
-
-
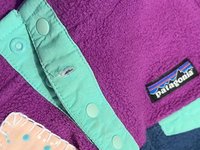
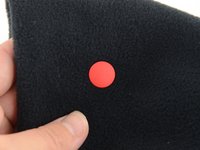
Als het goed is, zit er een klein gaatje op de plek waar de oude drukker zich bevond. Gebruik dit als referentiepunt voor het plaatsen van de nieuwe drukker.
-
-
-
Plaats de cap-perser in de onderste houder van de handmatige persmachine en plaats de cap zelf in de perser. Zorg dat de platte kant van de snap naar beneden wijst, zodat de plastic pin omhoogwijst.
-
Klik de socket of de stud in de daarbij behorende perser.
-
-
-
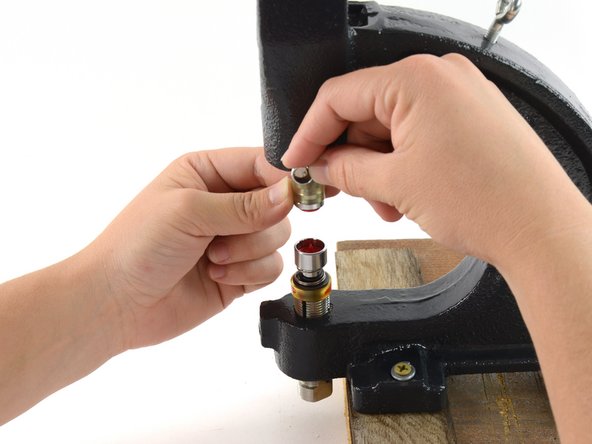
Gebruik een schroevendraaier, een inbussleutel of je vingers om de vergrendeling bij de bovenste houder van de persmachine los te draaien.
-
Steek de perser in de bovenste houder en houd deze vast.
-
Draai het vergrendelmechanisme weer aan om de perser vast te zetten.
-
-
-
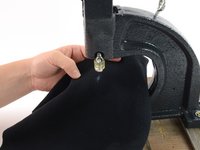
Plaats je kledingstuk op de juiste plaats boven de onderste houder en zorg dat het gat in je kledingstuk precies boven de pin van de cap komt te liggen.
-
Zorg dat er geen extra stof in de perser blijft hangen.
-
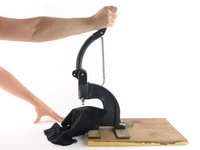
Houd je kledinstuk vast en gebruik je andere hand om de hendel van de persmachine naar beneden te trekken.
-
-
-
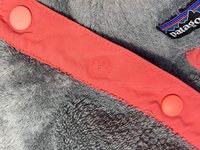
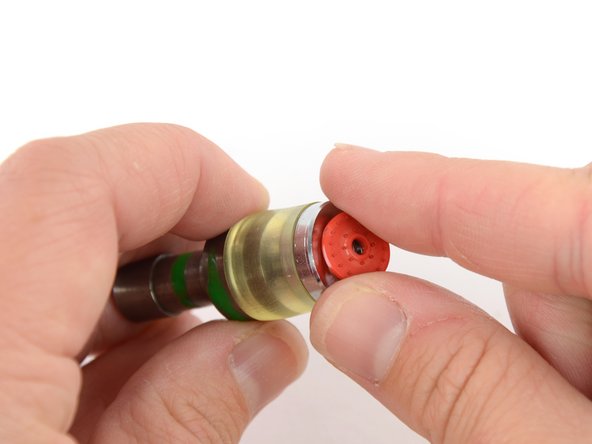
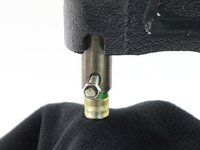
Verwijder je kledingstuk uit de persmachine en controleer of de nieuwe drukker goed vastklikt.
-
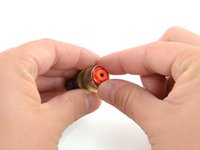
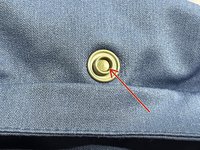
Je ziet drie concentrische cirkels in het midden van de drukker (afbeelding 2)
-
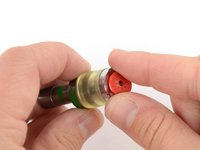
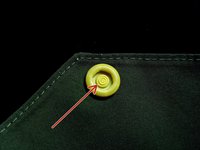
Je ziet een paddestoelachtige vorm in het midden van de drukker (afbeelding 3)
-
Als de drukker blijft draaien nadat je deze hebt vastgeperst, betekent dit dat de drukker niet helemaal goed zit. Herhaal in dat geval de vorige stap.
-
-
-
Druk de twee zijden van de drukker samen en klaar is kees!
-


Annuleren: ik heb deze handleiding niet afgemaakt.
3 andere personen hebben deze handleiding voltooid.
Met dank aan deze vertalers:
90%

Thomas Keulemans helpt ons de wereld te repareren! Doe je mee?
Begin met vertalen ›


5Gids Commentaar
This is not a very helpful post as there are no sources for the tools needed and Patagonia support had no idea what I was talking about. They may not even have the replacement snap. Any further information would be gratefully appreciated.
Patagonia sent me some snaps to replace one that popped off a jacket. I do not have access to a hand press. any workarounds or suggestions would be helpful.
Agree with the previous comments. A workaround for those without the exact sockets and the hand press would be appreciated…
Sort of misleading fix. You can get the replacement snaps from Patagonia and the hand press from Amazon but where do you get those very specific upper and lower sockets for the hand press that are shown? They certainly do not come with the hand press….