Inleiding
In this guide we will explain the steps necessary to safely remove and replace the OnHub speaker.
Wat je nodig hebt
-
-
-
While holding the base firmly using the palm of one hand, remove the cowl (cover) by turning the cowl counterclockwise until a snap is heard. Once disengaged, pull upwards.
 Vraag FixBot
-
-
-
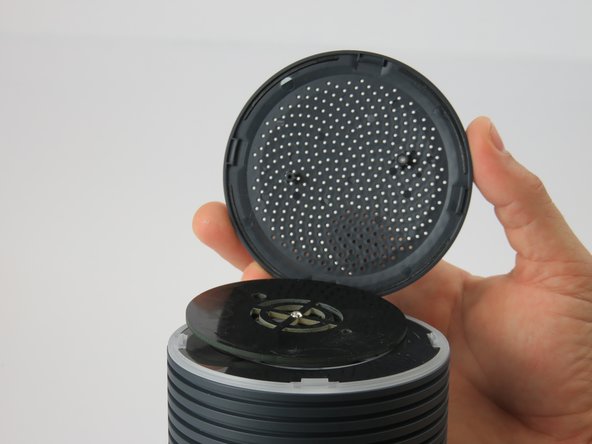
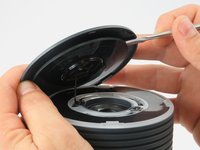
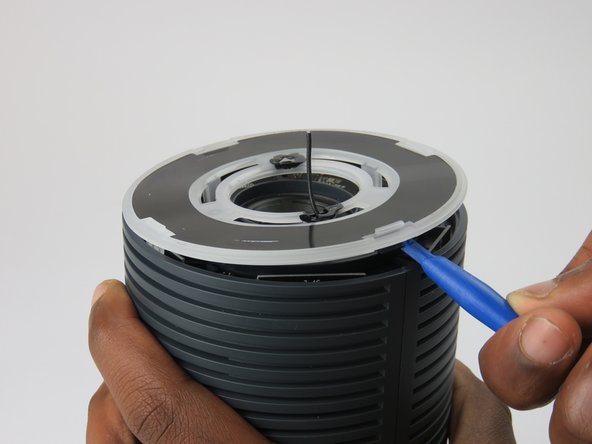
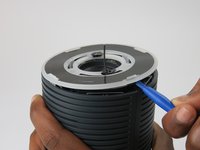
Place the plastic opening tool under the speaker grille, and just above the light ring.
-
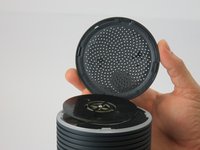
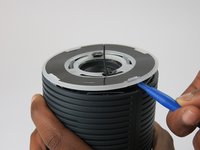
Move the plastic opening tool around the groove while applying upward force to pry loose the 4 clips holding the grille in place.
-
-
-
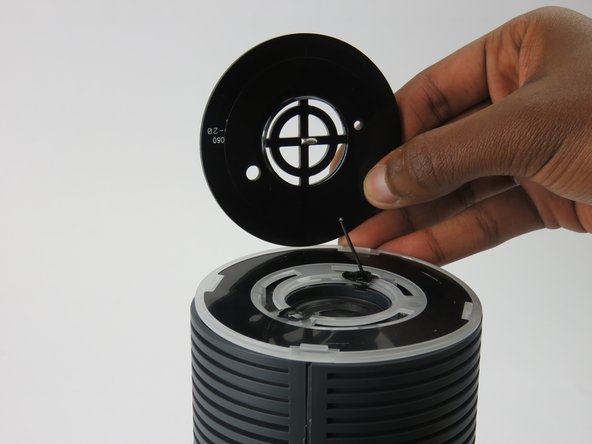
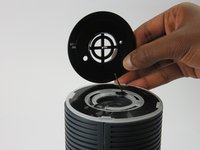
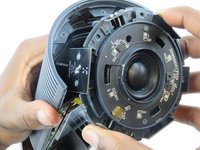
Using a metal spudger, carefully remove the congestion-sensor antenna by undoing the two clips.
-
-
-
-
-
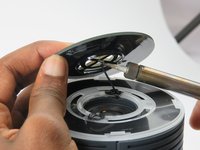
Remove the wire connection to the antenna by soldering it off.
-
For help with soldering and de-soldering check out the iFixit Soldering Guide
-
-
-
-
-
-
You must remove the plastic cover found just above the speaker.
-
Wedge the plastic opening tool under the cover and apply pressure in an upward direction.
-
There are four clips that you are removing. When disengaged, these clips will make a snapping noise.
-
-
-
Upon removing the cover, four screws and the speaker housing will be exposed.
-
Unscrew the four 12mm screws using a #1 Phillips head screwdriver.
-
This unlocks the speaker housing and antenna array from the casing.
-
-
-
On the bottom of the OnHub is two screws holding the casing to the base.
-
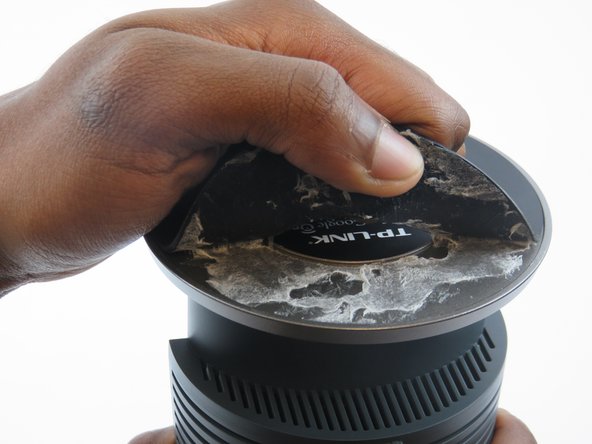
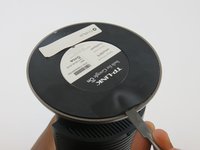
To access these screws, you must remove the rubber pad that is glued to the base.
-
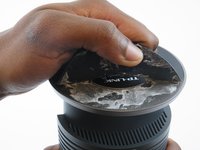
To remove the pad, slide a metal spudger under the edge of the pad. Pry the pad away from the base, removing the glue.
-
Once the pad is pulled up enough to grab, peel it the rest of the way exposing the screws.
-
-
-
Remove the two 12mm screws under the base of the OnHub by using a #1 Phillips head screwdriver.
-
-
-
Once the two screws are removed from the base, it is time to split the casing apart.
-
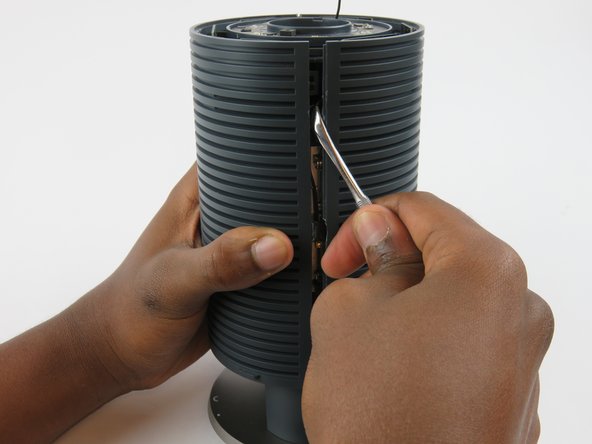
Wedge a spudger between the two casing halves, and pry the clips apart starting from the top
-
There are three hooking style clips in total.
-
-
-
Once unclipped, you can slide the two casing halves apart, and remove the casing.
-
-
-
-
-
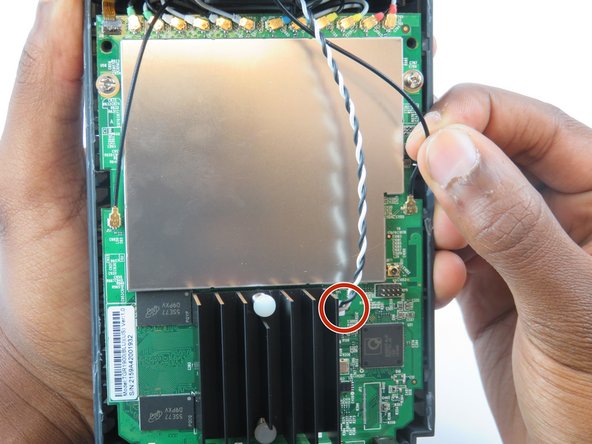
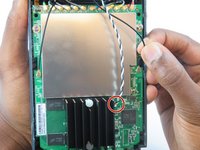
Underneath the speaker is an intertwined black and white wire.
-
Disconnect the wire from its connection to the motherboard.
-
-
-
The speaker should now easily come off with a firm grip on the OnHub device and pull.
-
-











To reassemble your device, follow these instructions in reverse order.
Annuleren: ik heb deze handleiding niet afgemaakt.
3 andere personen hebben deze handleiding voltooid.

Team

USF Tampa, Team 3-3, Sullivan Spring 2016 Lid van USF Tampa, Team 3-3, Sullivan Spring 2016
USFT-SULLIVAN-S16S3G3
3 Leden
10 handleidingen geschreven
