Ga door naar hoofdinhoud
Word lid van de reparatiegemeenschap - Account aanmaken

Nextbook Premium 7SE Battery Replacement

Wat je nodig hebt

  1. Nextbook Premium 7SE Battery Replacement, Back Cover: stap 1, afbeelding 1 van 3 Nextbook Premium 7SE Battery Replacement, Back Cover: stap 1, afbeelding 2 van 3 Nextbook Premium 7SE Battery Replacement, Back Cover: stap 1, afbeelding 3 van 3
    • Insert the plastic opening tool into the middle of the bottom edge of the device. The tool should be inserted within the seam between the back and front covers.

    • Slide the opening tool to the right and slowly continue to separate the back cover from the device.

    • Avoid prying on the buttons, as they are easily damaged.

    Vraag FixBot

    Voeg opmerking toe

  2. Nextbook Premium 7SE Battery Replacement: stap 2, afbeelding 1 van 1
    • Pull the cover off of the device once about three quarters of the cover has been pried open using the plastic opening tool.

    Vraag FixBot

    Voeg opmerking toe

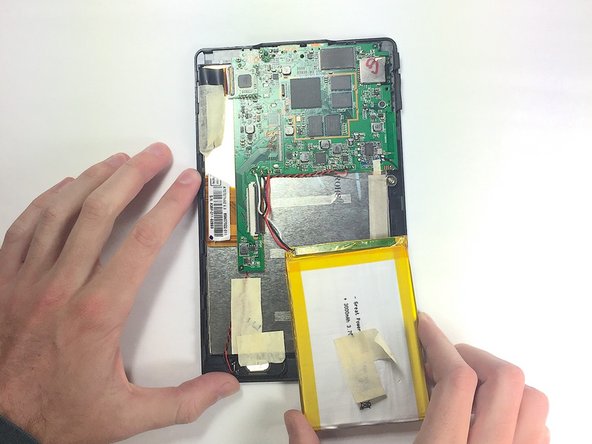
  3. Nextbook Premium 7SE Battery Replacement, Battery: stap 3, afbeelding 1 van 1
    • Remove masking tape from the battery.

    Vraag FixBot

    Voeg opmerking toe

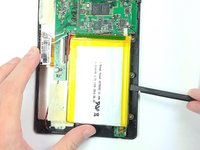
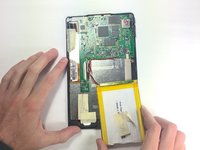
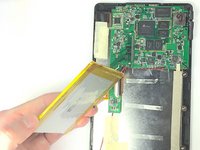
  4. Nextbook Premium 7SE Battery Replacement: stap 4, afbeelding 1 van 3 Nextbook Premium 7SE Battery Replacement: stap 4, afbeelding 2 van 3 Nextbook Premium 7SE Battery Replacement: stap 4, afbeelding 3 van 3
    • Pry the battery from the base using the nylon spudger and move it away from the motherboard.

    • Handle the battery with care to avoid damaging it.

    Vraag FixBot

    Voeg opmerking toe

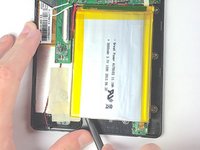
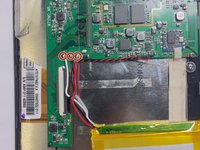
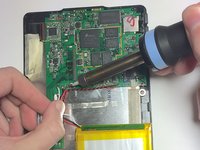
  5. Nextbook Premium 7SE Battery Replacement: stap 5, afbeelding 1 van 3 Nextbook Premium 7SE Battery Replacement: stap 5, afbeelding 2 van 3 Nextbook Premium 7SE Battery Replacement: stap 5, afbeelding 3 van 3
    • De-solder the three contact points and remove the battery.

    • See the following guide for instructions on how to solder. Hoe moet je (de-)solderen?

    • Use caution when operating the soldering iron.

    Vraag FixBot

    Voeg opmerking toe

Conclusie

To reassemble your device, follow these instructions in reverse order, being careful when re-soldering the contacts back into place.

Annuleren: ik heb deze handleiding niet afgemaakt.

Één andere persoon heeft deze handleiding voltooid.

Walker Karstens

Lid sinds: 10/30/16

364 Reputatie

3 handleidingen geschreven

Team

Baylor, Team 4-1, Williams Fall 2016 Lid van Baylor, Team 4-1, Williams Fall 2016

BU-WILLIAMS-F16S4G1

4 Leden

14 handleidingen geschreven

0Gids Commentaar

Voeg opmerking toe

Weergavestatistieken:

Afgelopen 24 uren: 1

Afgelopen 7 dagen: 2

Afgelopen 30 dagen: 22

Altijd: 1,007