Deze versie kan foutieve bewerkingen bevatten. Schakel over naar de recentste gecontroleerde momentopname.
Wat je nodig hebt
-
Deze stap is niet vertaald. Help het te vertalen
-
Put on Electrostatic Discharge (ESD) bracelet. Hold the device with the transparent plastic casing on the top.
-
Using the jimmy tool, carefully pry off the black plastic ring.
-
Remove the spring assembly from inside the transparent plastic tube.
-
-
Deze stap is niet vertaald. Help het te vertalen
-
Using a Phillips #1 screwdriver, unscrew each of the four 12.7 mm screws inside and at the bottom of the plastic tube.
-
Take the plastic tube off of the metal casing.
-
-
-
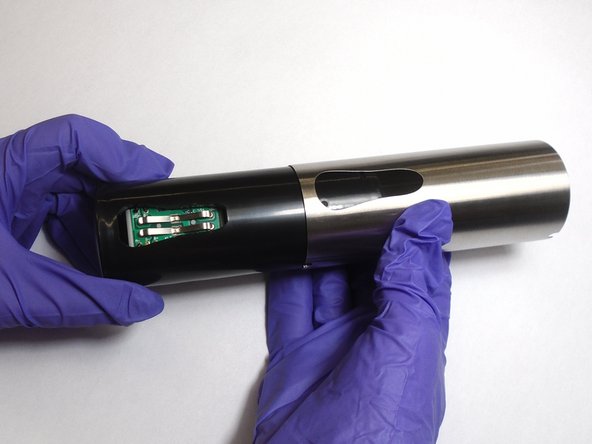
Deze stap is niet vertaald. Help het te vertalen
-
Place the jimmy tool blade between the button assembly and the metal casing. Gently pry off the button assembly; it should pop out.
-
With the button assembly removed, slide off the metal casing.
-
-
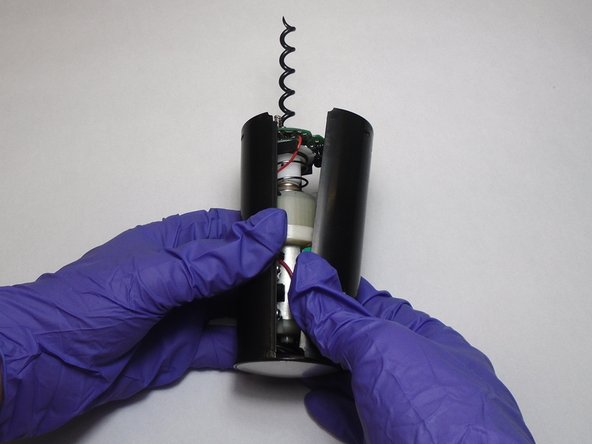
Deze stap is niet vertaald. Help het te vertalen
-
Unscrew the two 6.4 mm screws in the black plastic body using the Phillips #1 screwdriver.
-
Separate the two halves of the plastic body. Keep the half containing the motor facing up.
-
-
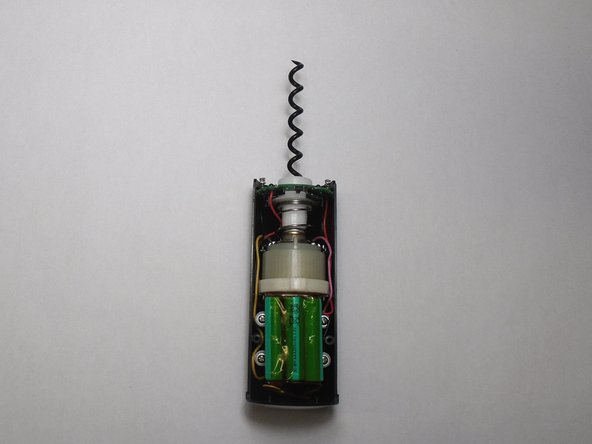
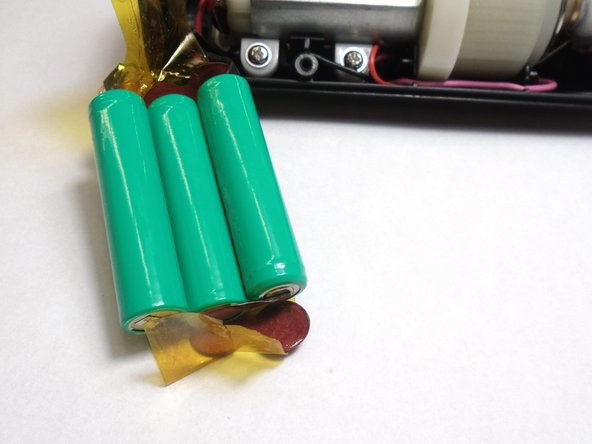
Deze stap is niet vertaald. Help het te vertalen
-
Carefully peel the tape off far enough to remove the 3 batteries.
-
-
Deze stap is niet vertaald. Help het te vertalen
-
Slide the circuit board out of its slot.
-
Remove the LEDs by clipping off their connections with a pair of tweezers.
-
Attach the new LEDs by soldering the ends of the LEDS to their corresponding connections on the circuit board.
-


Annuleren: ik heb deze handleiding niet afgemaakt.
Één andere persoon heeft deze handleiding voltooid.

Team

The Citadel Military College of South Carolina, Team S3-G13, Eggleston Fall 2019 Lid van The Citadel Military College of South Carolina, Team S3-G13, Eggleston Fall 2019
CMCSC-EGGLESTON-F19S3G13
3 Leden
4 handleidingen geschreven