Deze vertaling is door een computer gegenereerd en is nog niet door iemand nagekeken. Spreek je deze taal? Bekijk het hier.
Inleiding
Gebruik deze handleiding om de schermmodule van je MacBook Pro te vervangen.
Wat je nodig hebt
-
-
-
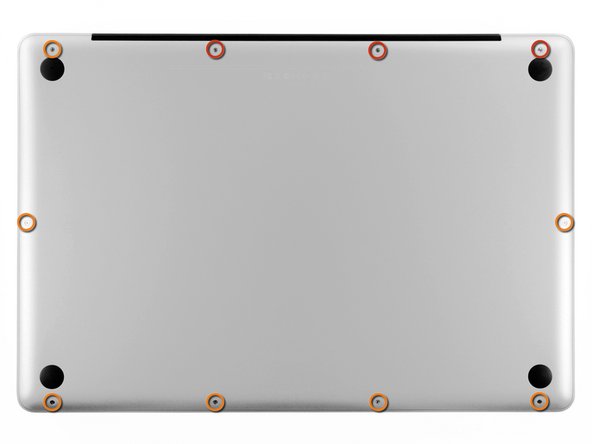
Verwijder de volgende tien schroeven waarmee de behuizing aan de onderkant aan de bovenkant bevestigd is:
-
Drie 13,5 mm kruiskopschroeven.
-
Zeven 3 mm kruiskopschroeven.
 Vraag FixBot
-
-
-
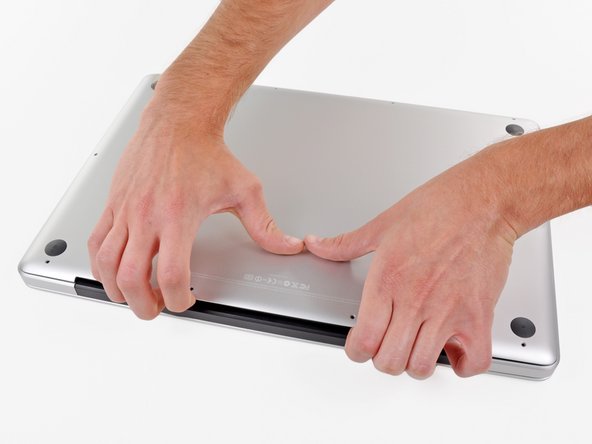
Plaats je vingers tussen de behuizing aan de onderkant en de ventilatieopening, en til deze omhoog om de twee clips los te maken die de behuizing aan de onderkant aan de bovenkant vasthouden.
-
Verwijder de behuizing aan de onderkant.
-
-
-
-
-
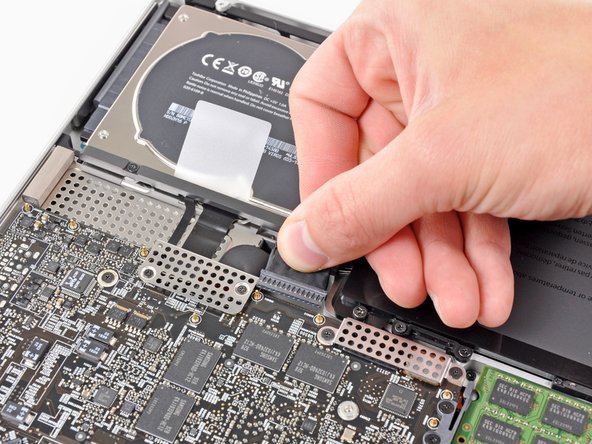
Pak, indien aanwezig, het plastic treklipje vast dat aan de accu-aansluiting is bevestigd en trek dit naar de voorrand van het apparaat. Bij modellen van eind 2011 heeft de accu-aansluiting geen lipje; dit is een stekker die recht in het moederbord wordt gestoken. Wrik de stekker recht omhoog om deze te verwijderen.
-
-
-
-
-
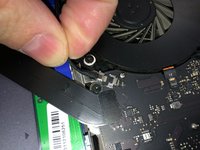
Gebruik de punt van een spudger om de kleine plastic kabelborging weg te duwen bij het stopcontact van de camerakabel, zodat er genoeg ruimte is om de camerakabel te verwijderen.
-
-
-
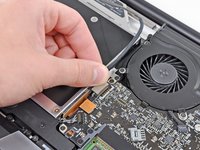
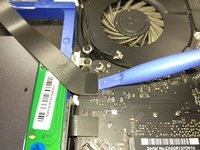
Trek de camerakabel naar de opening van de optische schijf om deze los te koppelen van het logic board.
-
-
-
Trek de Bluetooth-kabel voorzichtig in de richting van de ventilatoren om deze los te koppelen van het Bluetooth-bord.
-
-
-
-
Gebruik de platte kant van een spudger om de dunne plastic bedekking van de bovenkant en de zijkanten van de behuizing van de Bluetooth-kaart los te pellen. Kijk voor modellen van eind 2011 naar de andere afbeelding, omdat de (kabel)aansluiting zich op een compleet andere plek bevindt.
-
-
-
Gebruik de platte kant van een spudger om de Bluetooth-antenneaansluiting omhoog te wippen en van het stopcontact op de Bluetooth-plaat los te koppelen.
-
-
-
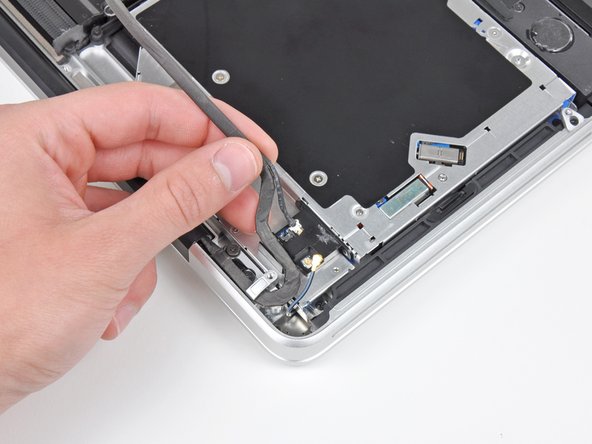
Haal de camerakabel uit de sleuf in de behuizing van het Bluetooth-bord.
-
-
-
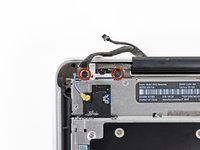
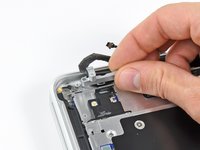
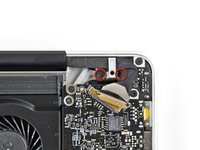
Verwijder de twee 7,1 mm kruiskopschroeven waarmee de camerakabelhouder aan de behuizing vastzit.
-
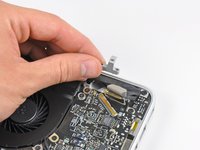
Verwijder de camerakabelhouder van de behuizing.
-
-
-
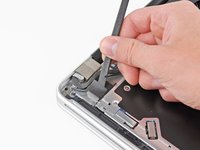
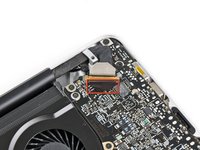
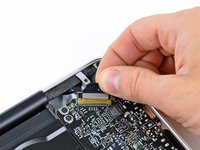
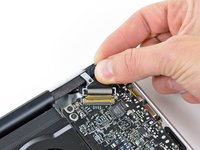
Til het zwarte plastic klepje op dat aan de borgklem van de schermdatakabel vastzit en draai het richting de DC-In-kant van de MacBook.
-
Trek de schermdatakabel uit het stopcontact.
-
-
-
Verwijder de twee 7,1 mm kruiskopschroeven waarmee de beugel van de displaydatakabel aan de behuizing is bevestigd.
-
Verwijder de beugel van de displaydatakabel.
-
-
-
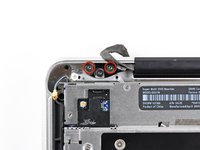
Verwijder de twee buitenste 6,8 mm T6 Torx-schroeven uit elk van de twee displaybeugels (in totaal vier schroeven).
-
-
-
Terwijl je het scherm en de behuizing met je linkerhand bij elkaar houdt, verwijder je de overgebleven T6 Torx-schroef uit de onderste schermbeugel.
-
-
-
Verwijder de laatste overgebleven T6 Torx-schroef waarmee het beeldscherm aan de behuizing vastzit.
-
-
-
Pak de bovenkap met uw rechterhand vast en draai deze iets richting de bovenkant van het beeldscherm, zodat de bovenste beeldschermbeugel vrijkomt van de rand van de bovenkap.
-
Draai het beeldscherm iets van de bovenkap af.
-
Til het beeldscherm op en weg van de bovenkap, waarbij u let op beugels of kabels die mogelijk klem komen te zitten.
-
-


















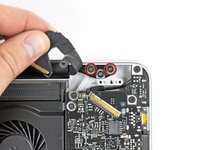


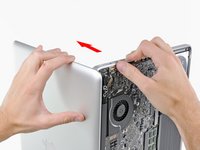
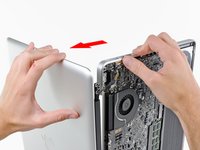
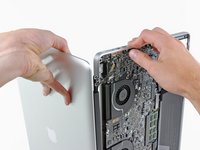
Volg deze instructies in omgekeerde volgorde om je apparaat weer in elkaar te zetten.
Annuleren: ik heb deze handleiding niet afgemaakt.
43 andere personen hebben deze handleiding voltooid.

9Gids Commentaar
This guide was a bit difficult to follow because the photos didn't represent 'exactly' what I was seeing. I was able to find the corresponding connections.
The trouble I'm having is the guide seems to end a few steps too soon. I still have a display inside the upper shell, the piece with the Apple logo. I'm very concerned for the well-being of the 'old' pieces in question. I have to save the upper case piece while extracting the display.
Any ideas please?
The title is misleading, and only covers the upper shell removal. I believe your issue is that you want to replace the display panel only, and not the enclosure or camera device. In most cases, however, technicians will simply counsel replacement of the entire upper shell, as replacing inner display components will rack up service hours and end up costing the equivalent of a new shell.
From an iFixit perspective, however, this is moot. You could find a display panel component on ebay, and do the work. I hope you found a more in-depth guide.
According to comments from iFixit on the teardown (MacBook Pro 17" Unibody Demontage), they don’t consider the upper case assembly to be repairable. See comments on step 23 of the teardown.
If anyone has been able to open and close the upper case without damaging it, please share the procedure with the rest of us!
17” 2011 Macbook Pro 2.5 (BTO) has a different section at the left hand side, the part where the cables for the wireless hook up. Pay attention to the layout and think before untying any screws. The board that hooks up the wireless is “in” a separate bridge, installed next to the DVD writer with independent screws for suspension.
