Deze vertaling is door een computer gegenereerd en is nog niet door iemand nagekeken. Spreek je deze taal? Bekijk het hier.
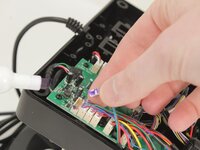
Inleiding
Als de leds op je Logitech G X56 HOTAS-gashendel flikkeren, dimmen of niet meer werken—of dit nu individueel of in hele secties is—kan dit komen door een defecte led-kaart. Deze handleiding leidt je door de stappen om een of meerdere led-kaarten te vervangen en zo de verlichting te herstellen. Controleer voor je begint of de gashendel niet op een verlichtings- of energiestand staat die flikkeren kan veroorzaken, aangezien sommige effecten softwarematig kunnen zijn in plaats van hardwarematig.
Als je niet bekend bent met solderen, bekijk dan de handleiding Hoe je verbindingen soldeert en desoldeert en neem de juiste voorzorgsmaatregelen voordat je begint.
Wat je nodig hebt
-
-
-
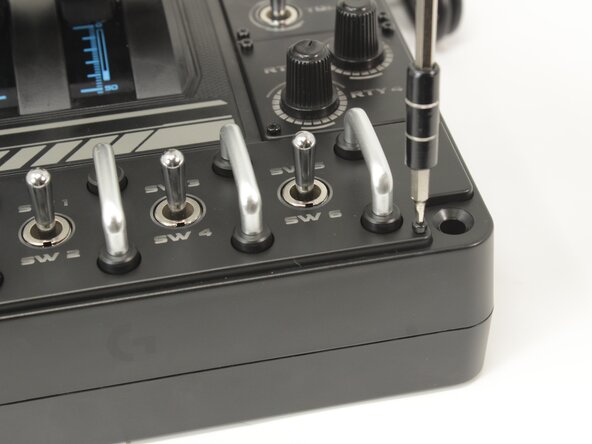
Verwijder de acht 8,6 mm lange 1,5 mm inbusschroeven van het typeplaatje.
 Vraag FixBot
-
-
-
Gebruik een Openingsgereedschap om de knop van de modusschakelaar los te wrikken.
-
-
-
Verwijder de acht 12,5 mm lange Phillips-kruiskopschroeven van de onderkant van de labelplaat.
-
-
-
Plaats de throttle weer met de goede kant naar boven en gebruik het bodempaneel als onderzetter.
-
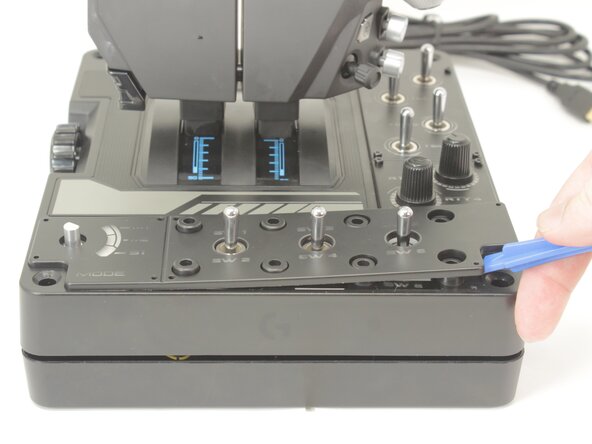
Wrik het labelplaatje voorzichtig los van de behuizing van de throttle.
-
-
-
-
-
-
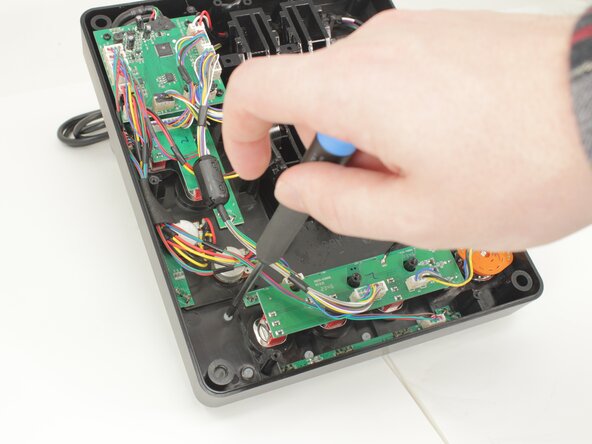
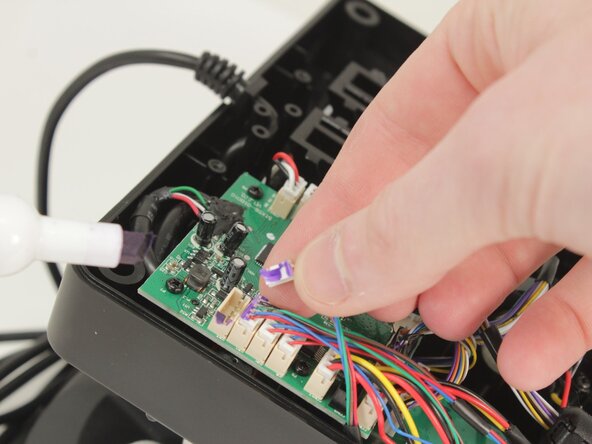
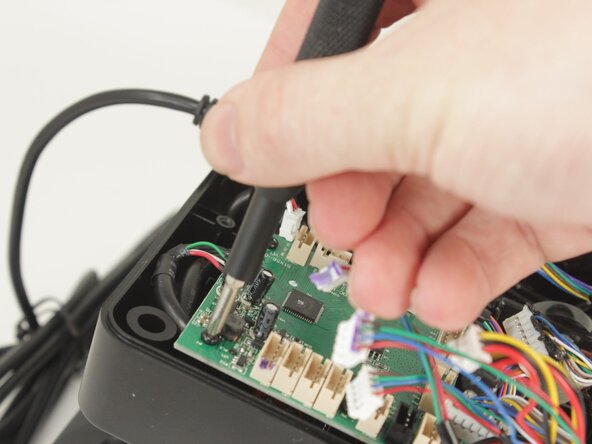
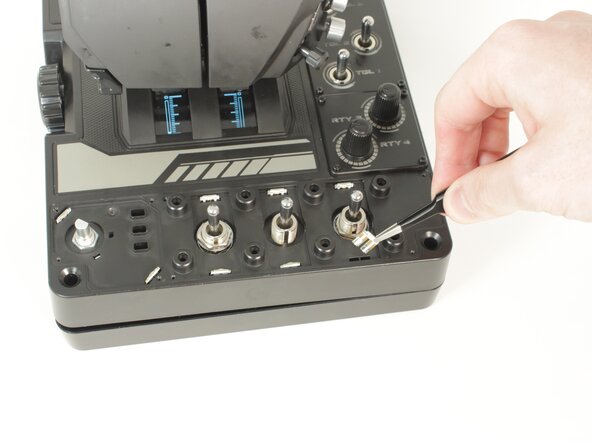
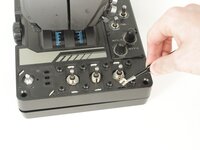
Ontkoppel alle (kabel)aansluitingen van het moederbord door ze recht omhoog uit hun stopcontact te trekken.
-
-
-
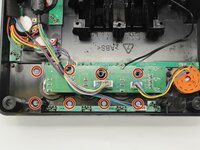
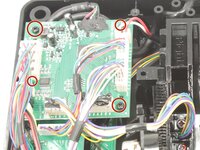
Verwijder de vier 11,6 mm lange Phillips #0-schroeven waarmee het moederbord is bevestigd.
-
-
-
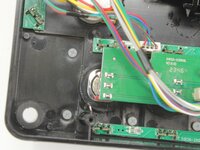
Til het moederbord uit de behuizing van de basisplaat en zorg er daarbij zorgvuldig voor dat de USB-voedingskabel niet onder spanning komt te staan.
-
-
-
-
-
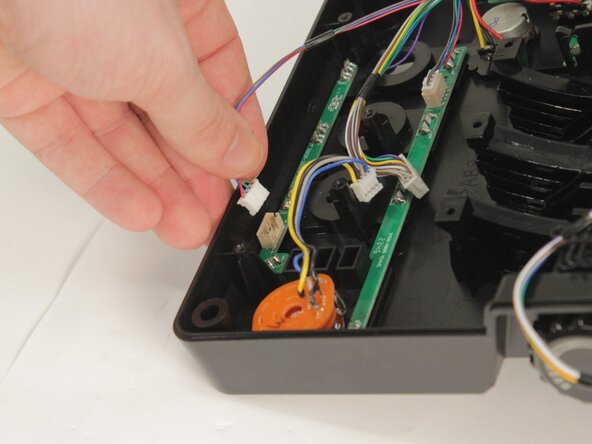
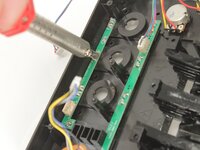
Elke LED-module gebruikt de leds om hem tegen de basisplaat te houden. Hij heeft ook een enkele kabel die verbonden is met het logic board en de voedingskaart.
-
-
-
Elk van de leds moet met een soldeerbout en naar keuze desoldeerlint of een soldeerpomp worden verwijderd.
-
Zodra de led vrij is van het soldeer, moet deze naar de voorkant toe erdoorheen worden geduwd.
-
-


Volg deze instructies in omgekeerde volgorde om je apparaat weer in elkaar te zetten.
Annuleren: ik heb deze handleiding niet afgemaakt.
Één andere persoon heeft deze handleiding voltooid.
Met dank aan deze vertalers:
100%

Translation Bot helpt ons de wereld te repareren! Doe je mee?
Begin met vertalen ›

Team

University of Memphis, Team 3-5, Sneed Spring 2025 Lid van University of Memphis, Team 3-5, Sneed Spring 2025
UM-SNEED-S25S3G5
4 Leden
77 handleidingen geschreven