Inleiding
If the network port of your Linksys WAP 11 is faulty, the device can not send or receive information through a wired connection. Replacing the network port may resolve communication issues.
Wat je nodig hebt
-
-
-
Disconnect the power cables and ethernet from the device.
-
Unscrew the external plastic antennas. There is one antenna on each side of the device.
 Vraag FixBot
-
-
Gereedschap gebruikt in deze stap:Tweezers$4.99
-
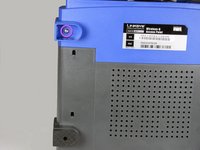
Use the tweezers to remove the two rubber boots from the front two legs. Insert the tweezers in the hole of the boot and pull outwards.
-
This will reveal two small Phillips-head screws. Remove them.
-
-
-
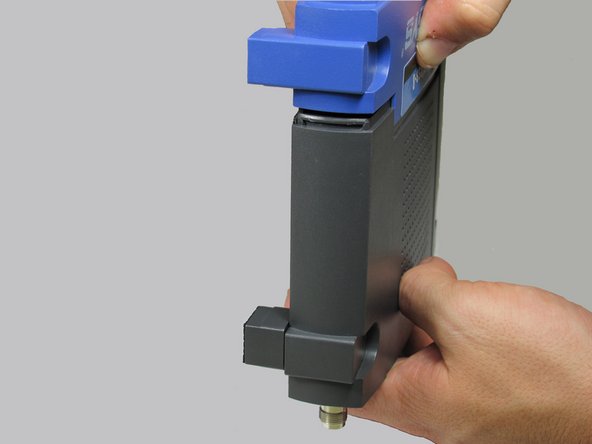
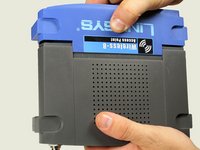
Using two hands, pull on the top and bottom sections to separate the blue and the black pieces.
-
The seal is located where the blue plastic meets the black plastic. This is where you will apply pressure.
-
-
-
-
After the face of the device has been removed, slide the base of the device off to reveal the motherboard and other internal components.
-
-
-
-
-
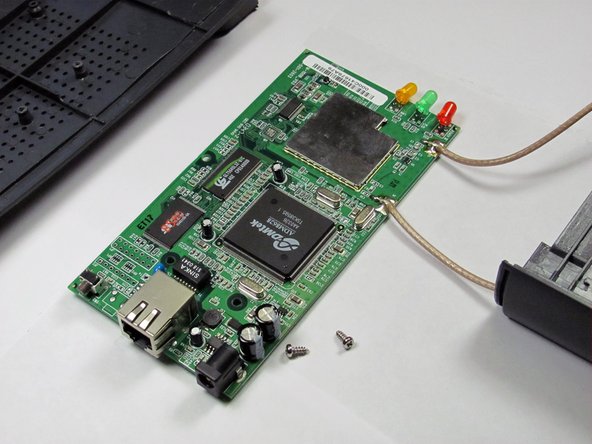
At this point, remove the antenna leads as well.
-
Proceed to remove the remaining three phillips screws fastening the motherboard to the case.
-
Once the screws are removed, your motherboard will separate from the housing.
-
-
-
-
-
Ifixit soldering guide Soldering and desoldering have the potential for harm, always wear proper eye protection and other personal protective equipment while performing either action!
-
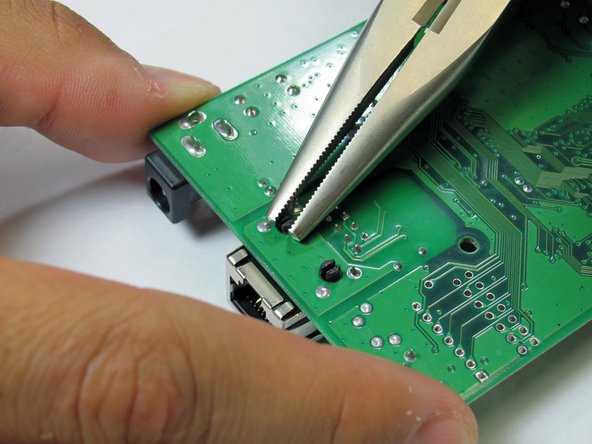
Turn the main circuit board around and using a soldering iron and desoldering wick desolder the 12 pins that secure the port to the main board.
-
-
-
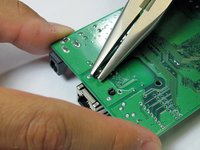
Using a pair of needle-nose pliers, squeeze the two black plastic clips that secure the network port to the board. Squeeze and push down at the same time to push the network board out of place and remove it from the board.
-
To replace the network port, line up the black plastic clips and pop a new network port into the holes. Reassemble in reverse order.
-
-








To reassemble your device, follow these instructions in reverse order.

Team

Cal Poly, Team 3-17, Regan Fall 2011 Lid van Cal Poly, Team 3-17, Regan Fall 2011
CPSU-REGAN-F11S3G17
5 Leden
32 handleidingen geschreven
