Ga door naar hoofdinhoud

Lenovo ThinkPad P50s Fan Assembly Replacement

Wat je nodig hebt

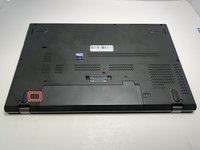
  1. Lenovo ThinkPad P50s Fan Assembly Replacement, Battery: stap 1, afbeelding 1 van 2 Lenovo ThinkPad P50s Fan Assembly Replacement, Battery: stap 1, afbeelding 2 van 2
    • Flip the device over so the bottom is facing you.

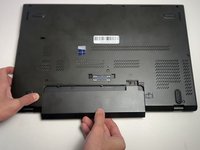
  2. Lenovo ThinkPad P50s Fan Assembly Replacement: stap 2, afbeelding 1 van 2 Lenovo ThinkPad P50s Fan Assembly Replacement: stap 2, afbeelding 2 van 2
    • Use your thumb to slide the right lock switch button outward.

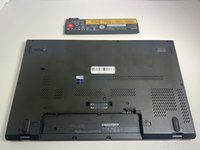
  3. Lenovo ThinkPad P50s Fan Assembly Replacement: stap 3, afbeelding 1 van 3 Lenovo ThinkPad P50s Fan Assembly Replacement: stap 3, afbeelding 2 van 3 Lenovo ThinkPad P50s Fan Assembly Replacement: stap 3, afbeelding 3 van 3
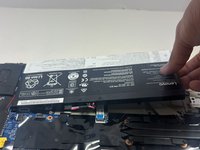
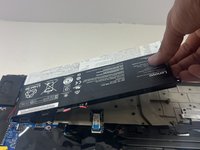
    • With your thumb slide the left lock switch button outward while sliding the battery out with your other hand.

    • When replacing the battery, make sure that the connectors are aligned properly.

    • You may hear a click when the battery is fully seated and the lock engages.

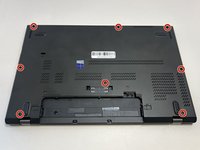
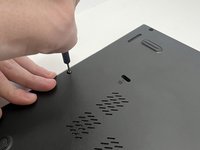
  4. Lenovo ThinkPad P50s Fan Assembly Replacement, Base Cover: stap 4, afbeelding 1 van 2 Lenovo ThinkPad P50s Fan Assembly Replacement, Base Cover: stap 4, afbeelding 2 van 2
    • Use a Phillips #00 screwdriver to unscrew the eight 2 mm captive screws.

    • These screws should not be removed entirely; you will be able to take off the base cover once they are loosened.

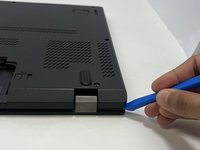
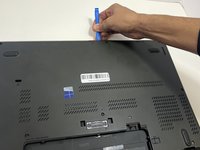
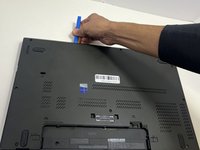
  5. Lenovo ThinkPad P50s Fan Assembly Replacement: stap 5, afbeelding 1 van 3 Lenovo ThinkPad P50s Fan Assembly Replacement: stap 5, afbeelding 2 van 3 Lenovo ThinkPad P50s Fan Assembly Replacement: stap 5, afbeelding 3 van 3
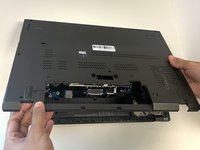
    • With the plastic opening tool, pry up the base cover.

    • Slide the opening tool around the edge of the laptop to release the snap tabs.

    • You may need to use opening picks to hold the tabs apart, as the base is securely attached and tends to snap back into place.

  6. Lenovo ThinkPad P50s Fan Assembly Replacement: stap 6, afbeelding 1 van 2 Lenovo ThinkPad P50s Fan Assembly Replacement: stap 6, afbeelding 2 van 2
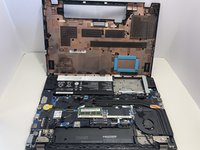
    • Lift the base cover off the laptop.

  7. Lenovo ThinkPad P50s Fan Assembly Replacement, Battery Pack: stap 7, afbeelding 1 van 3 Lenovo ThinkPad P50s Fan Assembly Replacement, Battery Pack: stap 7, afbeelding 2 van 3 Lenovo ThinkPad P50s Fan Assembly Replacement, Battery Pack: stap 7, afbeelding 3 van 3
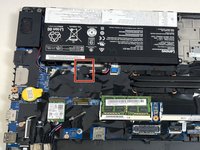
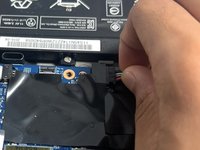
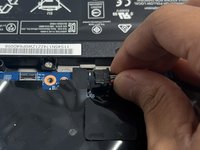
    • With your fingers or a spudger, disconnect the battery cable from the motherboard.

    • Use the point of a spudger to push on alternating sides of the connector to "walk" it out of its socket.

    • It may take a lot of alternating before the connector comes out. Be patient, and don't pull on the cables.

    • To reconnect the cable, align the connector and use a spudger or clean fingernail to push it fully into the socket.

    • Don't push or pull on the cables themselves, or you may damage the connector.

  8. Lenovo ThinkPad P50s Fan Assembly Replacement: stap 8, afbeelding 1 van 1
    • Use a Phillips #00 screwdriver to remove the five 2.5 mm retaining screws.

  9. Lenovo ThinkPad P50s Fan Assembly Replacement: stap 9, afbeelding 1 van 2 Lenovo ThinkPad P50s Fan Assembly Replacement: stap 9, afbeelding 2 van 2
    • Lift the battery away from the device to remove it.

  10. Lenovo ThinkPad P50s Fan Assembly Replacement, Fan assembly: stap 10, afbeelding 1 van 2 Lenovo ThinkPad P50s Fan Assembly Replacement, Fan assembly: stap 10, afbeelding 2 van 2
    • Use the point of a spudger to push on alternating sides of the fan connector to "walk" it out of its socket.

    • It may take a lot of alternating before the connector comes out. Be patient, and don't pull on the cables.

    • To reconnect the cable, align the connector and use a spudger or clean fingernail to push it fully into the socket.

    • Don't push or pull on the cables themselves, or you may damage the connector.

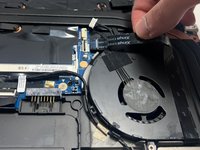
  11. Lenovo ThinkPad P50s Fan Assembly Replacement: stap 11, afbeelding 1 van 3 Lenovo ThinkPad P50s Fan Assembly Replacement: stap 11, afbeelding 2 van 3 Lenovo ThinkPad P50s Fan Assembly Replacement: stap 11, afbeelding 3 van 3
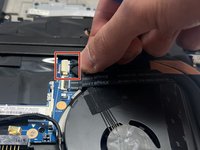
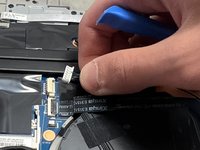
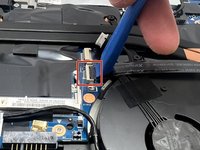
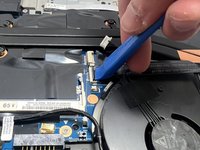
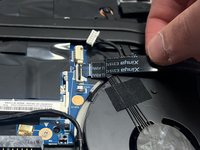
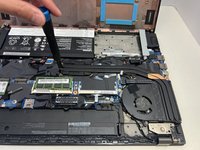
    • Use the opening tool to lift up the locking flap on the power button cable.

    • Use tweezers or your fingers to gently pull the cable out of its socket.

  12. Lenovo ThinkPad P50s Fan Assembly Replacement: stap 12, afbeelding 1 van 3 Lenovo ThinkPad P50s Fan Assembly Replacement: stap 12, afbeelding 2 van 3 Lenovo ThinkPad P50s Fan Assembly Replacement: stap 12, afbeelding 3 van 3
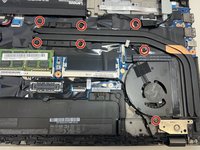
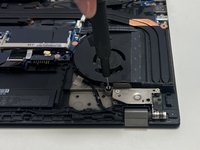
    • Use a Phillips #00 screwdriver to loosen the seven 2.5 mm captive screws securing the fan assembly to the motherboard.

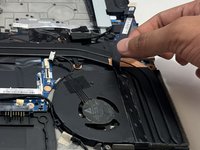
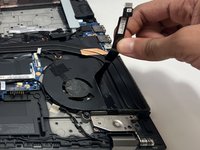
  13. Lenovo ThinkPad P50s Fan Assembly Replacement: stap 13, afbeelding 1 van 3 Lenovo ThinkPad P50s Fan Assembly Replacement: stap 13, afbeelding 2 van 3 Lenovo ThinkPad P50s Fan Assembly Replacement: stap 13, afbeelding 3 van 3
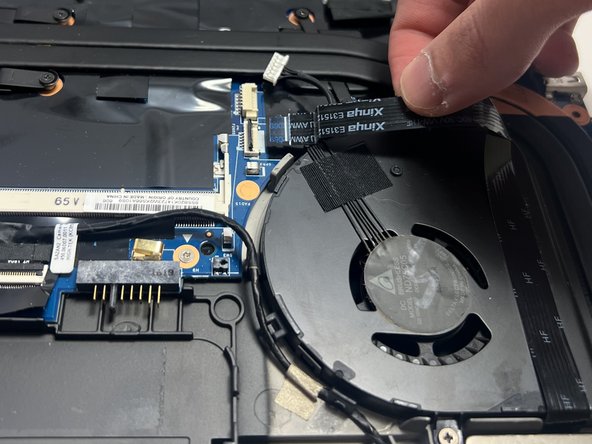
    • Gently peel back the power button cable.

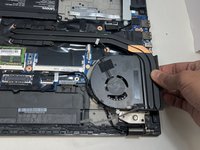
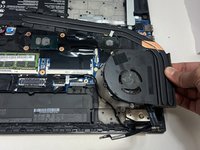
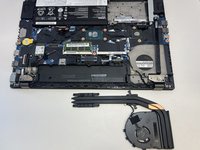
  14. Lenovo ThinkPad P50s Fan Assembly Replacement: stap 14, afbeelding 1 van 3 Lenovo ThinkPad P50s Fan Assembly Replacement: stap 14, afbeelding 2 van 3 Lenovo ThinkPad P50s Fan Assembly Replacement: stap 14, afbeelding 3 van 3
    • Lift the fan off the board to remove it.

Conclusie

To reassemble your device, follow these instructions in reverse order. Take your e-waste to an R2 or e-Stewards certified recycler.

Evan G

Lid sinds: 09/09/24

193 Reputatie

2 handleidingen geschreven

Team

0 opmerkingen

Voeg opmerking toe

Weergavestatistieken:

Afgelopen 24 uren: 0

Afgelopen 7 dagen: 3

Afgelopen 30 dagen: 13

Altijd: 78