Ga door naar hoofdinhoud

LG VX6100 Logic Board Replacement

Wat je nodig hebt

  1. LG VX6100 Logic Board Replacement, Back Cover: stap 1, afbeelding 1 van 1
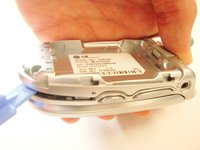
    • Push down on the gray "PUSH" button on the back side of the phone.

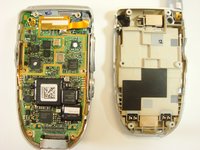
    • Slide the back case downward. Then, lift and remove the case.

  2. LG VX6100 Logic Board Replacement: stap 2, afbeelding 1 van 1
    • Lift up on the battery to remove it from the case.

  3. LG VX6100 Logic Board Replacement: stap 3, afbeelding 1 van 1
    • Use a push-pin or tweezers to pry both of the tear-shaped screw covers out of the top of the phone.

  4. LG VX6100 Logic Board Replacement: stap 4, afbeelding 1 van 1
    • Use a Phillips #00 screwdriver to unscrew the six case screws from the back of the phone.

  5. LG VX6100 Logic Board Replacement: stap 5, afbeelding 1 van 2 LG VX6100 Logic Board Replacement: stap 5, afbeelding 2 van 2
    • Insert a plastic opener tool through the seam between the back case and the rest of the phone.

    • Slowly slide the tool along the seam. Lift up on the back case while you do this until the back case comes apart.

  6. LG VX6100 Logic Board Replacement, Logic Board: stap 6, afbeelding 1 van 2 LG VX6100 Logic Board Replacement, Logic Board: stap 6, afbeelding 2 van 2
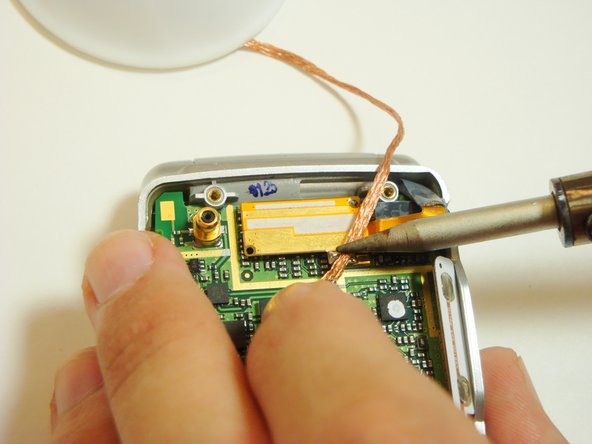
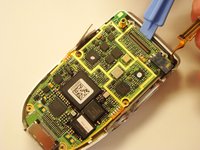
    • Locate the solder joint on the top portion of the logic board. It will appear as a shiny silver bead of metal.

    • Place a piece of solder wick on top of the solder.

    • To desolder the connection, very carefully place the tip of the soldering iron on top of the solder wick. Hold it steady until the solder is soaked up into the solder wick.

    • The soldering iron will damage circuitry if held down for too long.

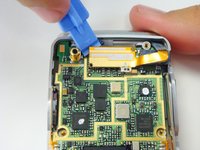
    • Cut off the used solder wick with pliers and repeat above steps if any solder remains.

  7. LG VX6100 Logic Board Replacement: stap 7, afbeelding 1 van 2 LG VX6100 Logic Board Replacement: stap 7, afbeelding 2 van 2
    • One the solder is gone, pry the copper piece off the logic board.

    • You can then remove the logic board from the case.

Conclusie

To reassemble your device, follow these instructions in reverse order.

Eric Funsten

Lid sinds: 04/17/12

1 Reputatie

3 handleidingen geschreven

Team

Cal Poly, Team 12-39, Regan Spring 2012 Lid van Cal Poly, Team 12-39, Regan Spring 2012

CPSU-REGAN-S12S12G39

3 Leden

16 handleidingen geschreven

0 opmerkingen

Voeg opmerking toe

Weergavestatistieken:

Afgelopen 24 uren: 0

Afgelopen 7 dagen: 1

Afgelopen 30 dagen: 3

Altijd: 874