Ga door naar hoofdinhoud
Word lid van de reparatiegemeenschap - Account aanmaken

LG Front Load Washing Machine Inlet Valve Assembly Replacement

Wat je nodig hebt

    1. LG Front Load Washing Machine Inlet Valve Assembly Replacement, Safety Precautions: stap 1, afbeelding 1 van 2 LG Front Load Washing Machine Inlet Valve Assembly Replacement, Safety Precautions: stap 1, afbeelding 2 van 2
      • Before you begin your repair, perform the following:

      • Turn off the main water supply

      • Unplug your washer

      • Disconnect all water connections at the rear of your washer

      Vraag FixBot

      Voeg opmerking toe

    1. LG Front Load Washing Machine Inlet Valve Assembly Replacement, Unfasten the top panel: stap 2, afbeelding 1 van 3 LG Front Load Washing Machine Inlet Valve Assembly Replacement, Unfasten the top panel: stap 2, afbeelding 2 van 3 LG Front Load Washing Machine Inlet Valve Assembly Replacement, Unfasten the top panel: stap 2, afbeelding 3 van 3
      • Remove the screw(s) securing the top panel brackets to the back panel.

      • You don't need to remove the screws securing the brackets to the top panel.

      Vraag FixBot

      Voeg opmerking toe

    2. LG Front Load Washing Machine Inlet Valve Assembly Replacement, Remove the top panel: stap 3, afbeelding 1 van 2 LG Front Load Washing Machine Inlet Valve Assembly Replacement, Remove the top panel: stap 3, afbeelding 2 van 2
      • Slide the top panel towards the rear of the device to disconnect its clips.

      Vraag FixBot

      Voeg opmerking toe

    3. LG Front Load Washing Machine Inlet Valve Assembly Replacement: stap 4, afbeelding 1 van 2 LG Front Load Washing Machine Inlet Valve Assembly Replacement: stap 4, afbeelding 2 van 2
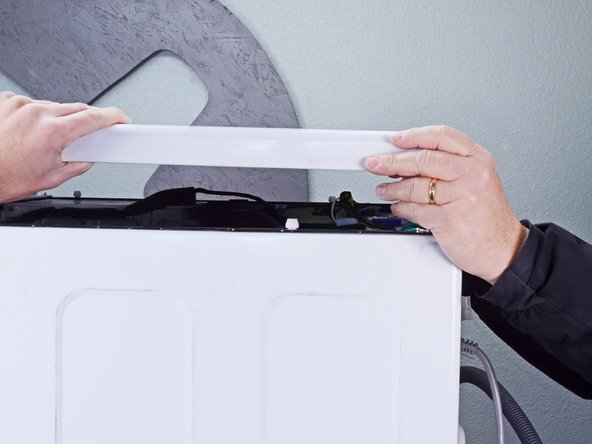
      • Tilt the top panel upward to completely disconnect it from the chassis.

      • Remove the top panel.

      Vraag FixBot

      Voeg opmerking toe

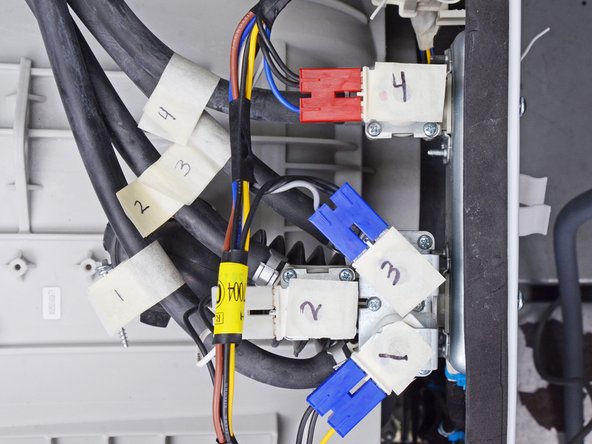
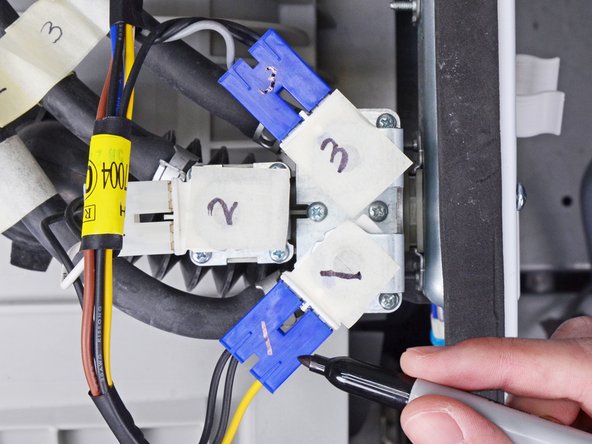
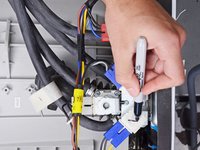
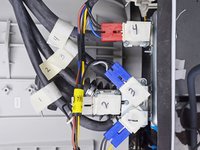
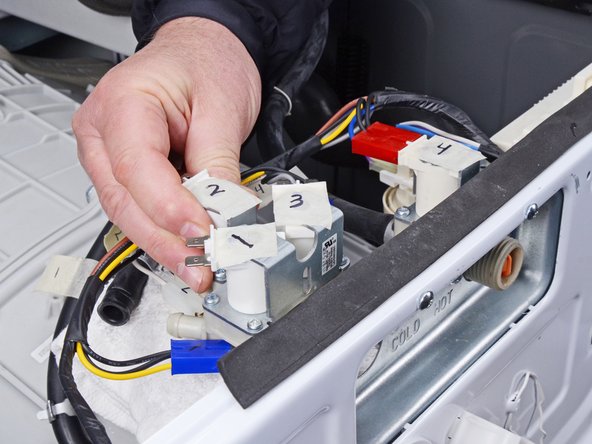
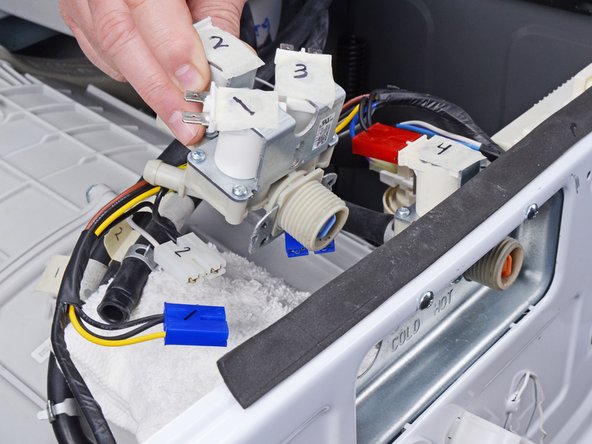
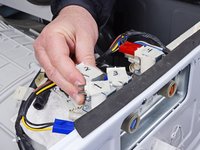
    1. LG Front Load Washing Machine Inlet Valve Assembly Replacement, Inlet valve information: stap 5, afbeelding 1 van 3 LG Front Load Washing Machine Inlet Valve Assembly Replacement, Inlet valve information: stap 5, afbeelding 2 van 3 LG Front Load Washing Machine Inlet Valve Assembly Replacement, Inlet valve information: stap 5, afbeelding 3 van 3
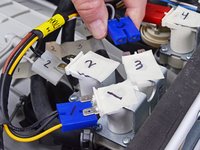
      • To prevent confusion, label each valve and its corresponding hose.

      • You can use masking tape or mark the components themselves.

      • Repeat the labelling procedure for each valve and its corresponding connector.

      Vraag FixBot

      Voeg opmerking toe

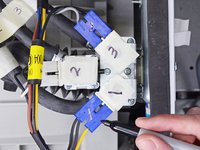
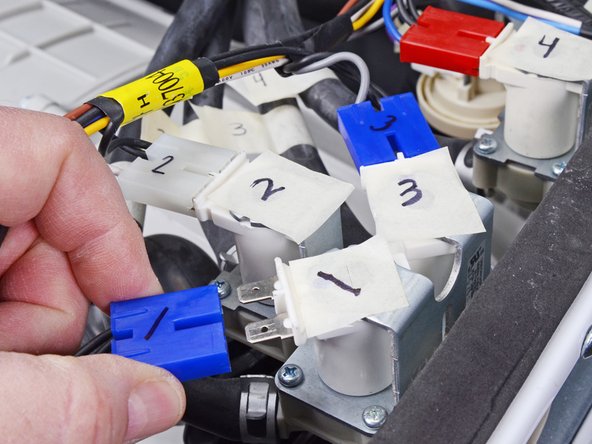
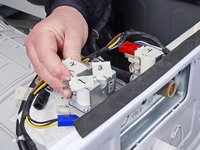
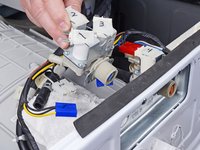
    2. LG Front Load Washing Machine Inlet Valve Assembly Replacement, Disconnect the inlet valve: stap 6, afbeelding 1 van 3 LG Front Load Washing Machine Inlet Valve Assembly Replacement, Disconnect the inlet valve: stap 6, afbeelding 2 van 3 LG Front Load Washing Machine Inlet Valve Assembly Replacement, Disconnect the inlet valve: stap 6, afbeelding 3 van 3
      • Disconnect the connectors from the inlet valve.

      • Always grip cables by their connectors and not the wires themselves.

      Vraag FixBot

      Voeg opmerking toe

    3. LG Front Load Washing Machine Inlet Valve Assembly Replacement: stap 7, afbeelding 1 van 1
      • Place a dry rag under the inlet valve to soak up any lingering water.

      Vraag FixBot

      Voeg opmerking toe

    4. LG Front Load Washing Machine Inlet Valve Assembly Replacement: stap 8, afbeelding 1 van 3 LG Front Load Washing Machine Inlet Valve Assembly Replacement: stap 8, afbeelding 2 van 3 LG Front Load Washing Machine Inlet Valve Assembly Replacement: stap 8, afbeelding 3 van 3
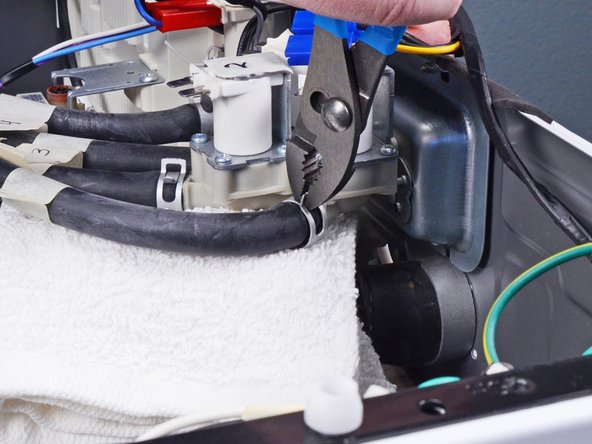
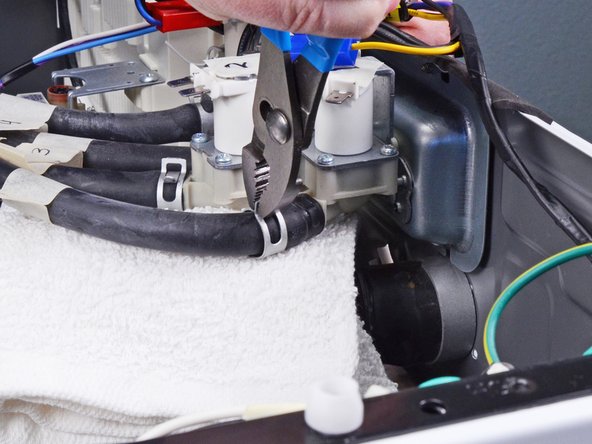
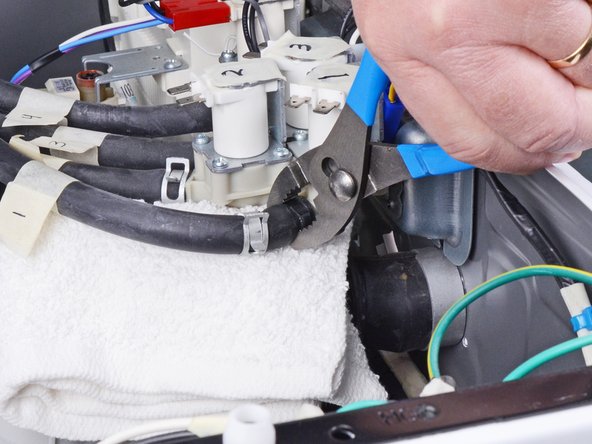
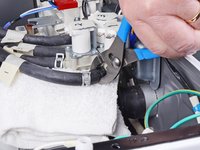
      • Use slip joint pliers to pinch the inlet valve hose clamp and pull it away from the inlet valve assembly.

      Vraag FixBot

      Voeg opmerking toe

    5. LG Front Load Washing Machine Inlet Valve Assembly Replacement: stap 9, afbeelding 1 van 2 LG Front Load Washing Machine Inlet Valve Assembly Replacement: stap 9, afbeelding 2 van 2
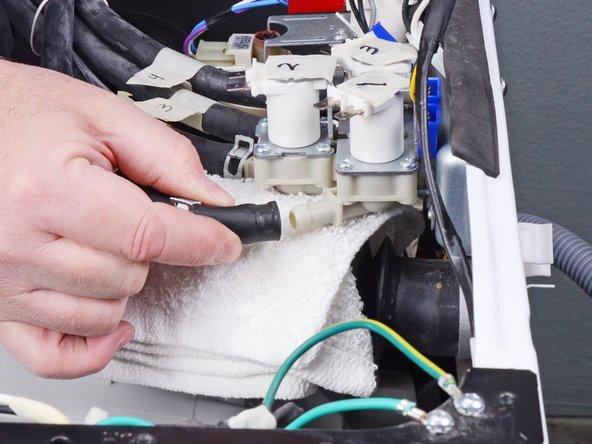
      • Use slip joint pliers to rotate the inlet valve hose back and forth around its connection and loosen it.

      Vraag FixBot

      Voeg opmerking toe

    6. LG Front Load Washing Machine Inlet Valve Assembly Replacement: stap 10, afbeelding 1 van 2 LG Front Load Washing Machine Inlet Valve Assembly Replacement: stap 10, afbeelding 2 van 2
      • Pull the inlet valve hose straight off its connection on the inlet valve assembly.

      Vraag FixBot

      Voeg opmerking toe

    7. LG Front Load Washing Machine Inlet Valve Assembly Replacement: stap 11, afbeelding 1 van 1
      • Repeat the previous three steps for each remaining hose attached to the inlet valve assembly.

      Vraag FixBot

      Voeg opmerking toe

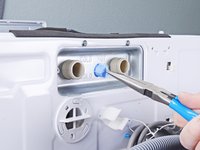
    8. LG Front Load Washing Machine Inlet Valve Assembly Replacement, Remove the filters: stap 12, afbeelding 1 van 3 LG Front Load Washing Machine Inlet Valve Assembly Replacement, Remove the filters: stap 12, afbeelding 2 van 3 LG Front Load Washing Machine Inlet Valve Assembly Replacement, Remove the filters: stap 12, afbeelding 3 van 3
      • If your replacement part comes with filters pre-installed, skip this step.

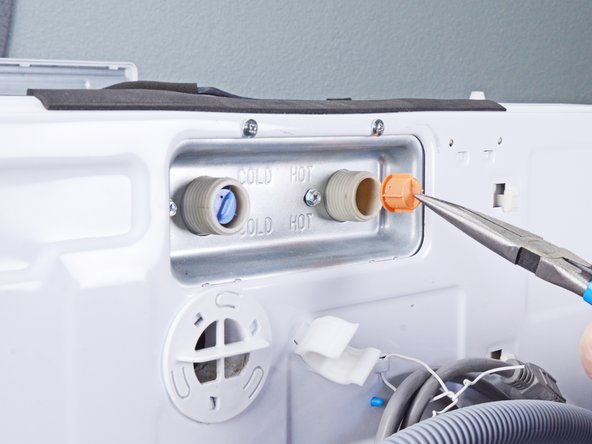
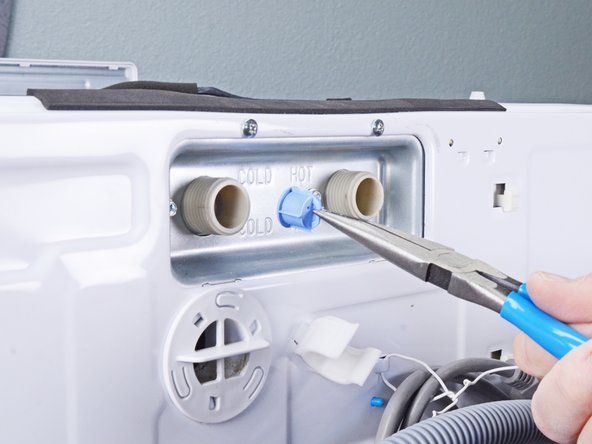
      • Use needle nose pliers to pull the inlet valve filters straight out of the inlets in the chassis.

      • Remove the filters.

      Vraag FixBot

      Voeg opmerking toe

    9. LG Front Load Washing Machine Inlet Valve Assembly Replacement, Unfasten the inlet valve assembly: stap 13, afbeelding 1 van 1
      • Remove the screws securing the inlet valve assembly.

      Vraag FixBot

      Voeg opmerking toe

    10. LG Front Load Washing Machine Inlet Valve Assembly Replacement, Remove the inlet valve assembly: stap 14, afbeelding 1 van 3 LG Front Load Washing Machine Inlet Valve Assembly Replacement, Remove the inlet valve assembly: stap 14, afbeelding 2 van 3 LG Front Load Washing Machine Inlet Valve Assembly Replacement, Remove the inlet valve assembly: stap 14, afbeelding 3 van 3
      • Pull the inlet valve assembly straight out of its slot in the chassis to remove it.

      Vraag FixBot

      Voeg opmerking toe

Conclusie

To reassemble your device, follow these instructions in reverse order.

Take your e-waste to an R2 or e-Stewards certified recycler.

Repair didn’t go as planned? Ask our Answers community for help.

Annuleren: ik heb deze handleiding niet afgemaakt.

Één andere persoon heeft deze handleiding voltooid.

Bill Gilbert

Lid sinds: 06/30/22

40.168 Reputatie

261 handleidingen geschreven

Team

iFixit Lid van iFixit

Staff

123 Leden

41.956 handleidingen geschreven

0Gids Commentaar

Voeg opmerking toe

Weergavestatistieken:

Afgelopen 24 uren: 9

Afgelopen 7 dagen: 82

Afgelopen 30 dagen: 272

Altijd: 6,940